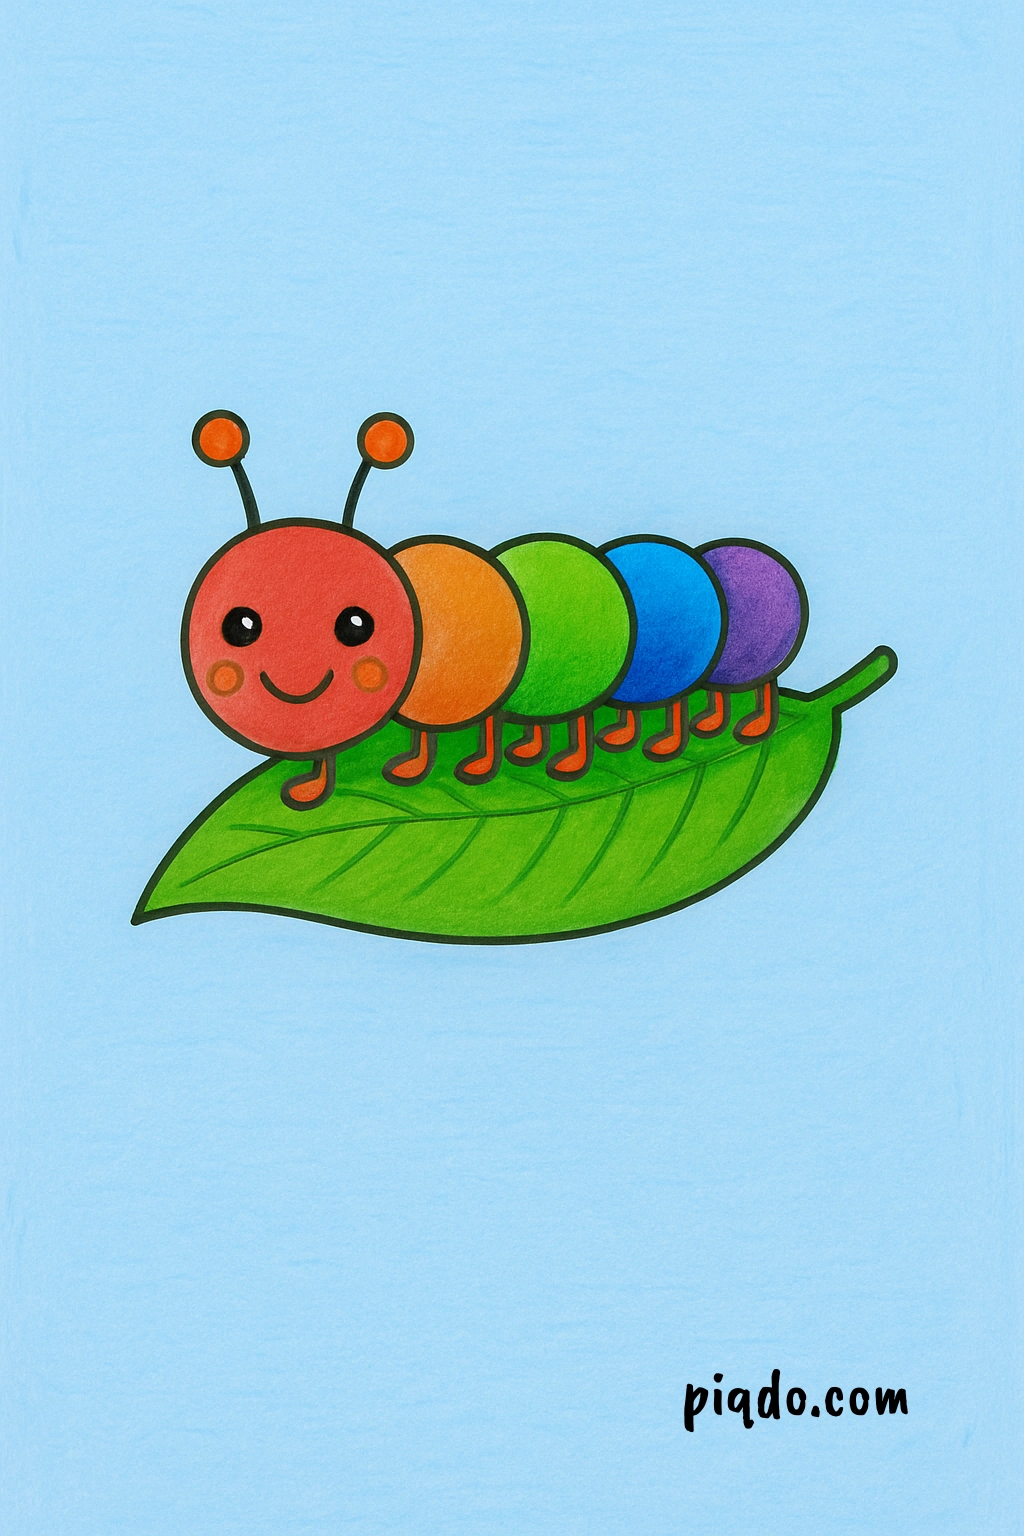
Have you ever wanted to draw a cute, wiggly caterpillar? Whether you’re an aspiring artist or just doodling for fun, this beginner-friendly tutorial will guide you through each step with ease! Grab your pencil and let’s bring this little bug to life! 🖼️
🧰 Materials Needed
Before you begin, gather the following supplies:
- ✏️ Pencil
- 🧼 Eraser
- 🖊️ Black pen or fine-liner (optional, for outlining)
- 🖍️ Colored pencils, markers, or crayons
- 📄 Drawing paper
✍️ Step-by-Step Instructions
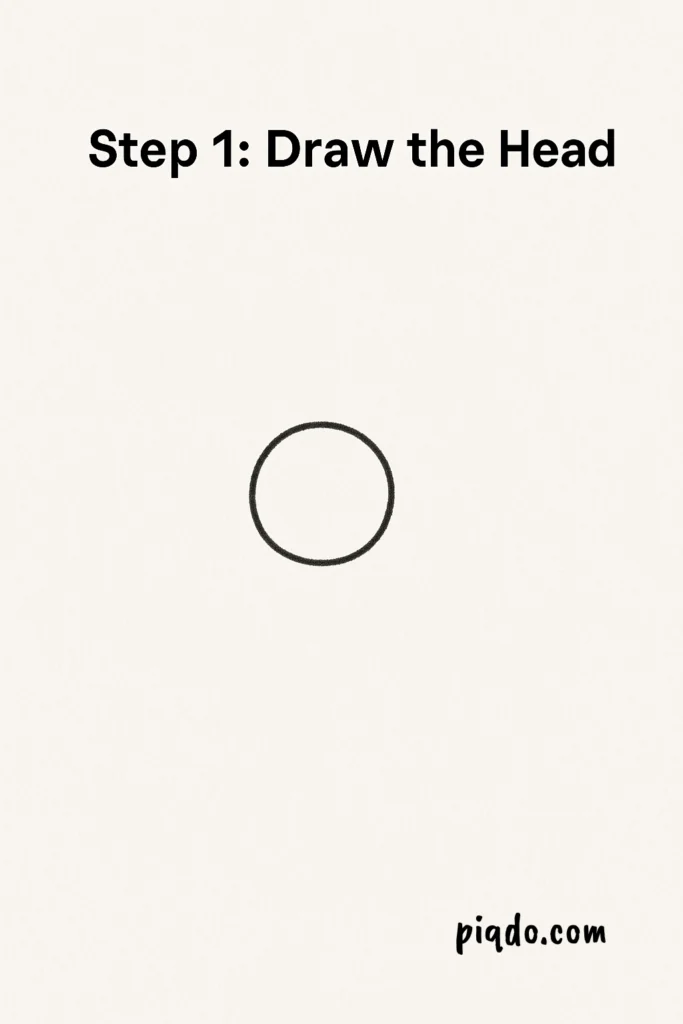
Step 1: Draw the Head
Start by drawing a medium-sized circle near the left side of your paper. This will be the caterpillar’s head. Leave a little space below the circle for the mouth.
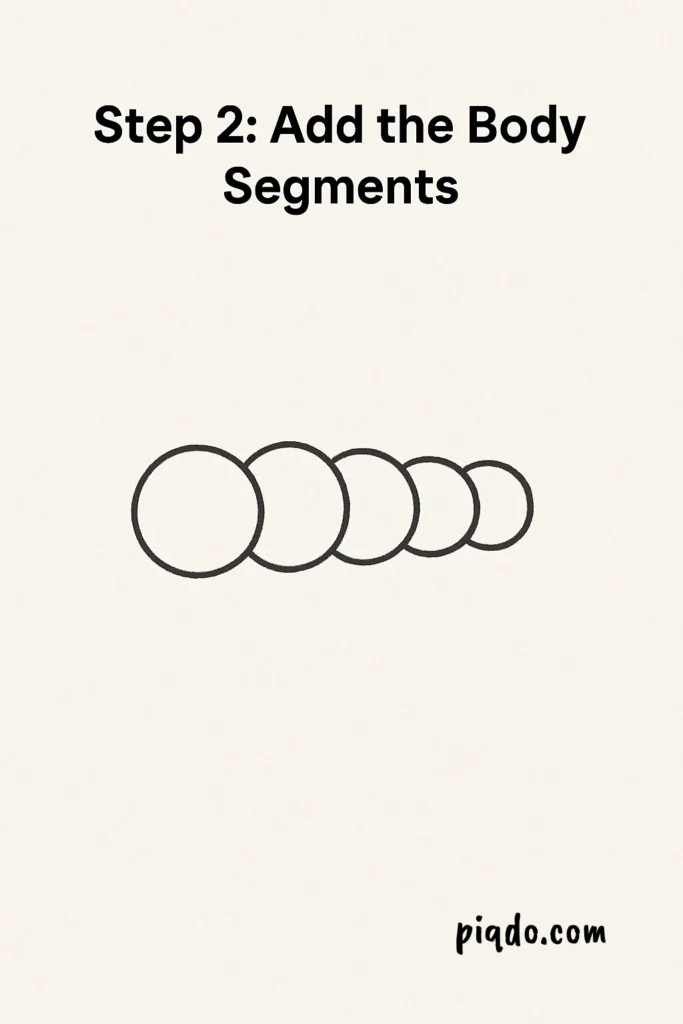
Step 2: Add the Body Segments
Draw a chain of overlapping circles or ovals behind the head—around 5 to 7 segments. Each one should be slightly smaller than the last to show movement and depth.
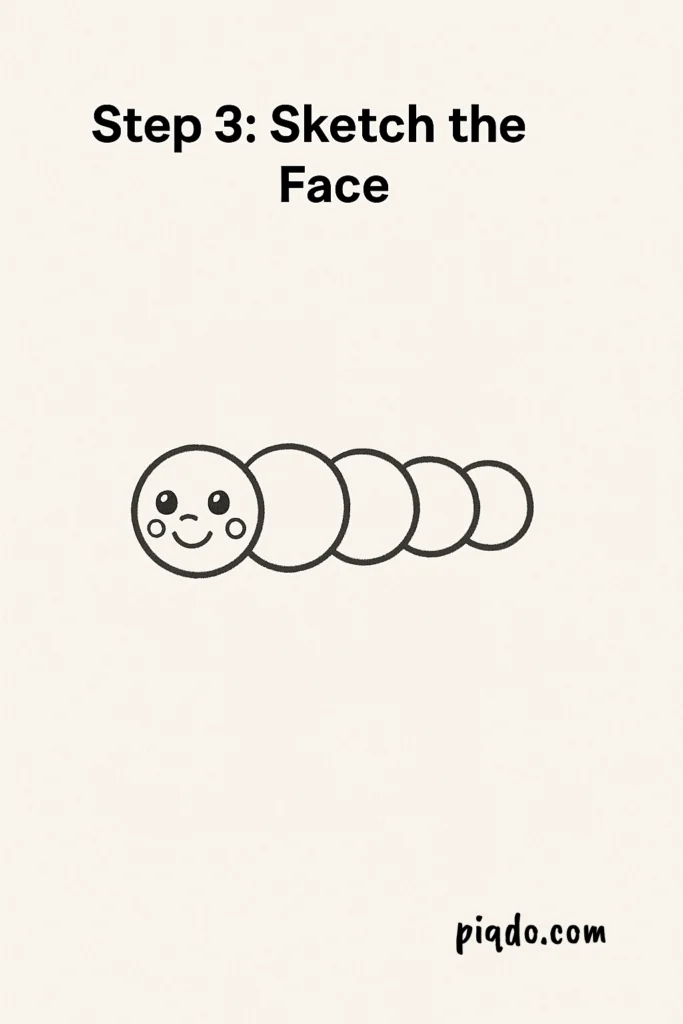
Step 3: Sketch the Face
Inside the head, draw two small round eyes and a happy, curved smile 😊. You can add small circles on the cheeks for a cute touch.
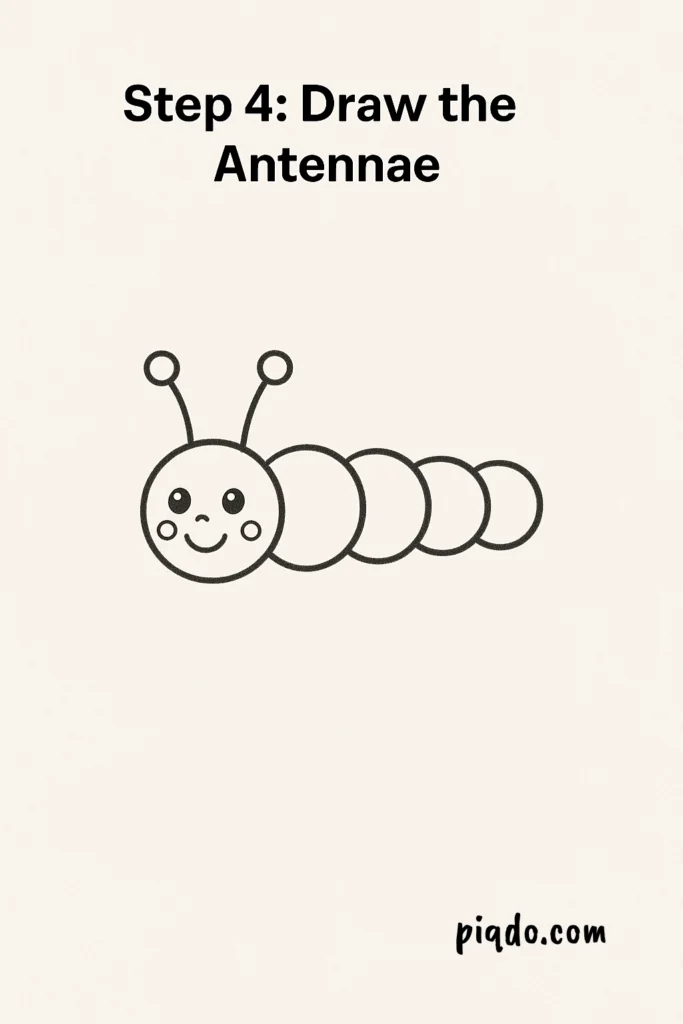
Step 4: Draw the Antennae
From the top of the head, draw two short lines sticking up. Add a little circle at the end of each one to complete the caterpillar’s adorable antennae.
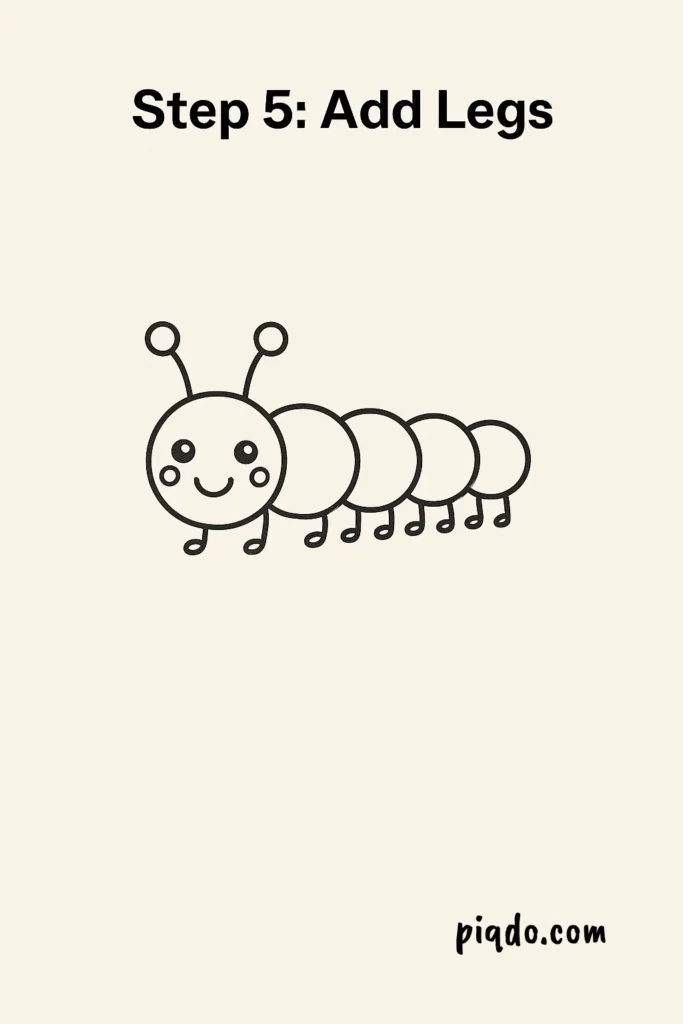
Step 5: Add Legs
Under each body segment (except the head), draw two tiny curved lines for legs. These can look like small hooks or simple “U” shapes facing down.
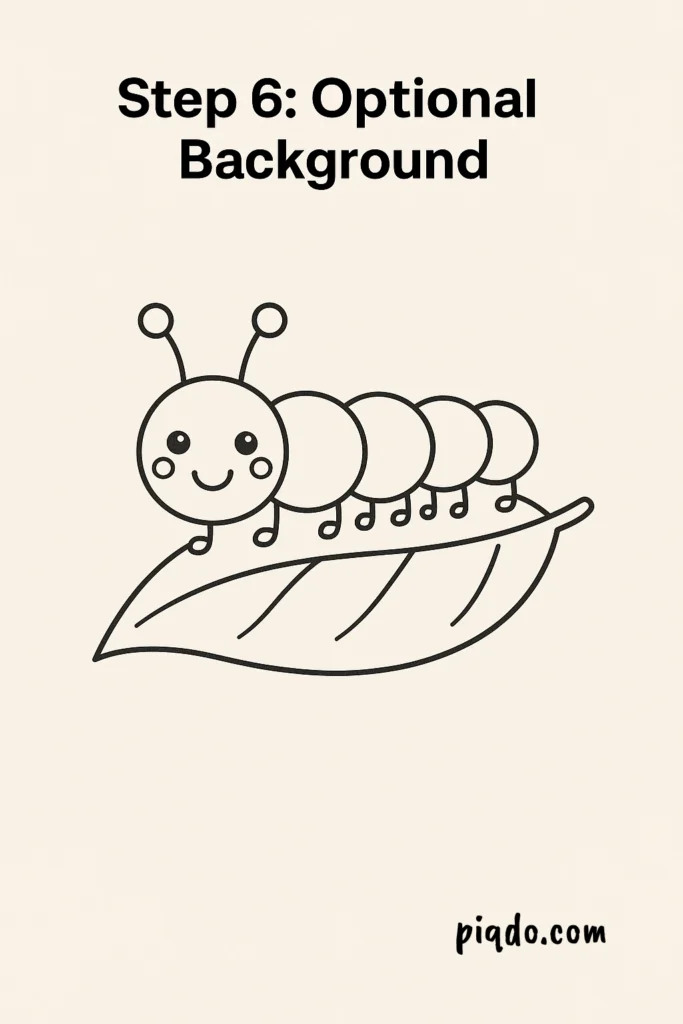
Step 6: Optional Background
To make your drawing more lively, sketch a leaf, a branch, or even some grass under the caterpillar. 🌿🍃
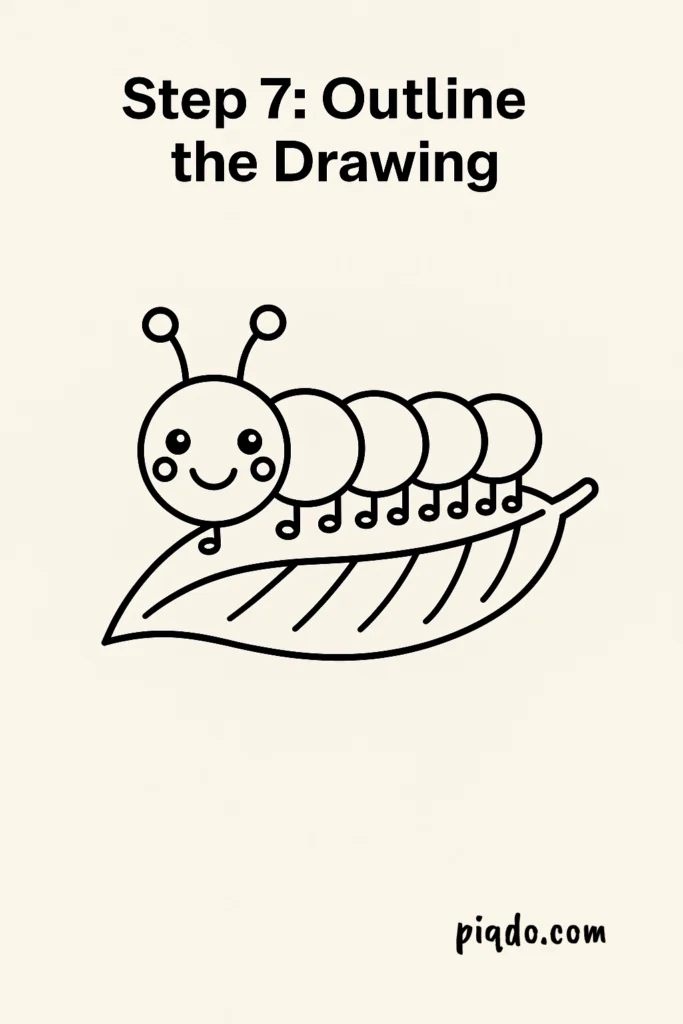
Step 7: Outline the Drawing
Once you’re happy with your sketch, trace over the lines with a black pen or marker. This will make your drawing stand out and prepare it for coloring.
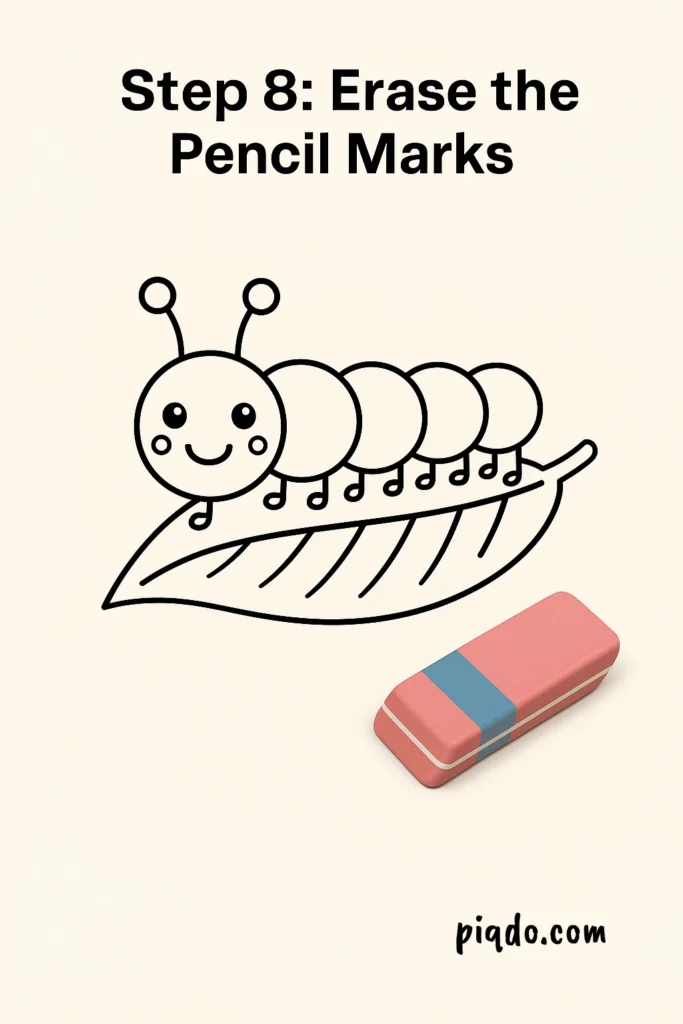
Step 8: Erase the Pencil Marks
Let the ink dry, then gently erase any leftover pencil lines, so your caterpillar looks neat and clean.
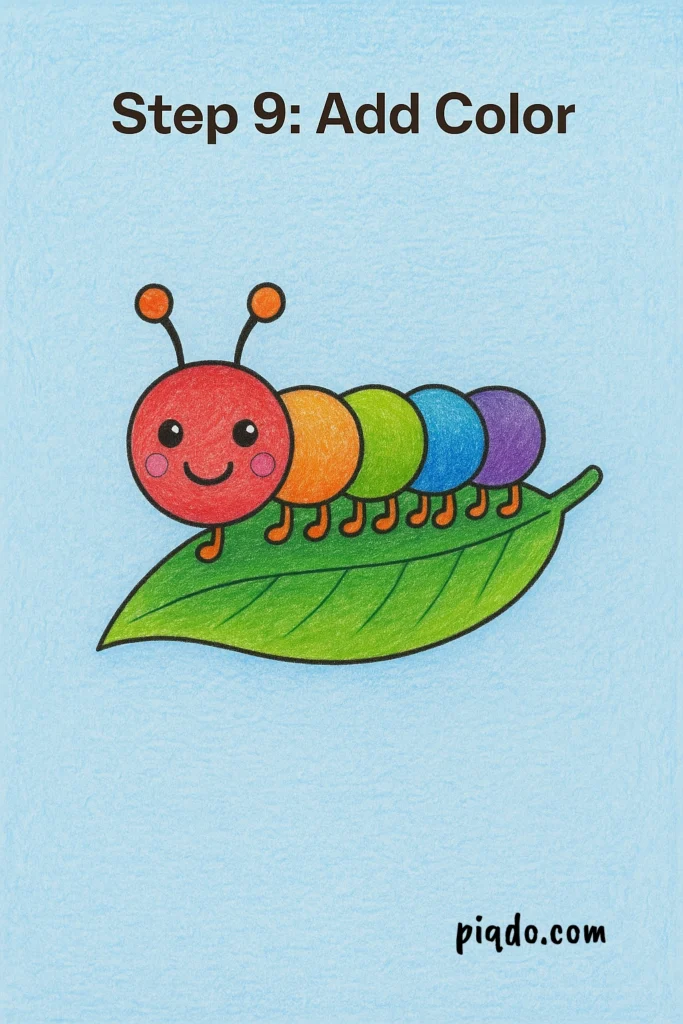
Step 9: Add Color
Now comes the fun part—coloring! Use shades of green, yellow, or even make a rainbow caterpillar. Add some light blue to the background or green for leaves to complete the scene. 🎨🌈
🌟 Tips and Tricks
- Try experimenting with different body shapes—circles, ovals, or even squares!
- Add little hairs or patterns on each segment for extra personality.
- Want more fun? Draw a butterfly next to it and imagine its transformation! 🦋
🎉 Final Thoughts
Now you know how to draw a caterpillar step by step! Great job, artist! 🐛 Whether you follow this guide exactly or add your own twist, you’re developing your skills and having fun—and that’s what drawing is all about.
📸 Show Us Your Drawing!
We’d love to see your cute caterpillar! Submit it here or share it on social media and tag us. So we can feature your artwork. Happy drawing!