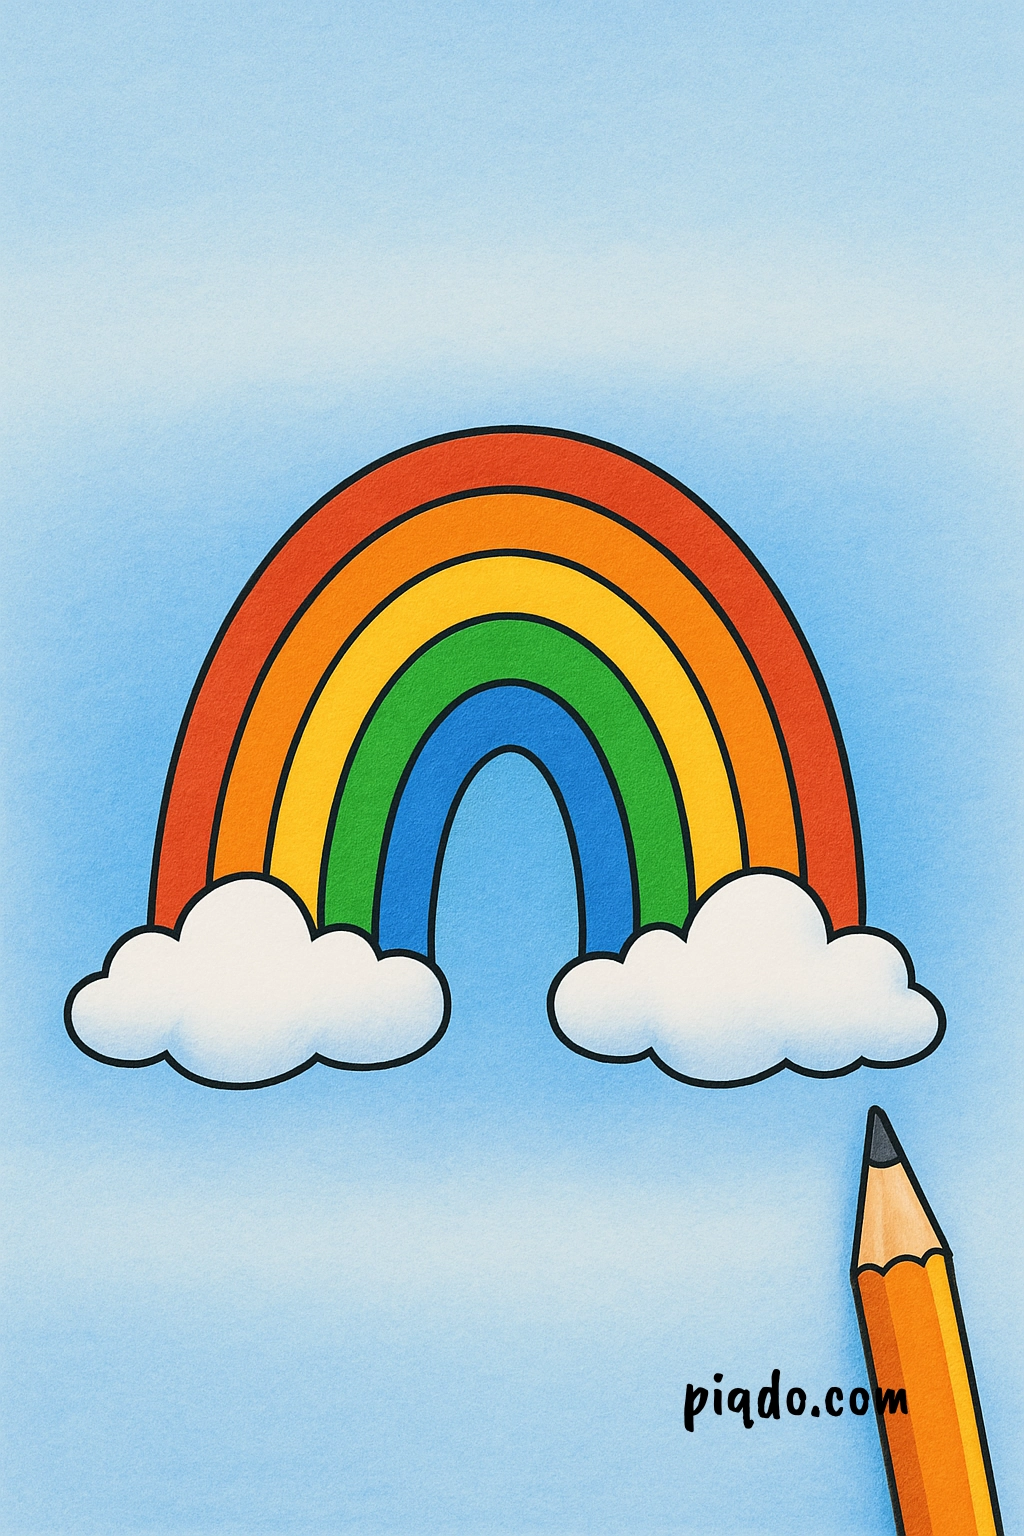
Rainbows always bring a smile to our faces — and drawing one is just as joyful! Whether you’re decorating a card, creating a poster, or just doodling for fun, learning how to draw a rainbow is easy and rewarding. 🌟
In this step-by-step tutorial, I’ll guide you through drawing your own beautiful rainbow, even if you’re a total beginner. Let’s get started!
✏️ Materials Needed:
Before we jump into the steps, here’s what you’ll need:
- Paper 📝
- Pencil ✏️
- Eraser 🧽
- Colored markers, crayons, or colored pencils 🎨
- Black pen (optional for outlining) 🖊️
Got everything ready? Great! Let’s draw! 🎉
Step-by-Step Guide
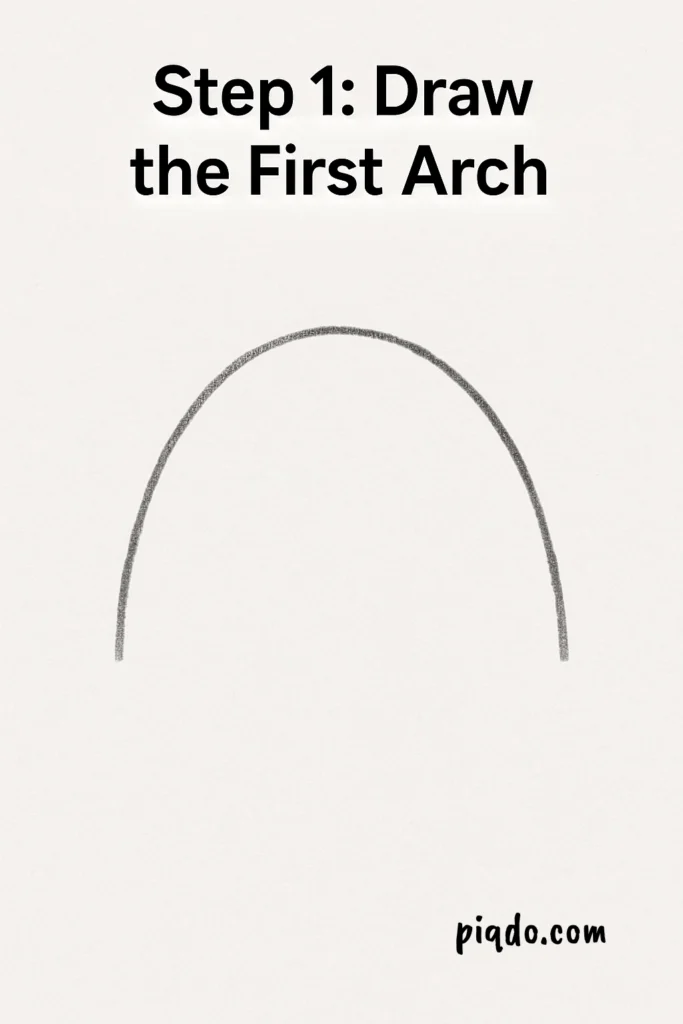
Step 1: Draw the First Arch 🌈
Start by lightly drawing a large, upside-down “U” shape across your paper. This will be the outer edge of your rainbow. Try to make it as smooth and rounded as possible!
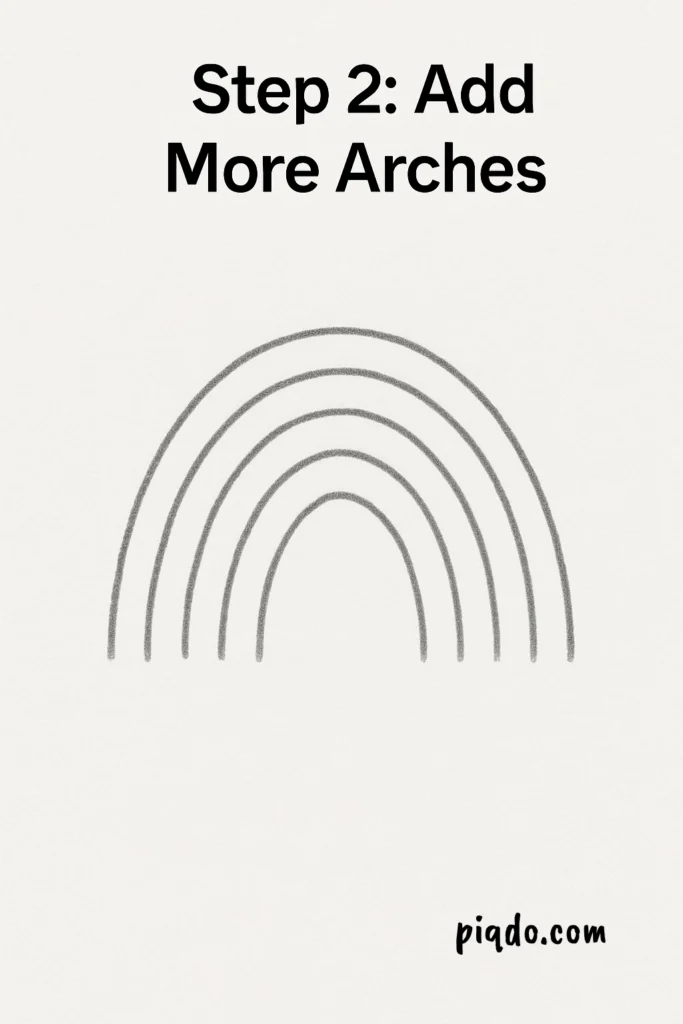
Step 2: Add More Arches 🎯
Inside your first arch, draw another slightly smaller arch, following the same curve. Keep going and add about six arches total, each one a little smaller than the one before it. These will represent all the beautiful rainbow colors!
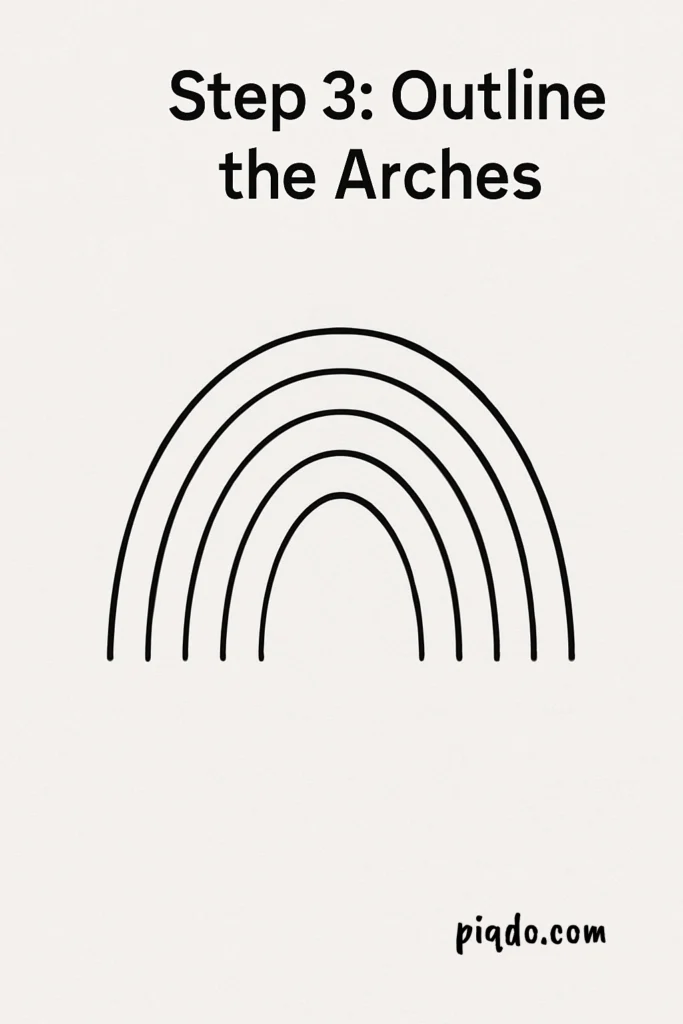
Step 3: Outline the Arches 🖍️
Once you’re happy with the shape and spacing of your arches, you can carefully go over them with a black pen if you want a bold, clean look. If you prefer a softer rainbow, you can skip outlining.
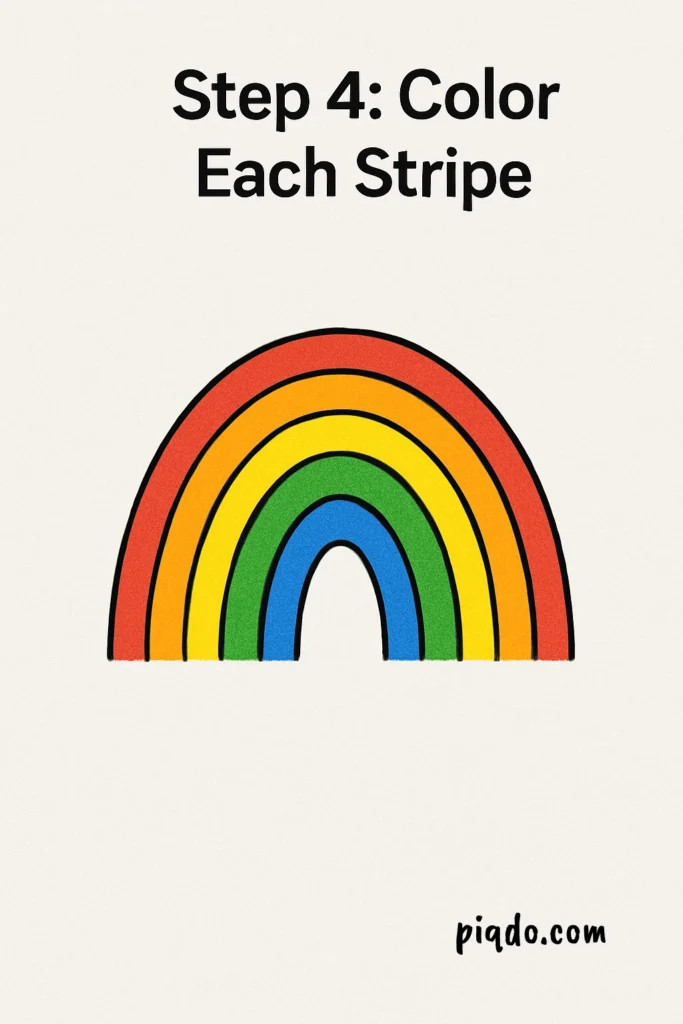
Step 4: Color Each Stripe 🎨
Now the fun part — coloring!
Color each stripe with the traditional rainbow colors in this order:
- Red ❤️
- Orange 🧡
- Yellow 💛
- Green 💚
- Blue 💙
- Purple 💜
Take your time and enjoy filling in each section with bright, cheerful colors!
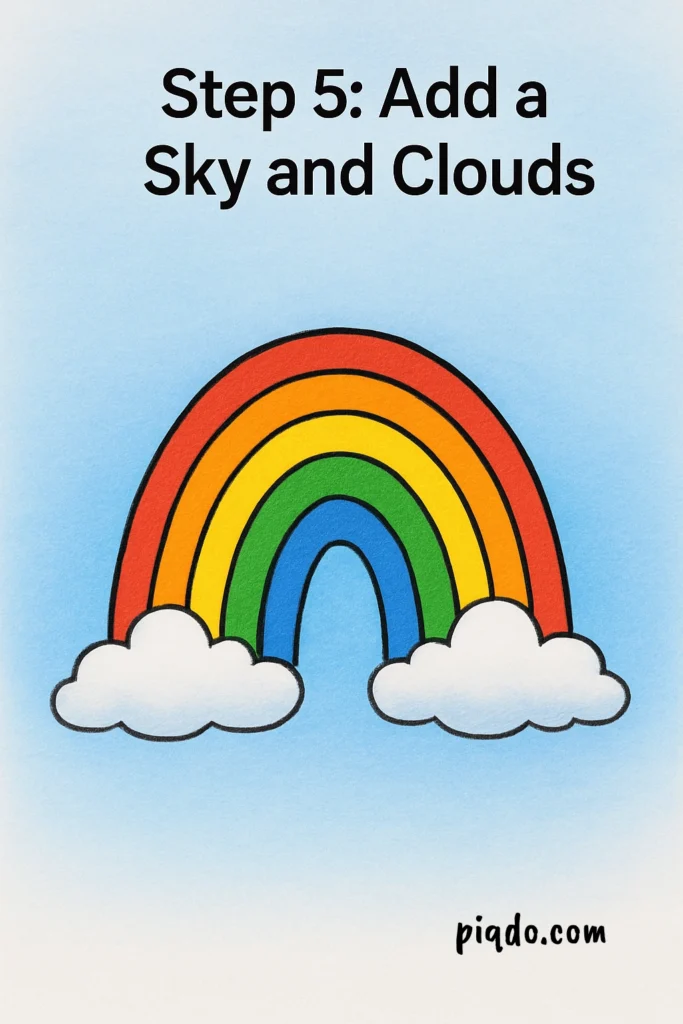
Step 5: Add a Sky and Clouds (Optional) ☁️☁️
To make your drawing even more magical, you can add fluffy clouds at the bottom of the rainbow and a light blue sky around it. Feel free to get creative — maybe even add a sun or some sparkles! ✨
Step 6: Final Touches 🖼️
Step back and admire your beautiful rainbow! If you used a pencil for your initial sketch, gently erase any visible pencil marks for a clean and polished look.

🌟 Final Thoughts
Drawing a rainbow is a simple yet delightful project that’s perfect for artists of any age. You can create rainbows to decorate your notebooks, greeting cards, or just to brighten up your day! 🌈🖌️
Don’t be afraid to experiment with different colors or styles — every rainbow is special!
Happy drawing! ✏️💖