Have you ever wanted to draw the perfect star but didn’t know where to start? Whether you’re decorating a card, adding fun doodles to your notebook, or teaching kids how to sketch shapes, this guide is perfect for beginners of all ages. In just a few simple steps, you’ll be creating beautiful five-pointed stars in no time! ⭐
✏️ Materials Needed
Before we get started, here are the basic materials you’ll need:
- Pencil ✏️
- Eraser 🧼
- Drawing paper 📄
- Ruler (optional) 📏
- Black pen or marker 🖊️
- Colored pencils or markers 🎨
🪄 Step-by-Step Instructions
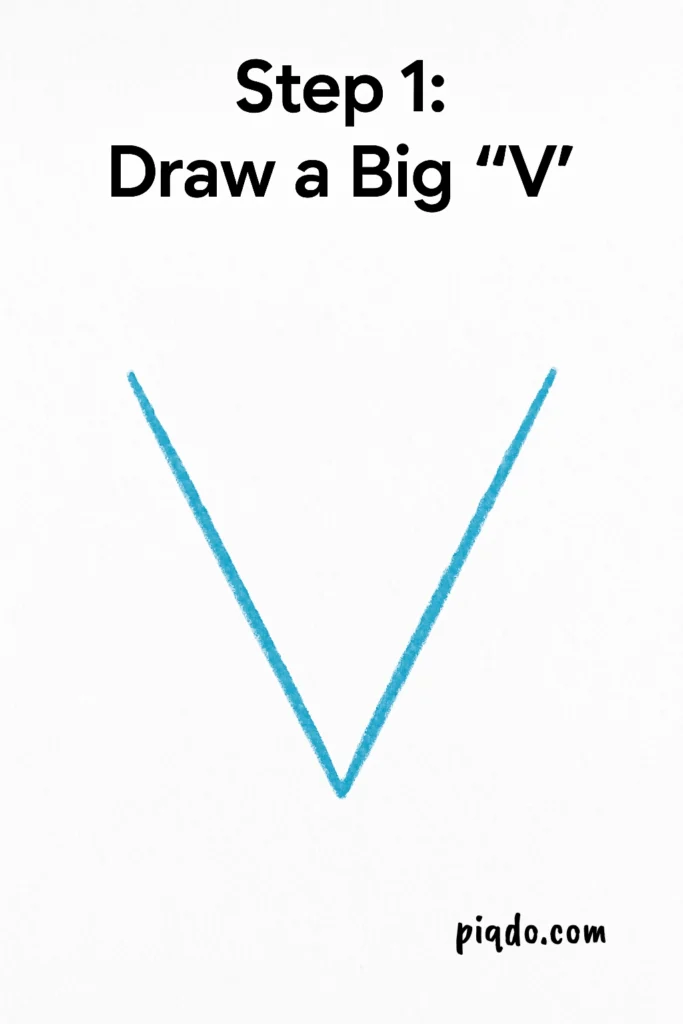
Step 1: Draw a Big “V”
Start by drawing a large, wide “V” shape. This will be the bottom left side of your star.
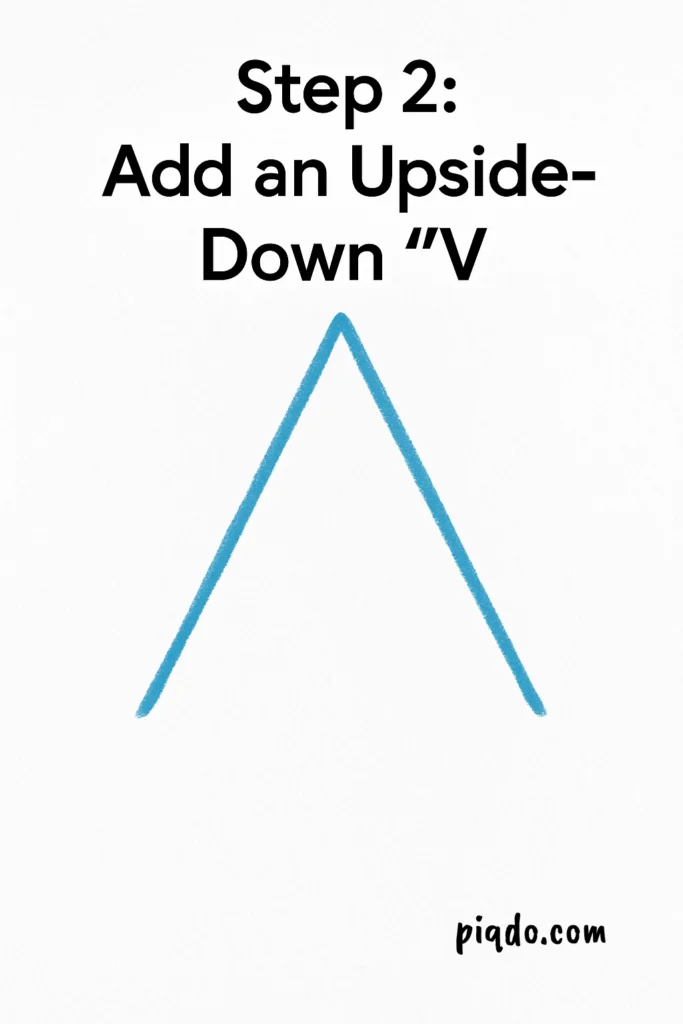
Step 2: Add an Upside-Down “V”
From the right tip of the “V”, draw a line up and to the left to form an upside-down “V” — this creates the top point of the star.
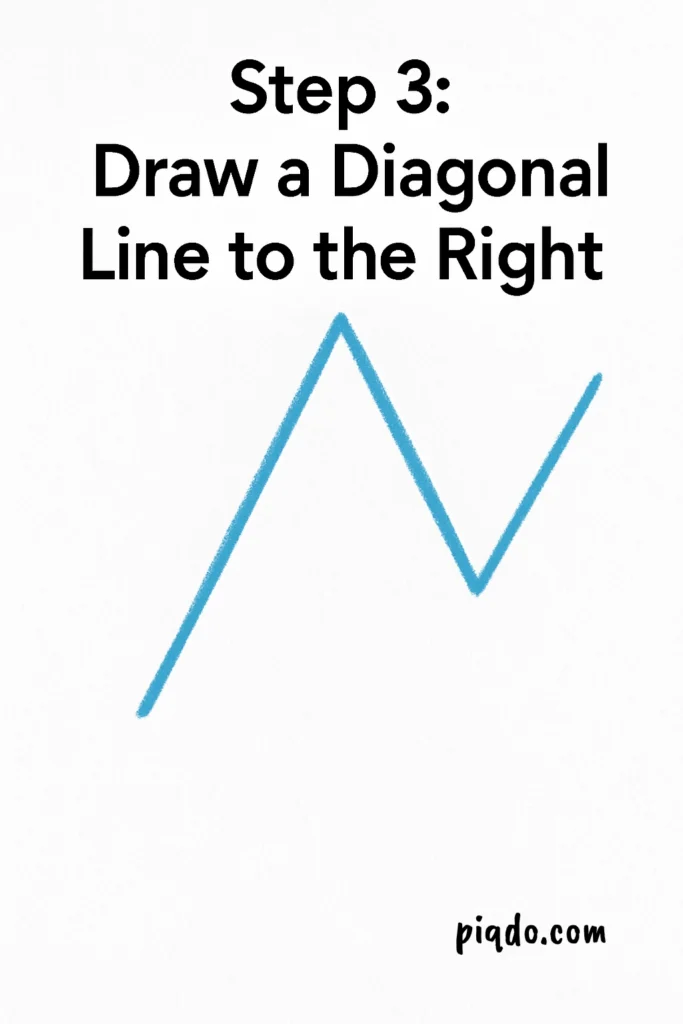
Step 3: Draw a Diagonal Line to the Right
Now draw a line from the top point down to the right, ending it parallel to your first point.
Step 4: Connect Back to the Left
Draw a diagonal line from that right point over to the left point of your original “V”. You’re almost done!

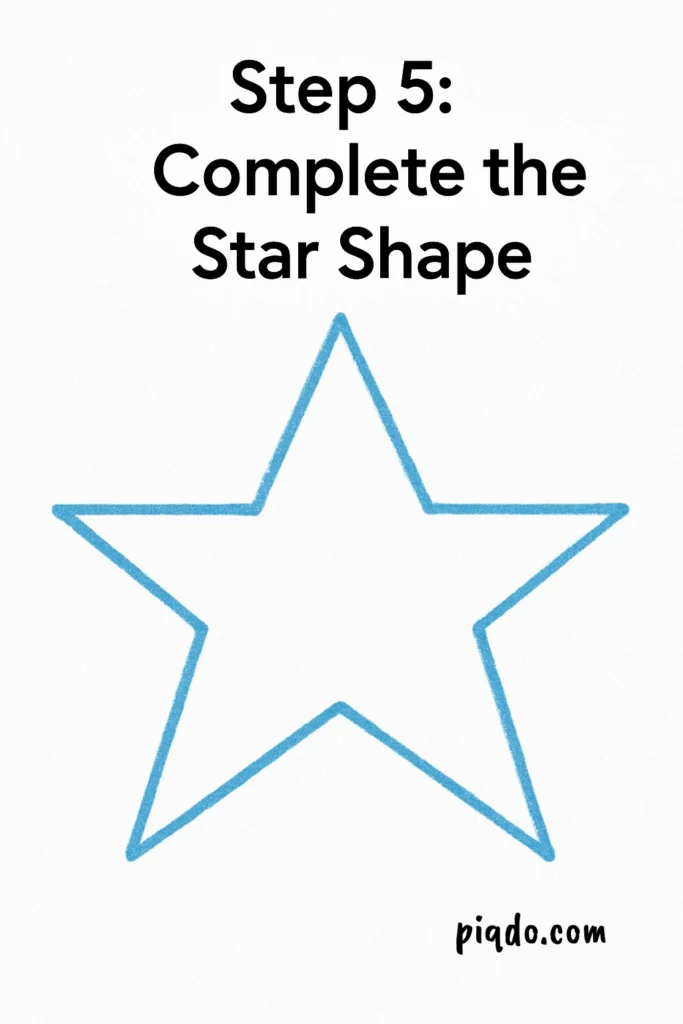
Step 5: Complete the Star Shape
Finish the star by drawing a line from this last point back down to the bottom-right point of the original “V”. You should now have a five-pointed star! ⭐
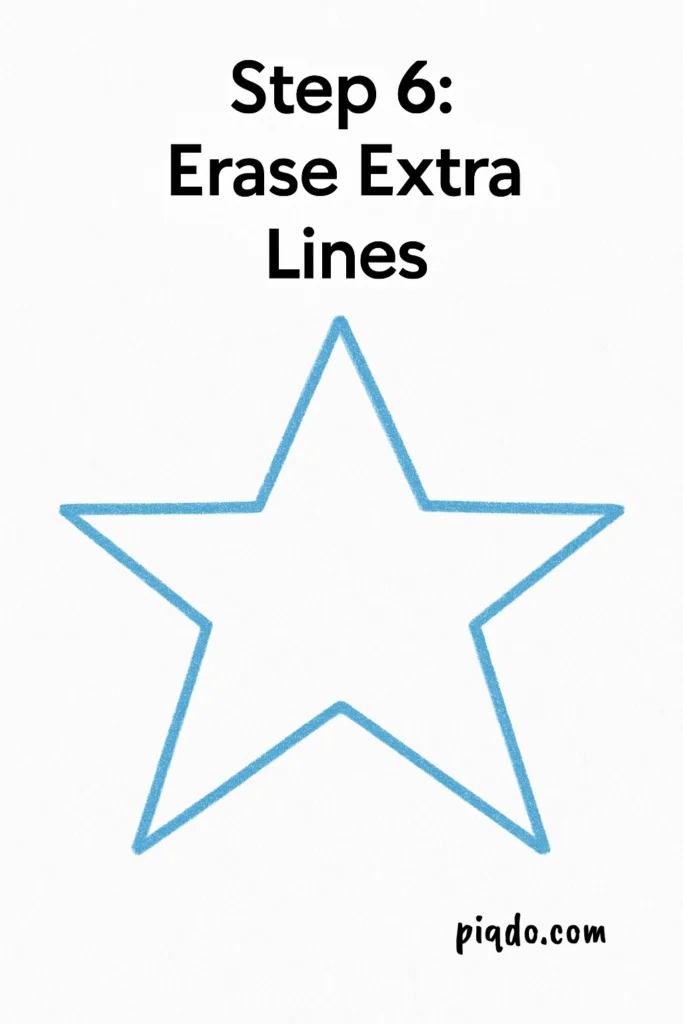
🧽 Step 6: Erase Extra Lines (Optional)
If you prefer a clean outline, gently erase the overlapping lines inside the star. This makes it look more polished.
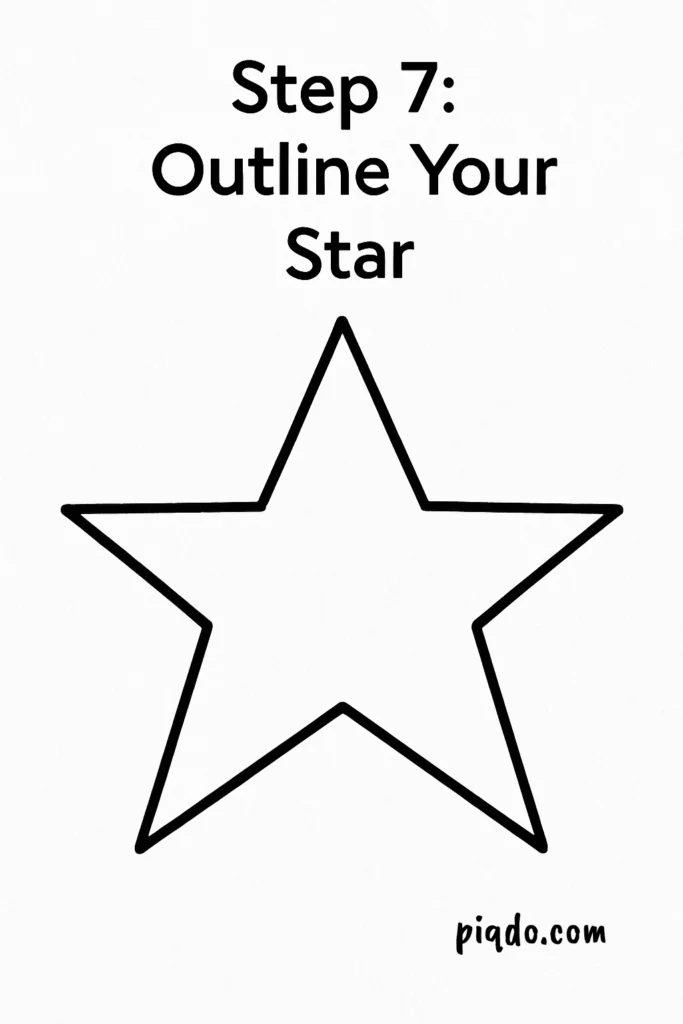
🖊️ Step 7: Outline Your Star
Trace your final star shape with a black pen or marker. Once the ink is dry, erase any leftover pencil marks to make your star pop!
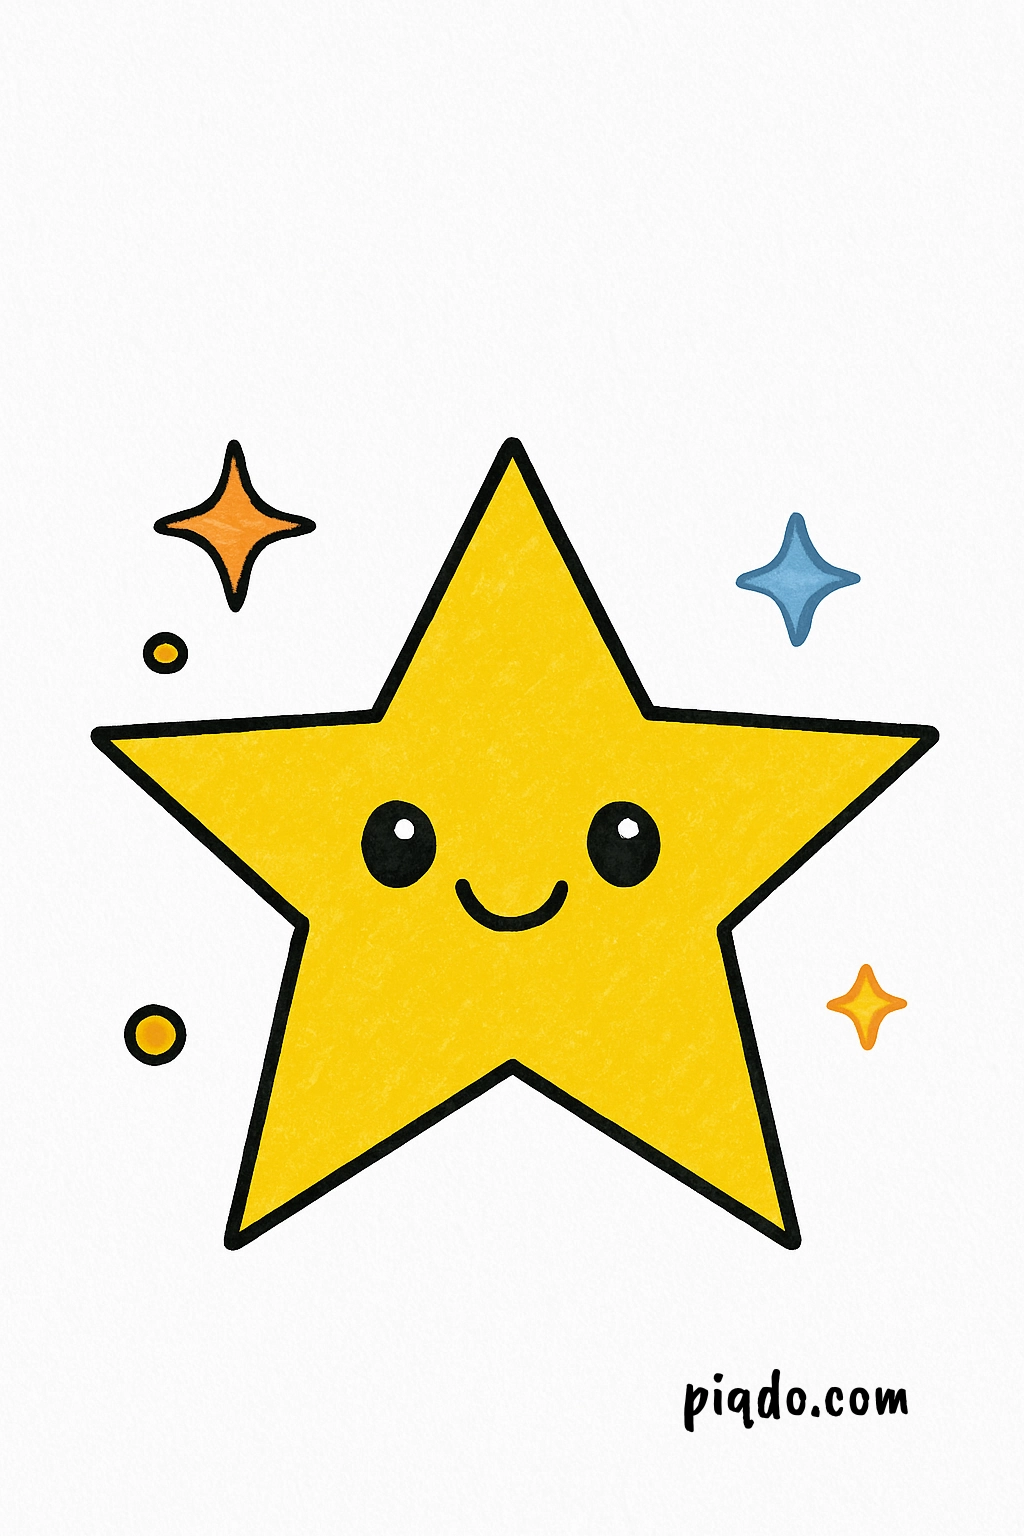
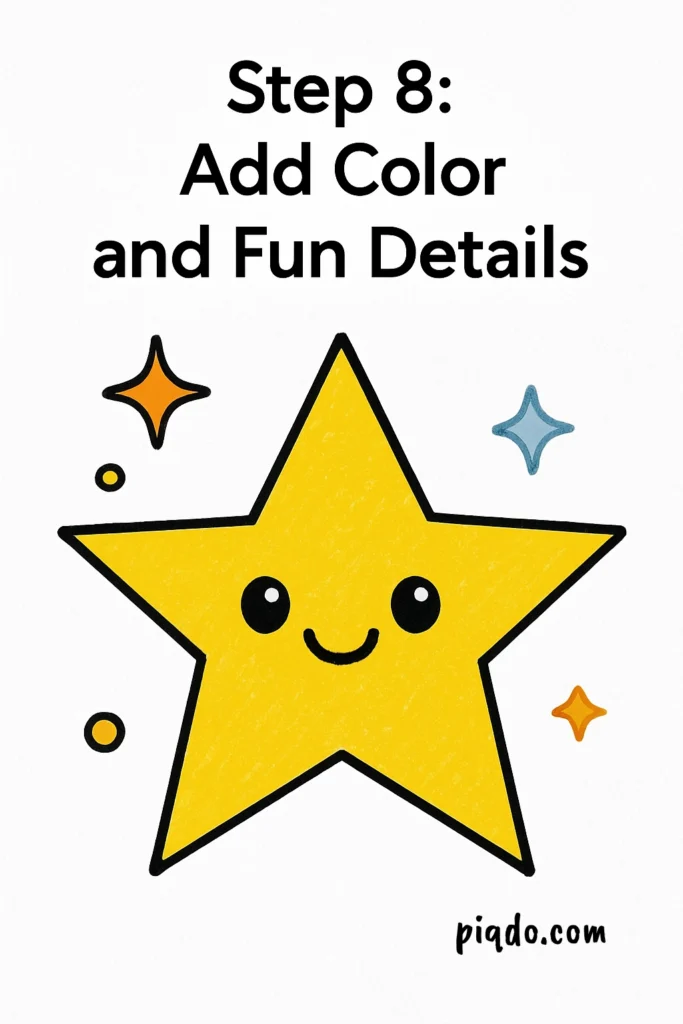
🎨 Step 8: Add Color and Fun Details
Now for the fun part! Color in your star using bright shades. Yellow, gold, rainbow — it’s totally up to you. Feel free to add sparkles, smiley faces, or even place your star in a night sky scene! ✨🌌
🌟 Final Tips
- Use a ruler if you want super straight lines
- Don’t worry if it’s not perfect — each star is unique!
- Try different sizes and colors for fun star patterns
🏁 Conclusion
Now you’ve mastered how to draw a star step by step! 🌠 Whether it’s for a school project, craft activity, or just for fun, this simple guide is a great way to get creative. Keep practicing, have fun with it, and remember — your art doesn’t have to be perfect to shine bright! 💛