Ladybugs are one of the cutest little creatures you can draw! 🖍️ Whether you’re a beginner artist or just looking for a fun and easy project, this step-by-step tutorial will guide you through creating your very own adorable ladybug. Grab your pencils, and let’s get started!
✏️ Materials Needed
- Drawing paper 📄
- Pencil ✏️
- Eraser 🩹
- Black marker or pen 🖊️
- Red and black colored pencils, crayons, or markers 🎨
🐞 Step-by-Step Instructions
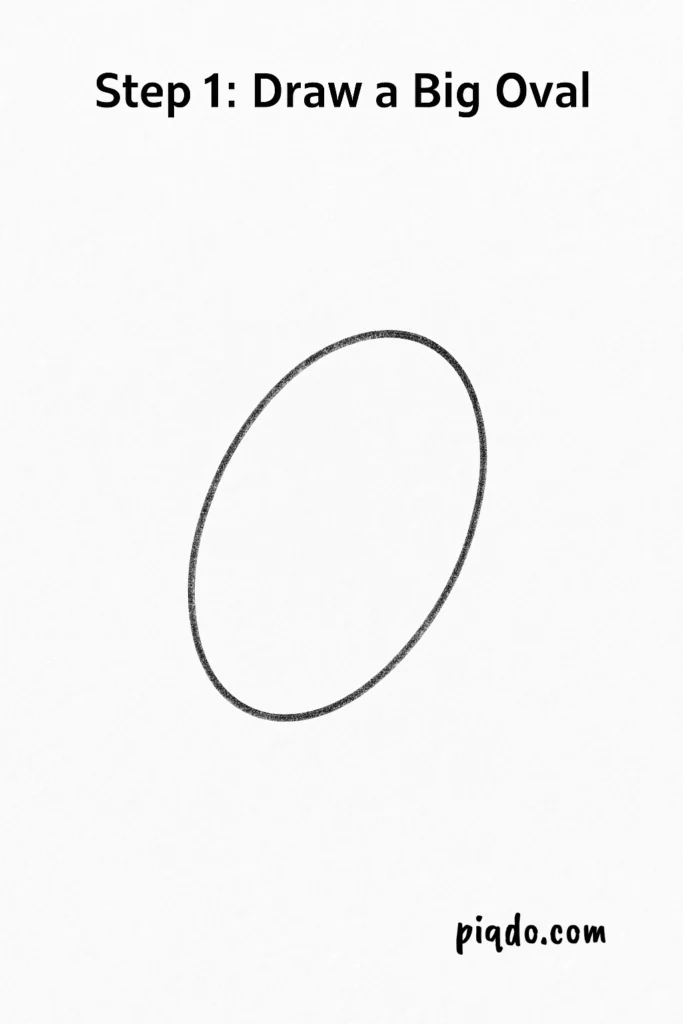
Step 1: Draw a Big Oval
Start by drawing a large oval shape tilted slightly sideways. This will be the main body of your ladybug! 🥚
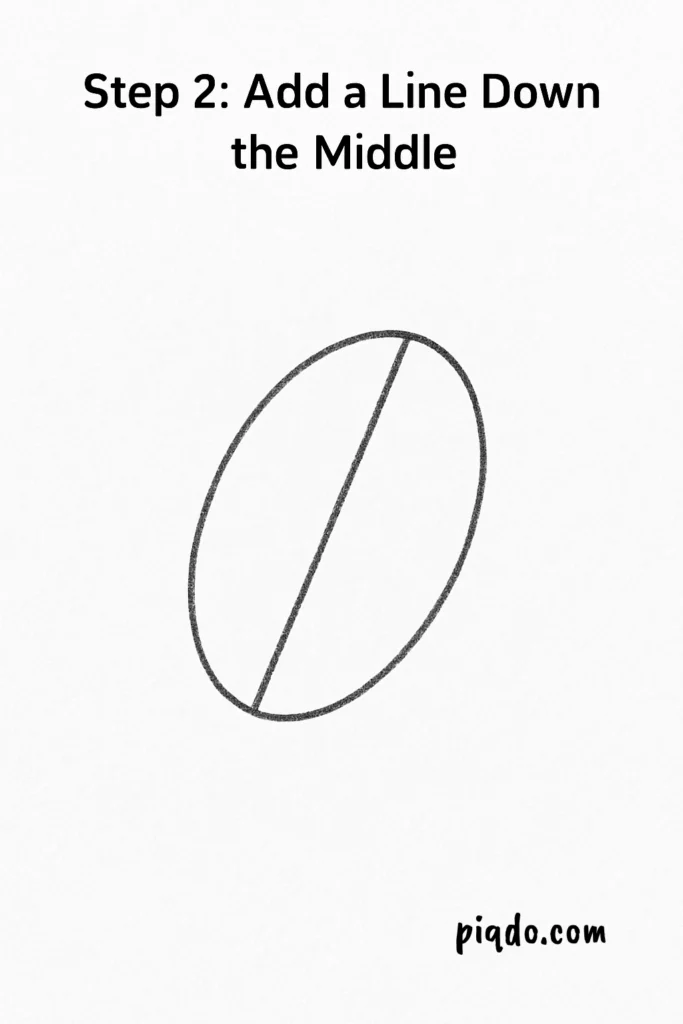
Step 2: Add a Line Down the Middle
Gently draw a line from the top to the bottom of the oval. This will separate the ladybug’s wings. ✈️
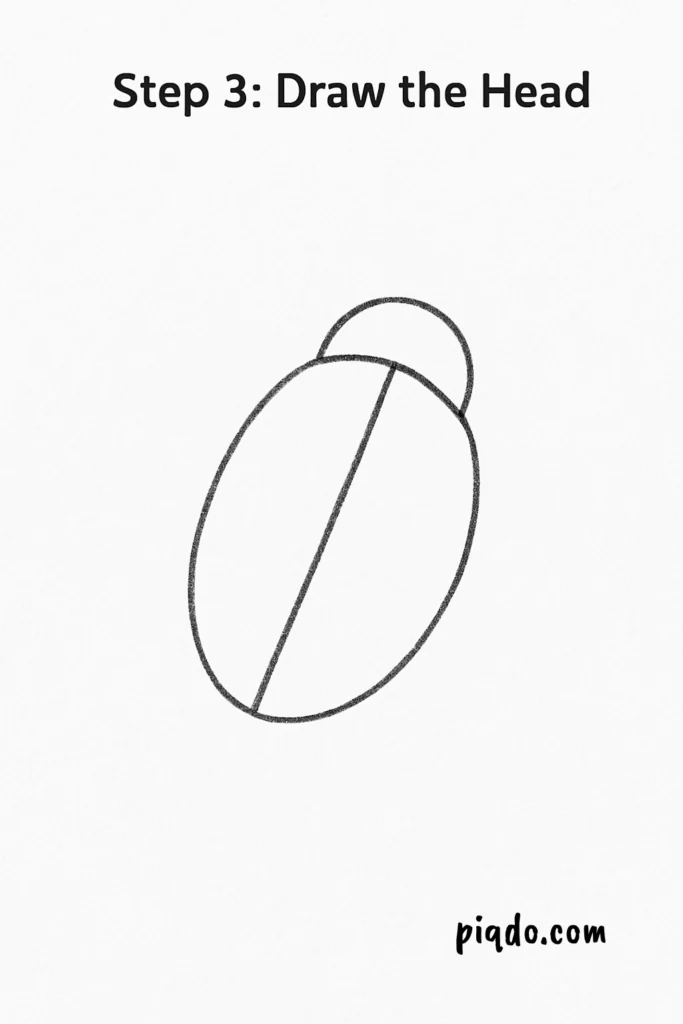
Step 3: Draw the Head
At the top of the oval, draw a small half-circle. This is your ladybug’s head! 🧢
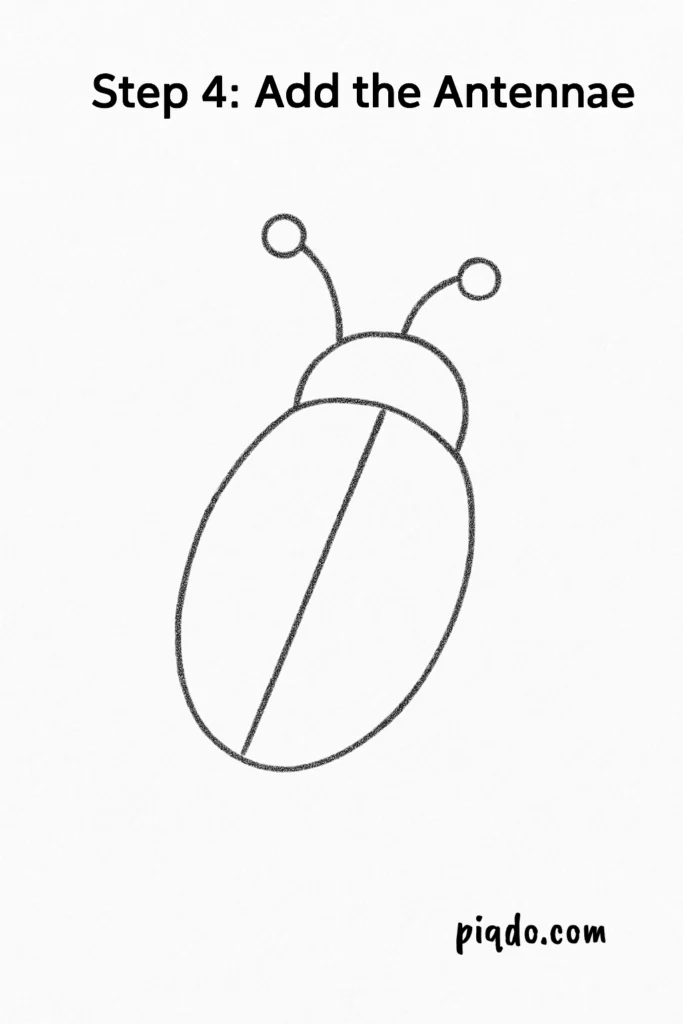
Step 4: Add the Antennae
From the head, draw two thin, curved lines going upwards. Add a tiny circle at the end of each line to complete the antennae! 📡
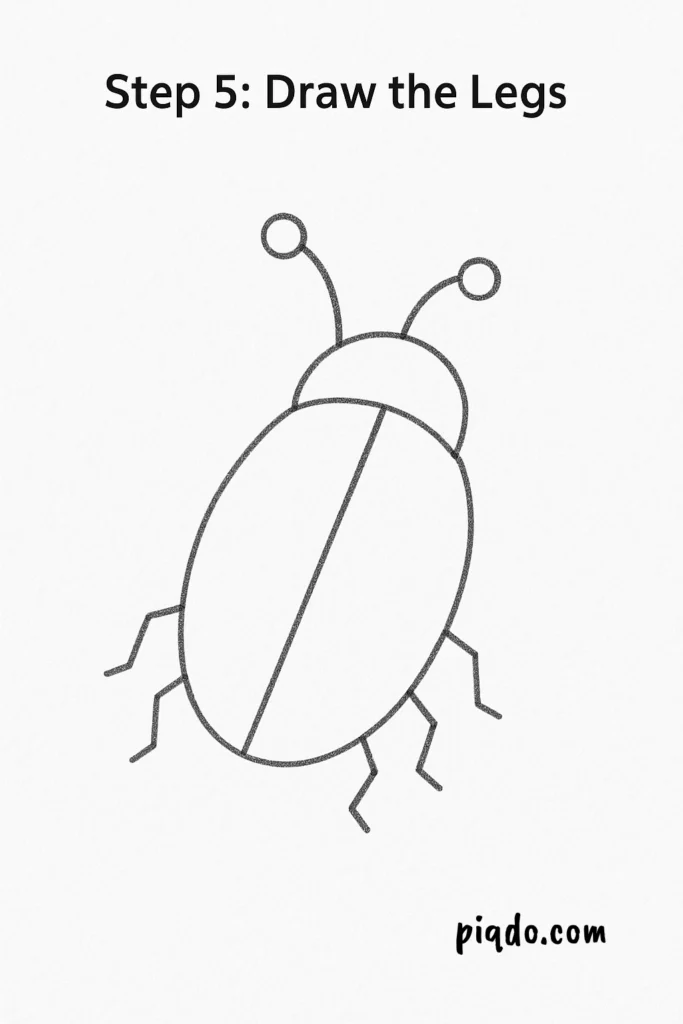
Step 5: Draw the Legs
Draw three short legs on each side of the ladybug’s body. Keep them simple — just little lines with tiny feet! 🚶♀️
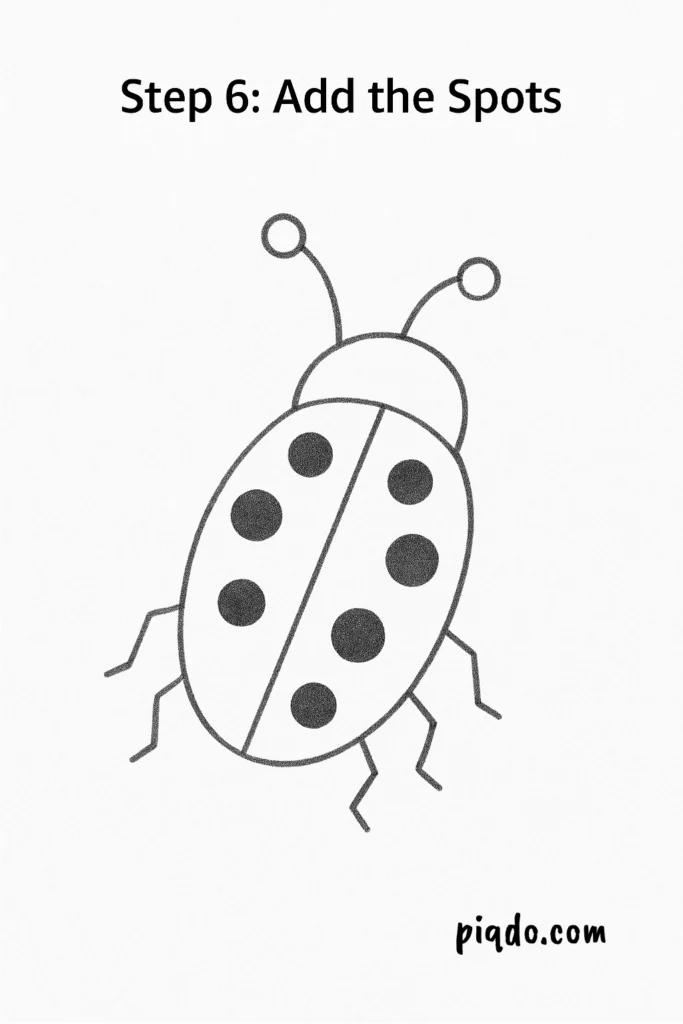
Step 6: Add the Spots
Now for the fun part! Draw several small circles or ovals on each wing for the ladybug’s spots. You can make them big or small — it’s up to you! ⚫⚪
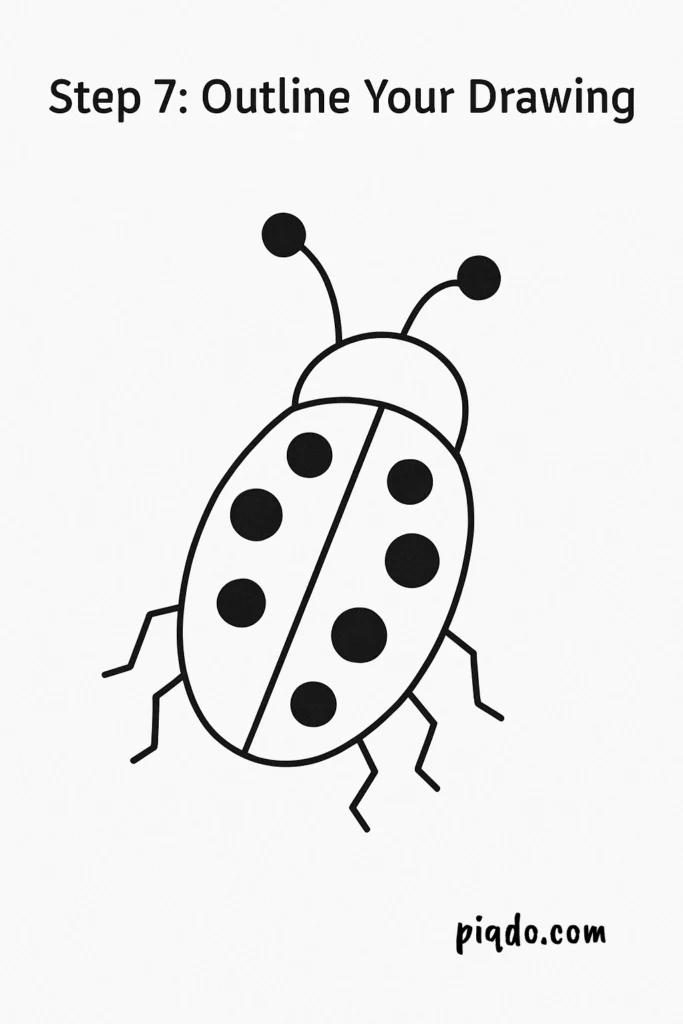
Step 7: Outline Your Drawing
Carefully trace over your pencil lines with a black pen or marker. This will make your ladybug stand out! 🖍️
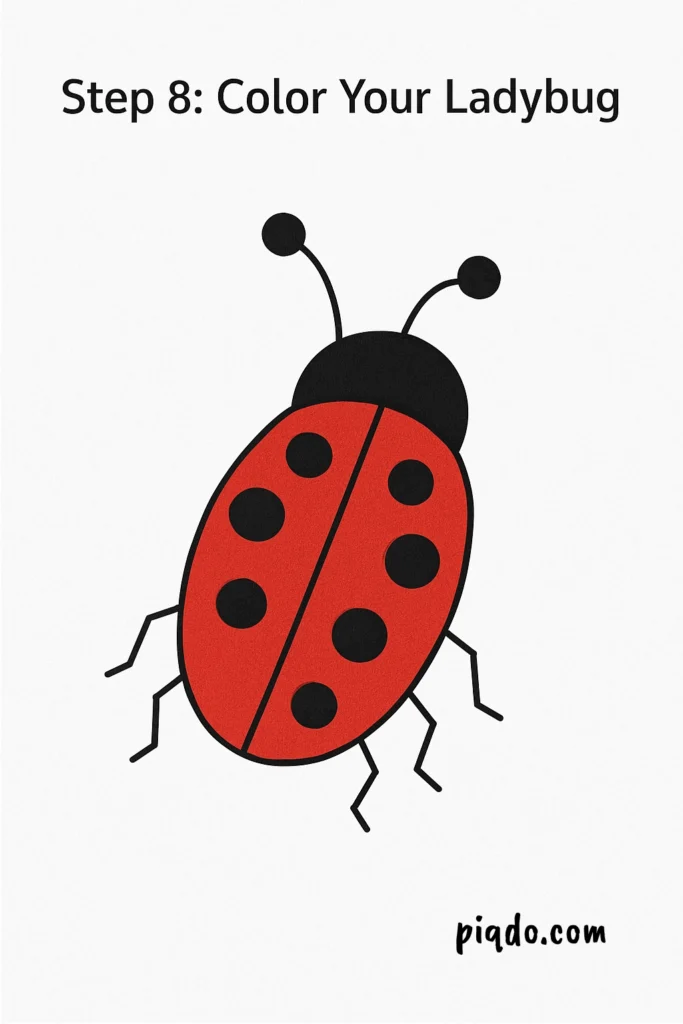
Step 8: Color Your Ladybug
Color the wings bright red and fill in the spots, head, antennae, and legs with black. Your ladybug will look cheerful and ready to fly! ❤️🖤
🌟 Final Tips
- If you want, you can add a background like leaves or flowers! 🌸🍀
- Try drawing a whole group of ladybugs in different sizes for a fun scene.
- Don’t worry if it’s not perfect — ladybugs are all unique, just like your art! ✨
Now that you know how to draw a ladybug, why not try drawing other cute bugs too? 🐝🦋 Keep practicing and, most importantly, have fun! 🎉