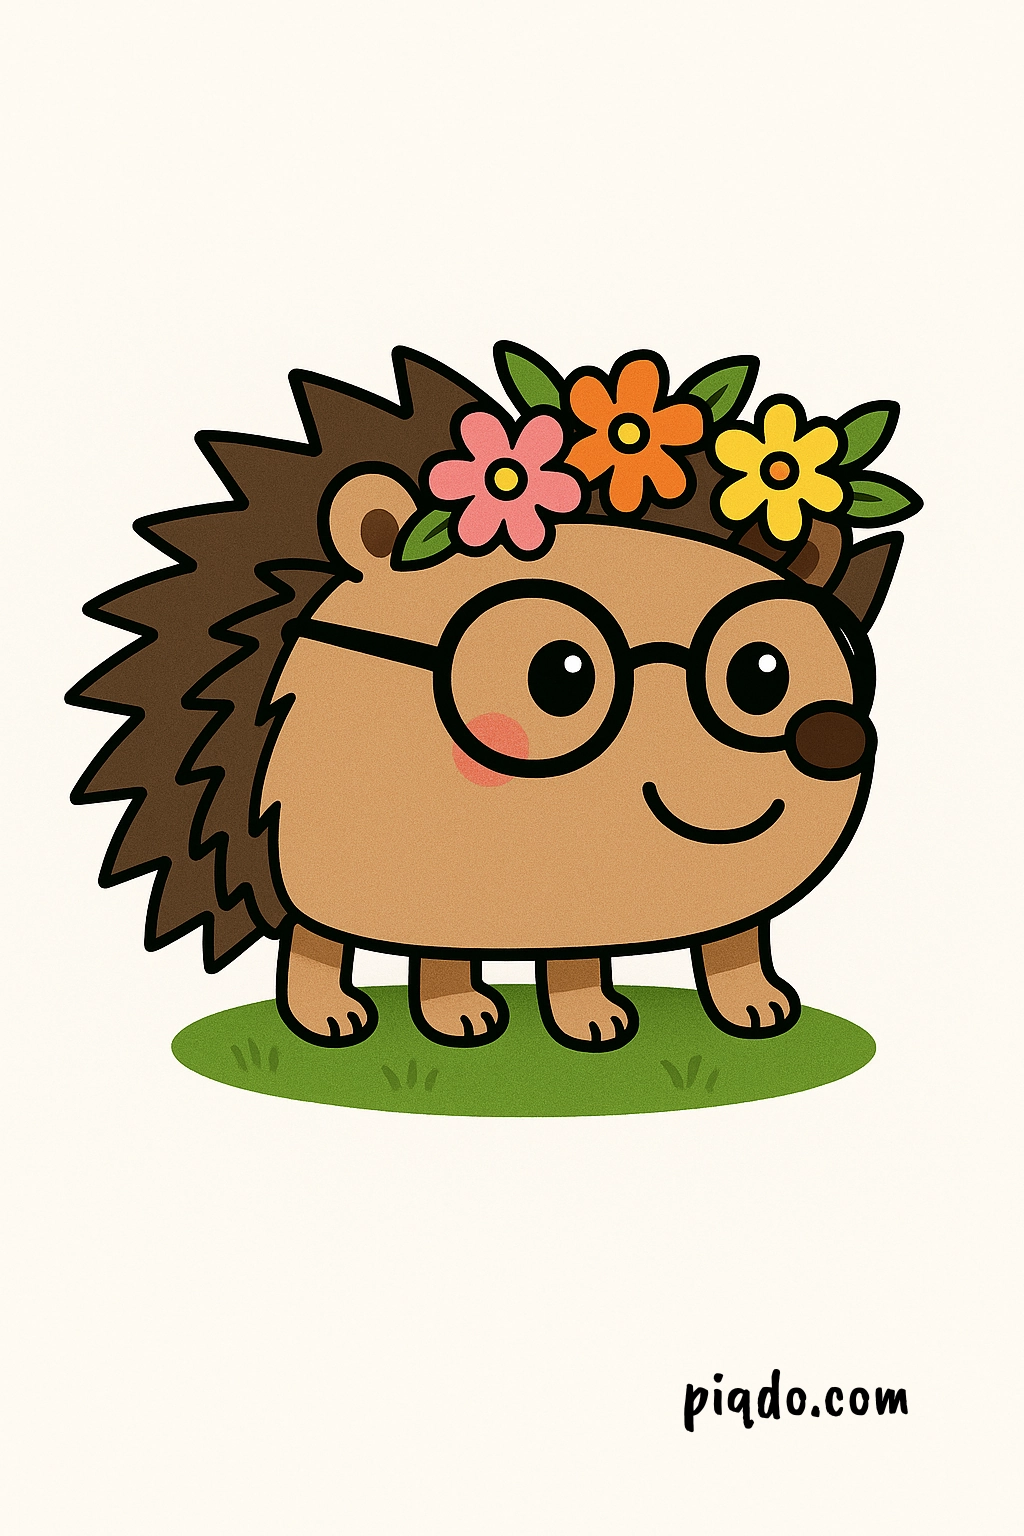
Want to learn how to draw one of the cutest little forest creatures? In this beginner-friendly tutorial, you’ll discover how to draw a hedgehog step by step. With just a pencil and some creativity, you’ll have a spiky friend ready to show off in no time!
✏️ Materials Needed
Before we begin, gather your drawing tools:
- Pencil
- Eraser
- Black pen or fine liner
- Drawing paper
- Colored pencils, crayons, or markers (optional)
🖍️ Step-by-Step Instructions
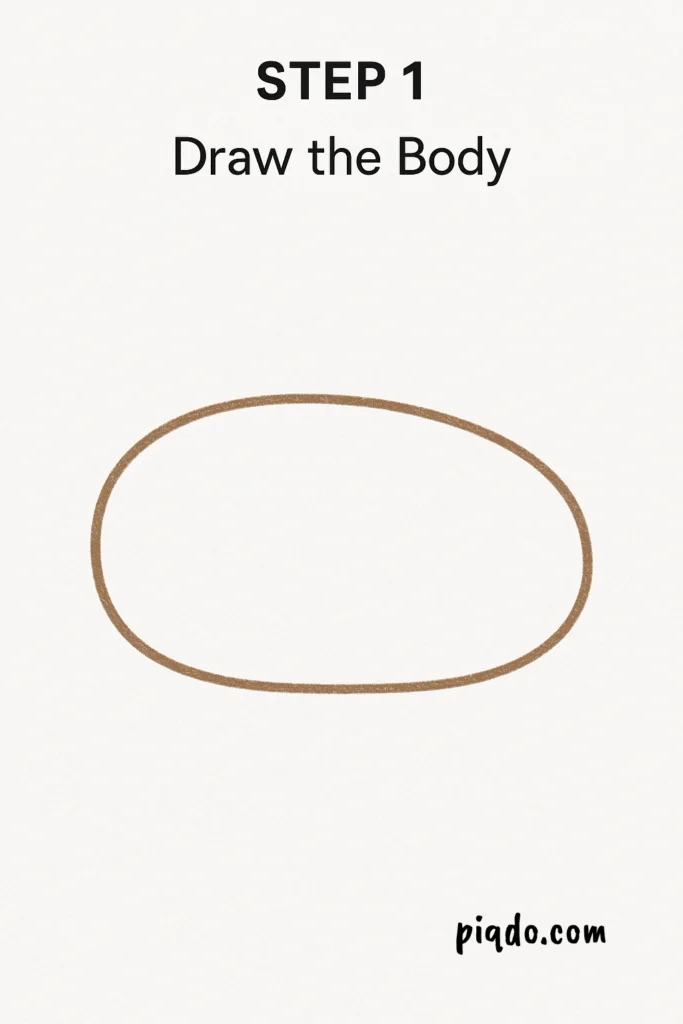
🟤 Step 1: Draw the Body
Start by sketching a large horizontal oval. This will be the main shape for the hedgehog’s body. Flatten one side a little to make room for the face.
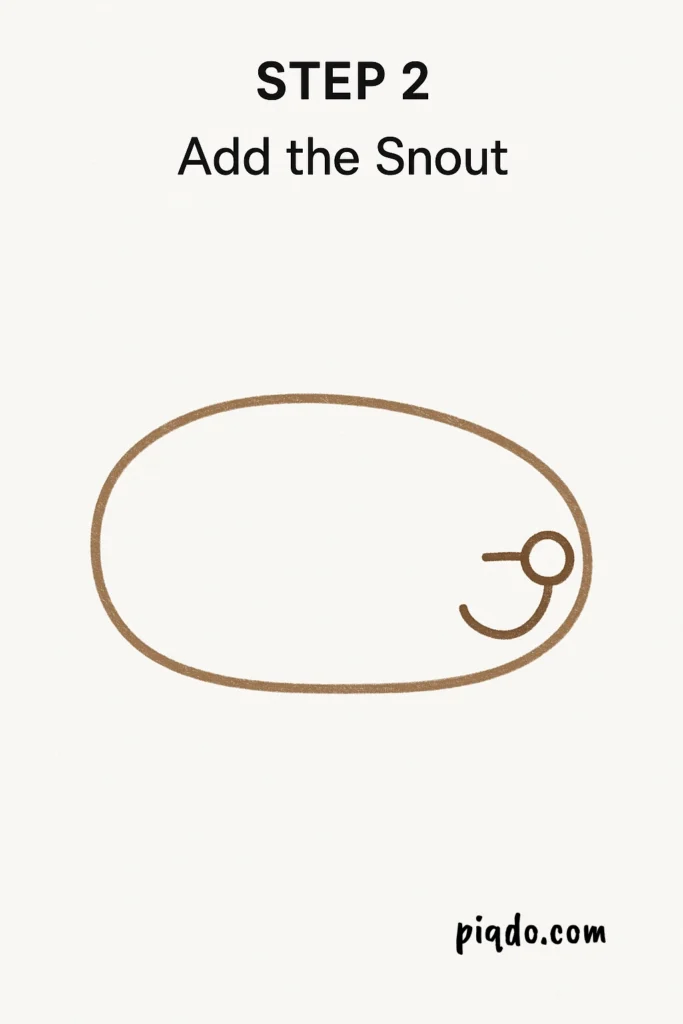
🟤 Step 2: Add the Snout
On the flat side of the oval, draw a small rounded bump that sticks out—this is the snout. Add a tiny circle at the end for the nose, and a curved smile underneath.
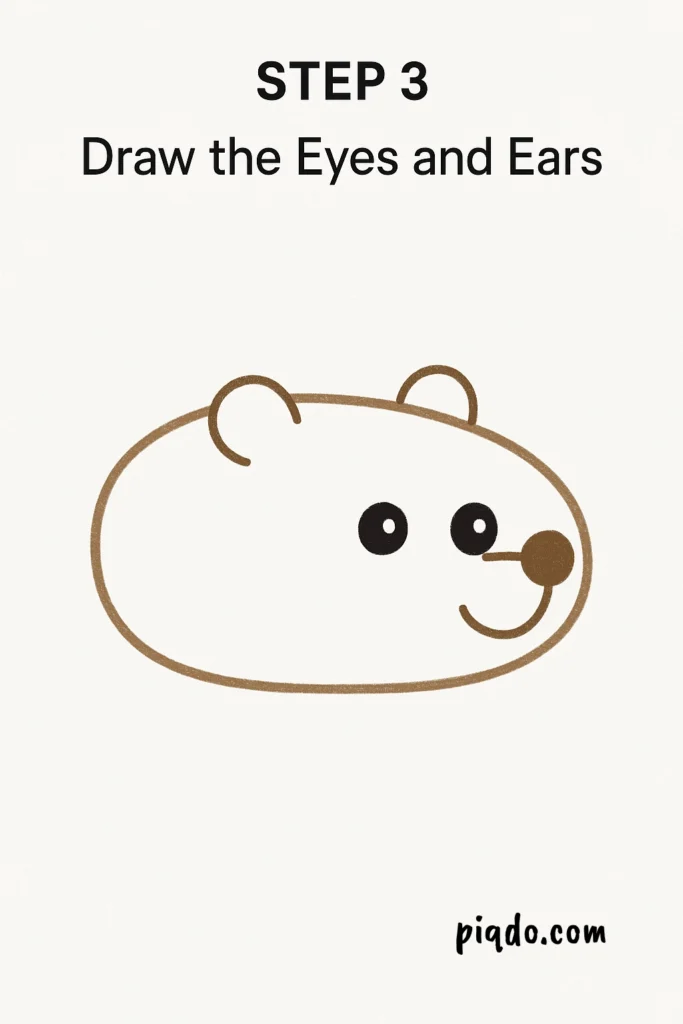
🟤 Step 3: Draw the Eyes and Ears
Above the snout, draw two small circles for eyes. Shade them in. Then, add two small semi-circles near the top of the body for ears.
🟤 Step 4: Sketch the Legs
Underneath the body, draw four short legs. Keep them simple with rounded lines or little “U” shapes.

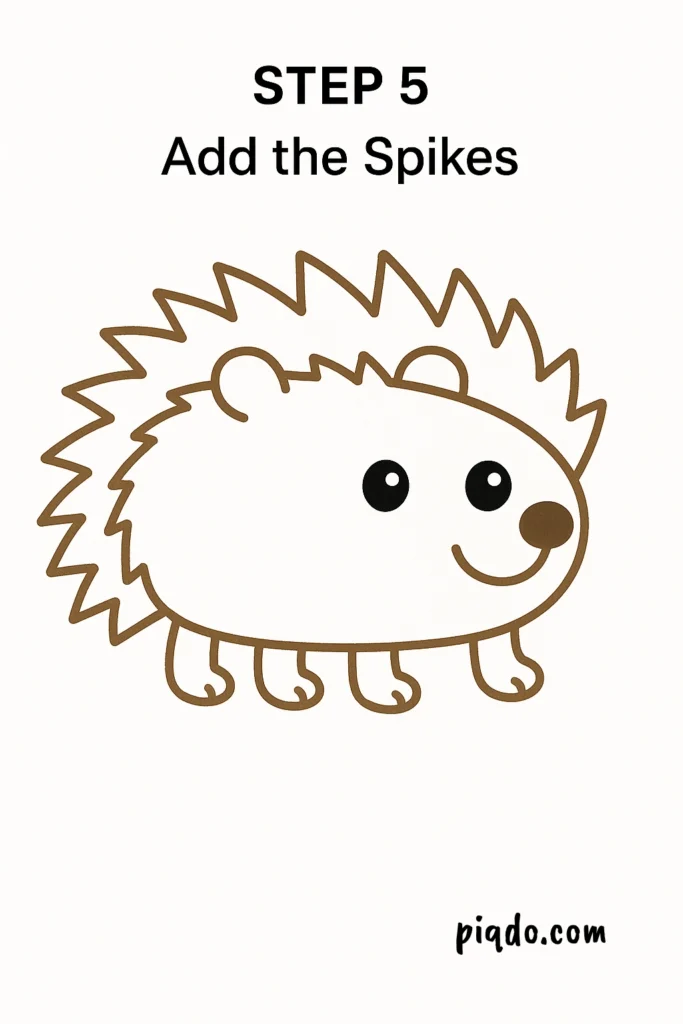
🟤 Step 5: Add the Spikes
Around the top half of the oval, draw zigzag or jagged lines to create the hedgehog’s spiky back. Make them soft and slightly curved to keep the look cute and friendly.
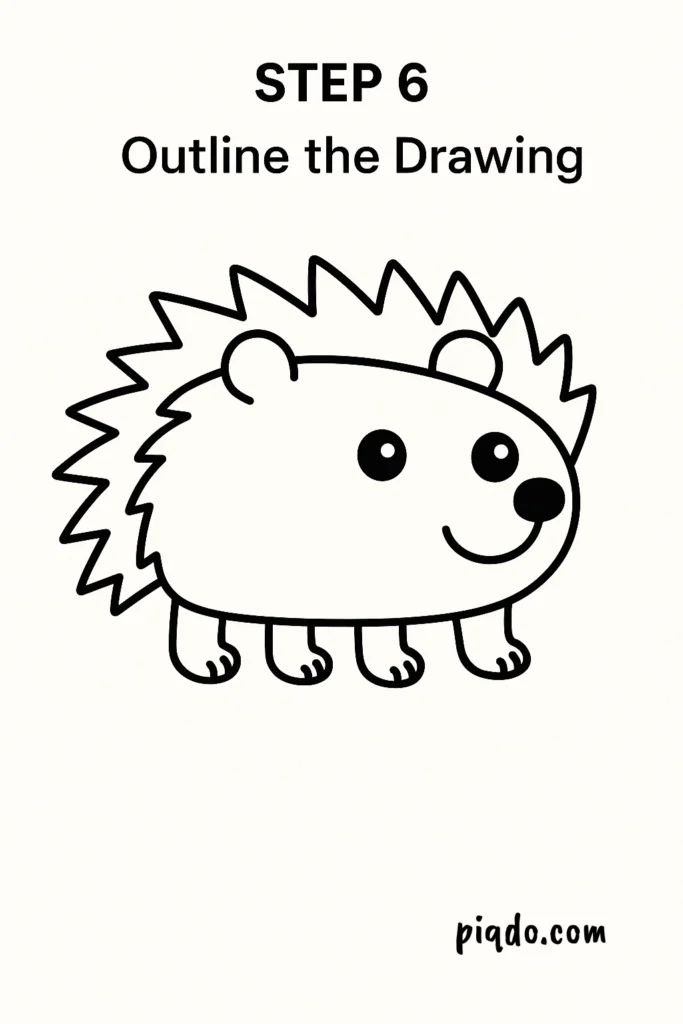
🟤 Step 6: Outline the Drawing
Use a black pen or marker to trace over your pencil sketch. This makes your lines pop and gives your drawing a polished look.
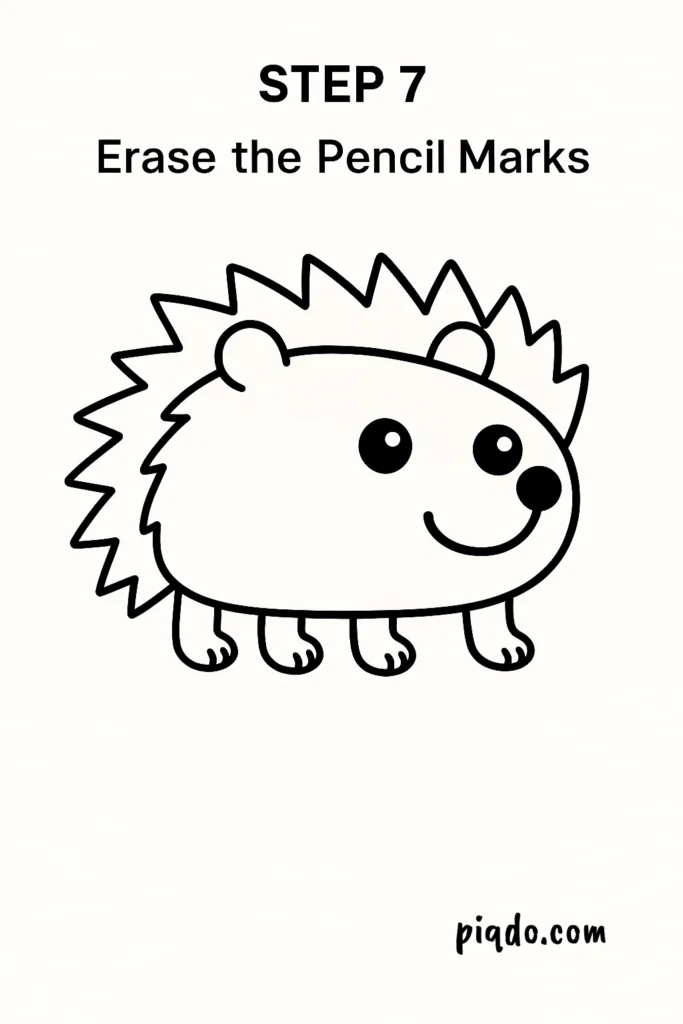
🟤 Step 7: Erase the Pencil Marks
Once the ink is dry, gently erase all visible pencil marks to clean up the drawing.
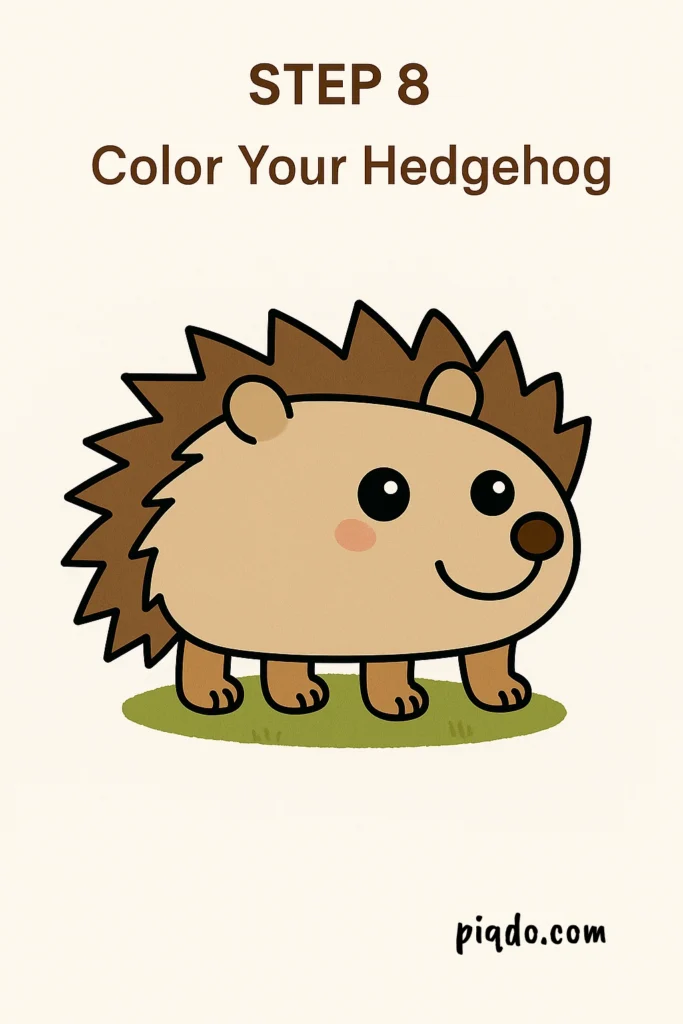
🟤 Step 8: Color Your Hedgehog
Use shades of brown, gray, or beige to color your hedgehog. Darken the spikes and add a blush of pink for the cheeks or grass under its feet for extra flair.
🎉 Final Touch
You did it! You’ve just drawn a super cute hedgehog! 🦔 Feel free to personalize your hedgehog with accessories like glasses, a flower crown, or even a tiny backpack. The more you draw, the more your creativity will shine!