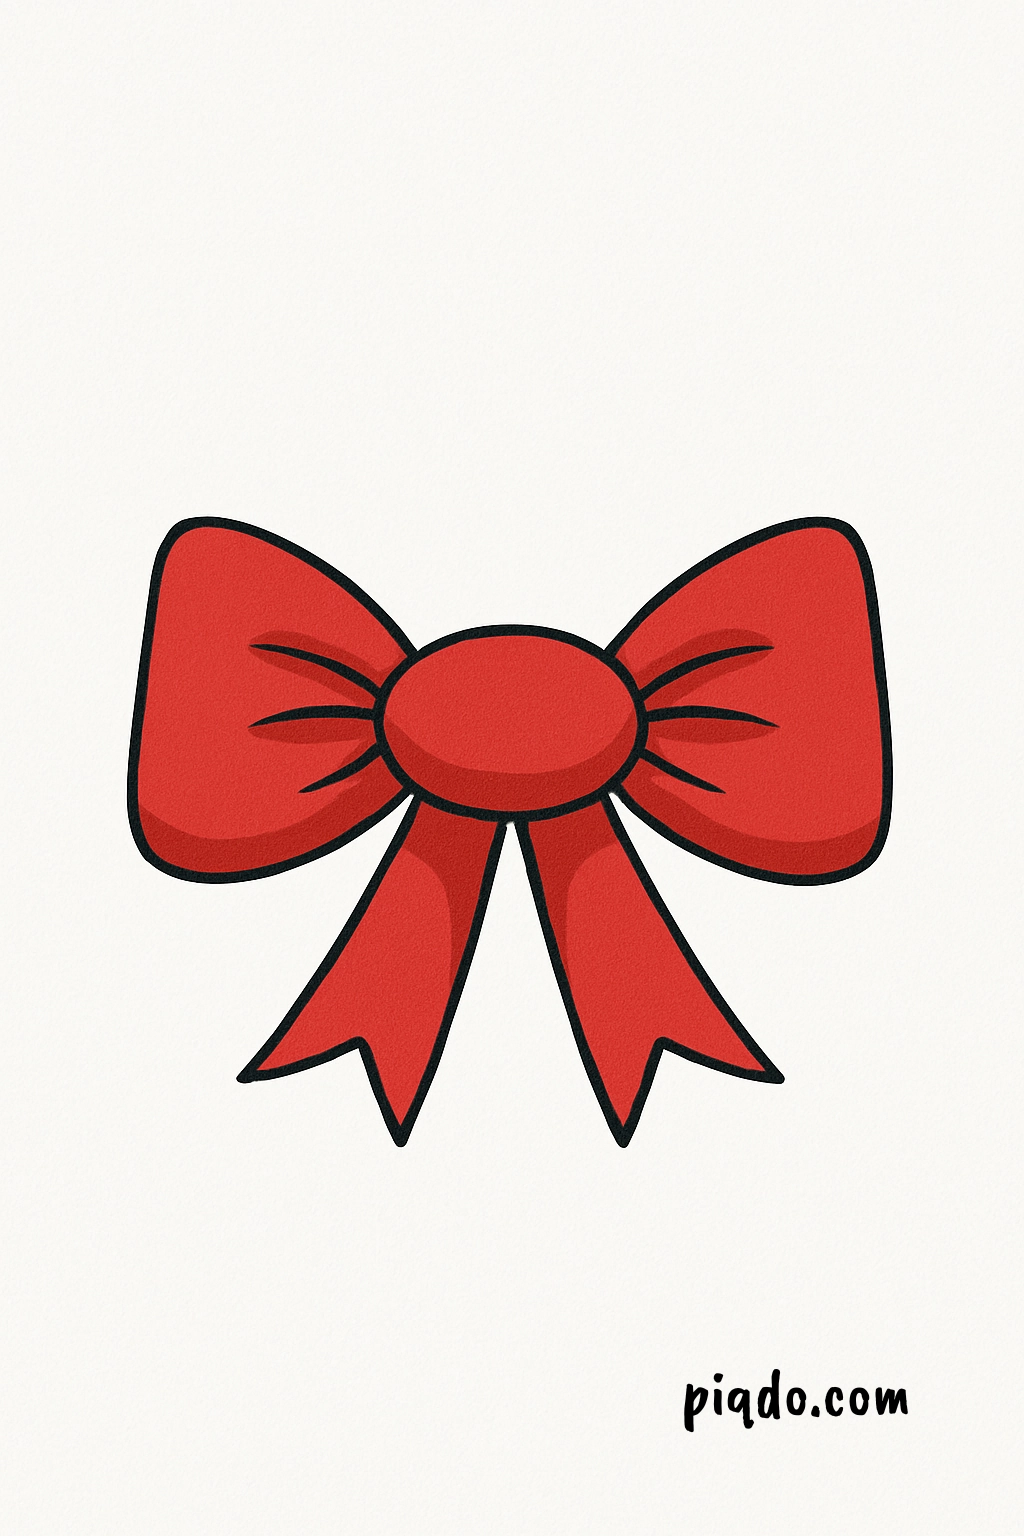
Drawing a bow is a simple yet rewarding activity that helps improve your sketching skills while adding charm to any art project. Whether you’re decorating a card, creating fashion sketches, or doodling for fun, this tutorial will guide you through drawing a perfect bow step by step. 🎨✏️
🧰 Materials Needed
Before you start, gather the following:
- Pencil ✏️
- Eraser 🩶
- Drawing paper 📄
- Black pen or fine liner 🖊️
- Colored pencils or markers (optional) 🎨
🖍️ Step-by-Step Drawing Instructions
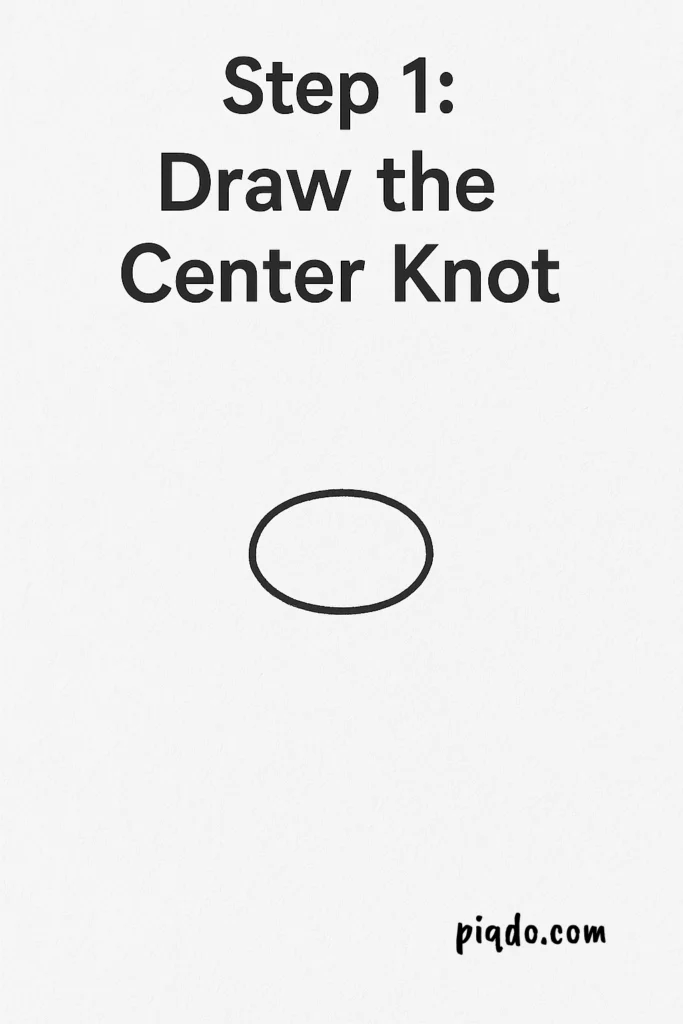
✅ Step 1: Draw the Center Knot
Start with a small circle or oval in the center of your paper. This is the knot of your bow.
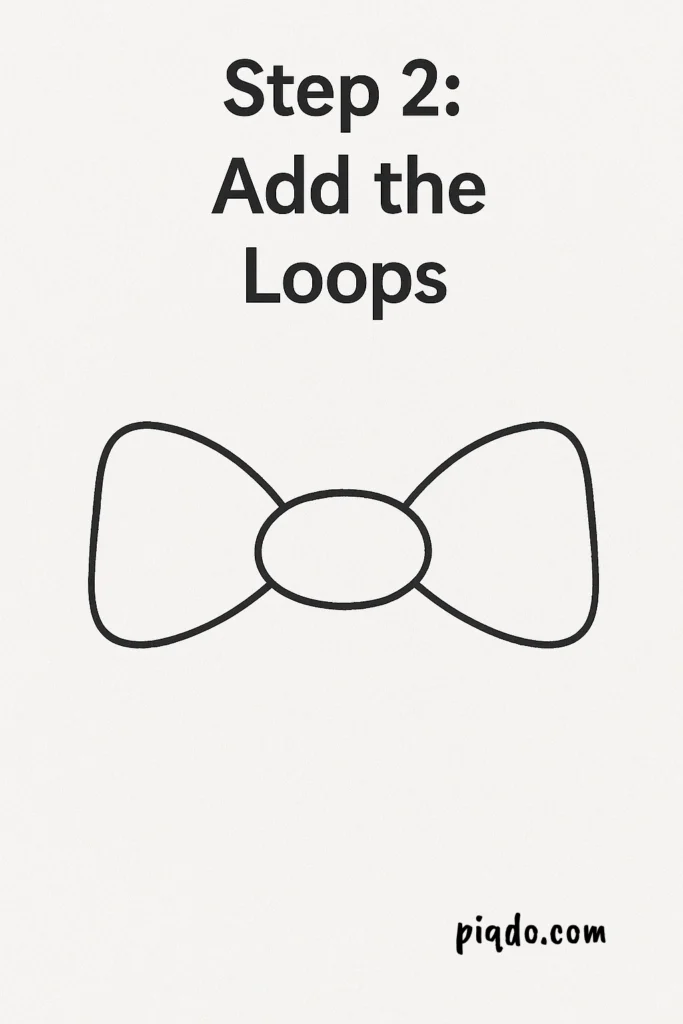
✅ Step 2: Add the Loops
On both sides of the knot, draw large, sideways “D” shapes. These are the bow’s loops. Try to make them symmetrical.
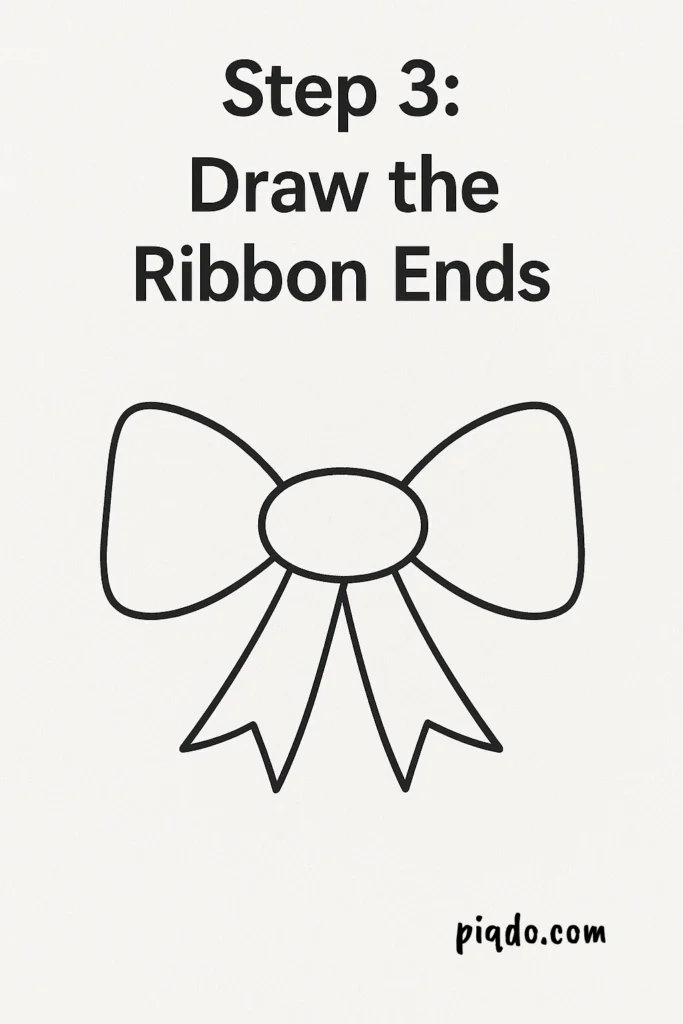
✅ Step 3: Draw the Ribbon Ends
Below the knot, sketch two ribbon tails that hang down. Use V-shapes that gently flare out to look like hanging fabric.
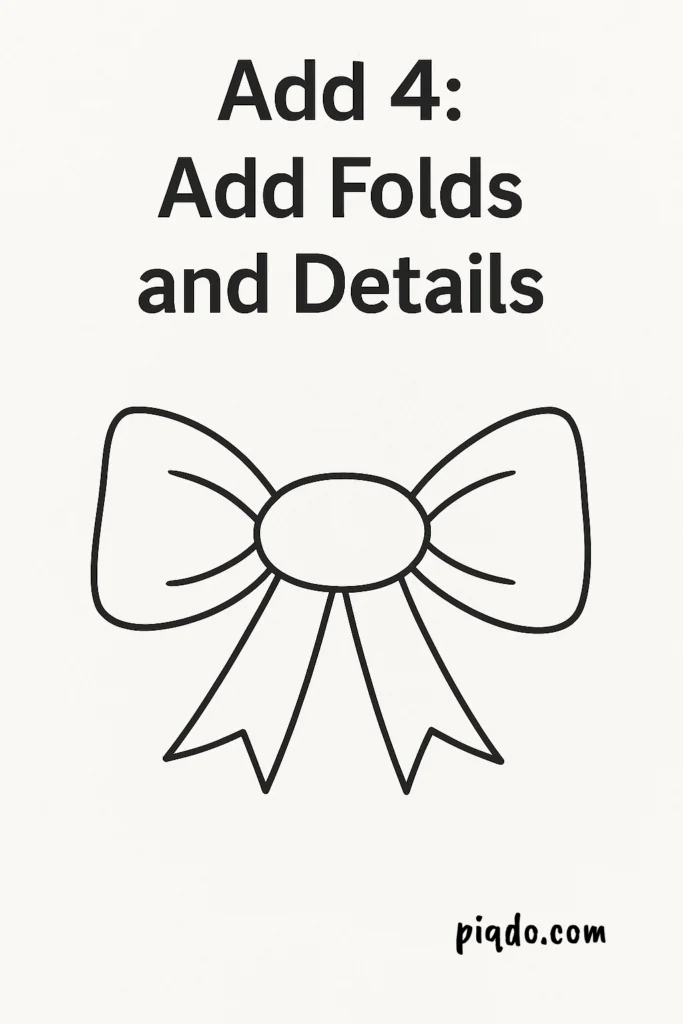
✅ Step 4: Add Folds and Details
Add a curved line inside each loop to suggest folds. This adds depth and a 3D effect to your bow.
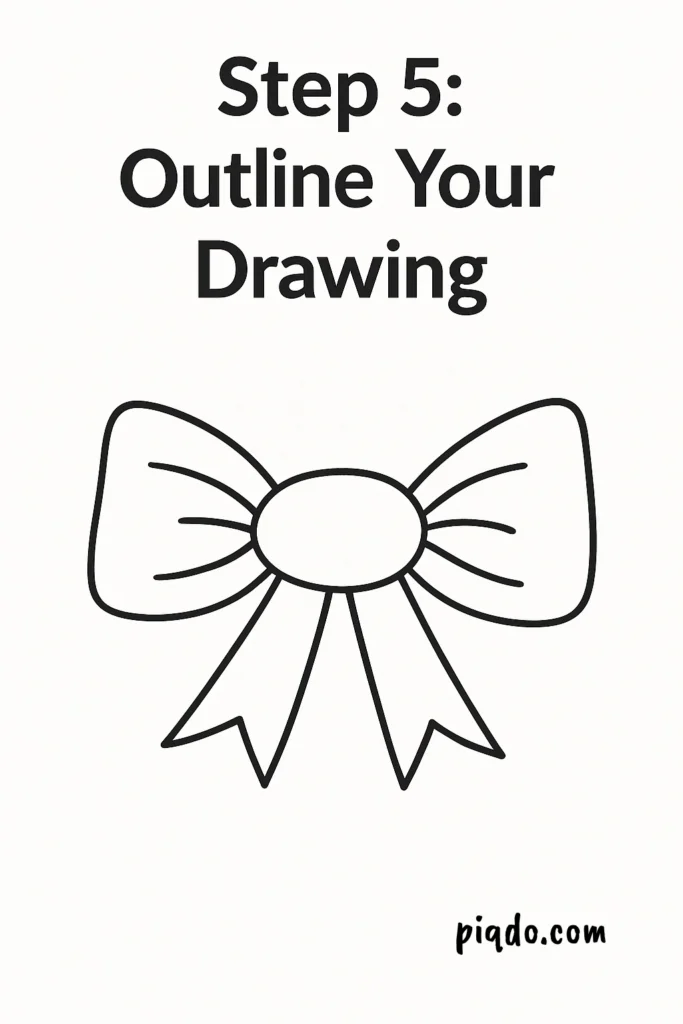
✅ Step 5: Outline Your Drawing
Once your sketch looks good, trace over it with a black pen. Wait for the ink to dry, then erase any pencil marks.
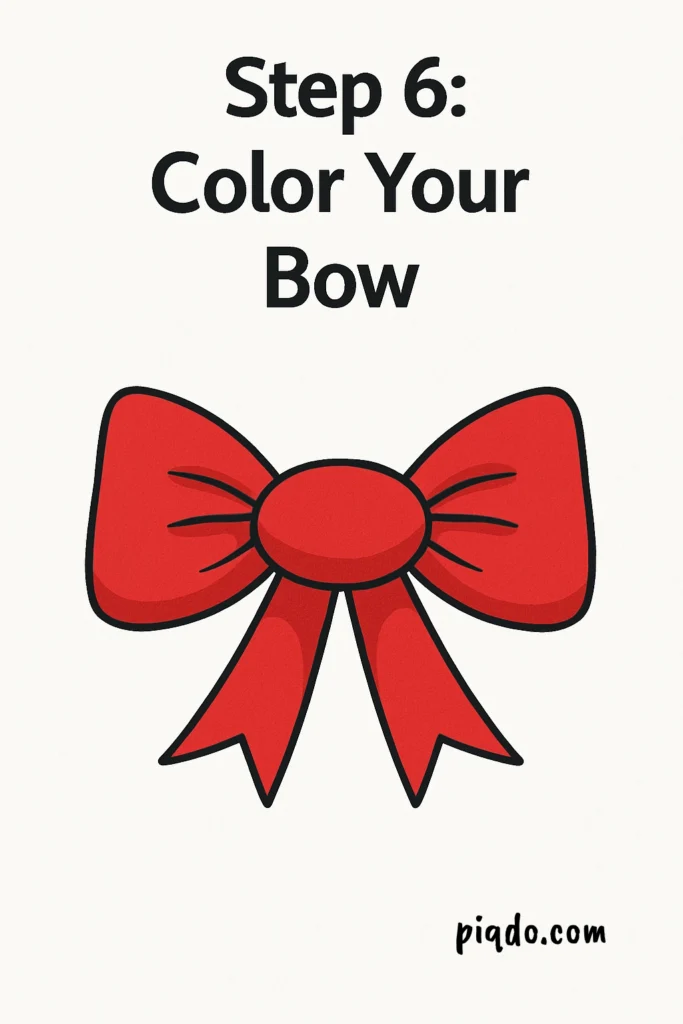
✅ Step 6: Color Your Bow
Now it’s time to color! Use any shades you like—classic red, pastel pink, bold blue, or even rainbow colors. Add shading for extra flair.
🌟 Pro Tips
- ✨ Keep the loops round and full for a cute look.
- 🎁 Add patterns like polka dots or stripes to personalize your bow.
- 🖌️ Practice on scrap paper to perfect your proportions before finalizing your drawing.
🎉 Conclusion
And that’s it—you’ve just learned how to draw a bow! 🎀 With a bit of practice, you can create bows for gift drawings, cute characters, or even your journal pages. Keep experimenting with shapes, colors, and styles to make each bow uniquely yours. 😊💖