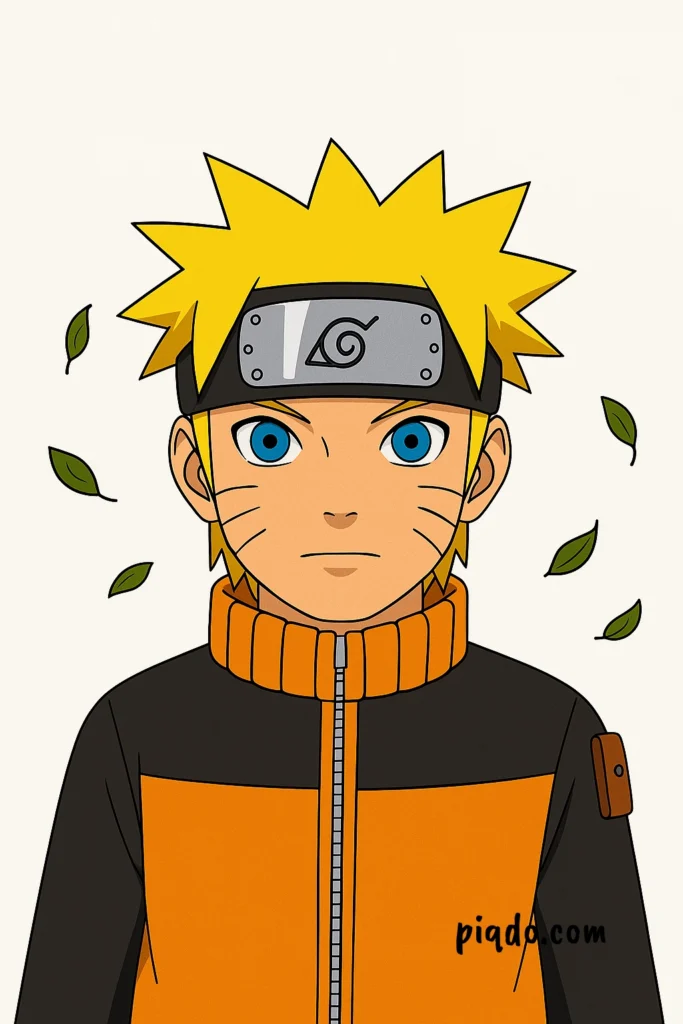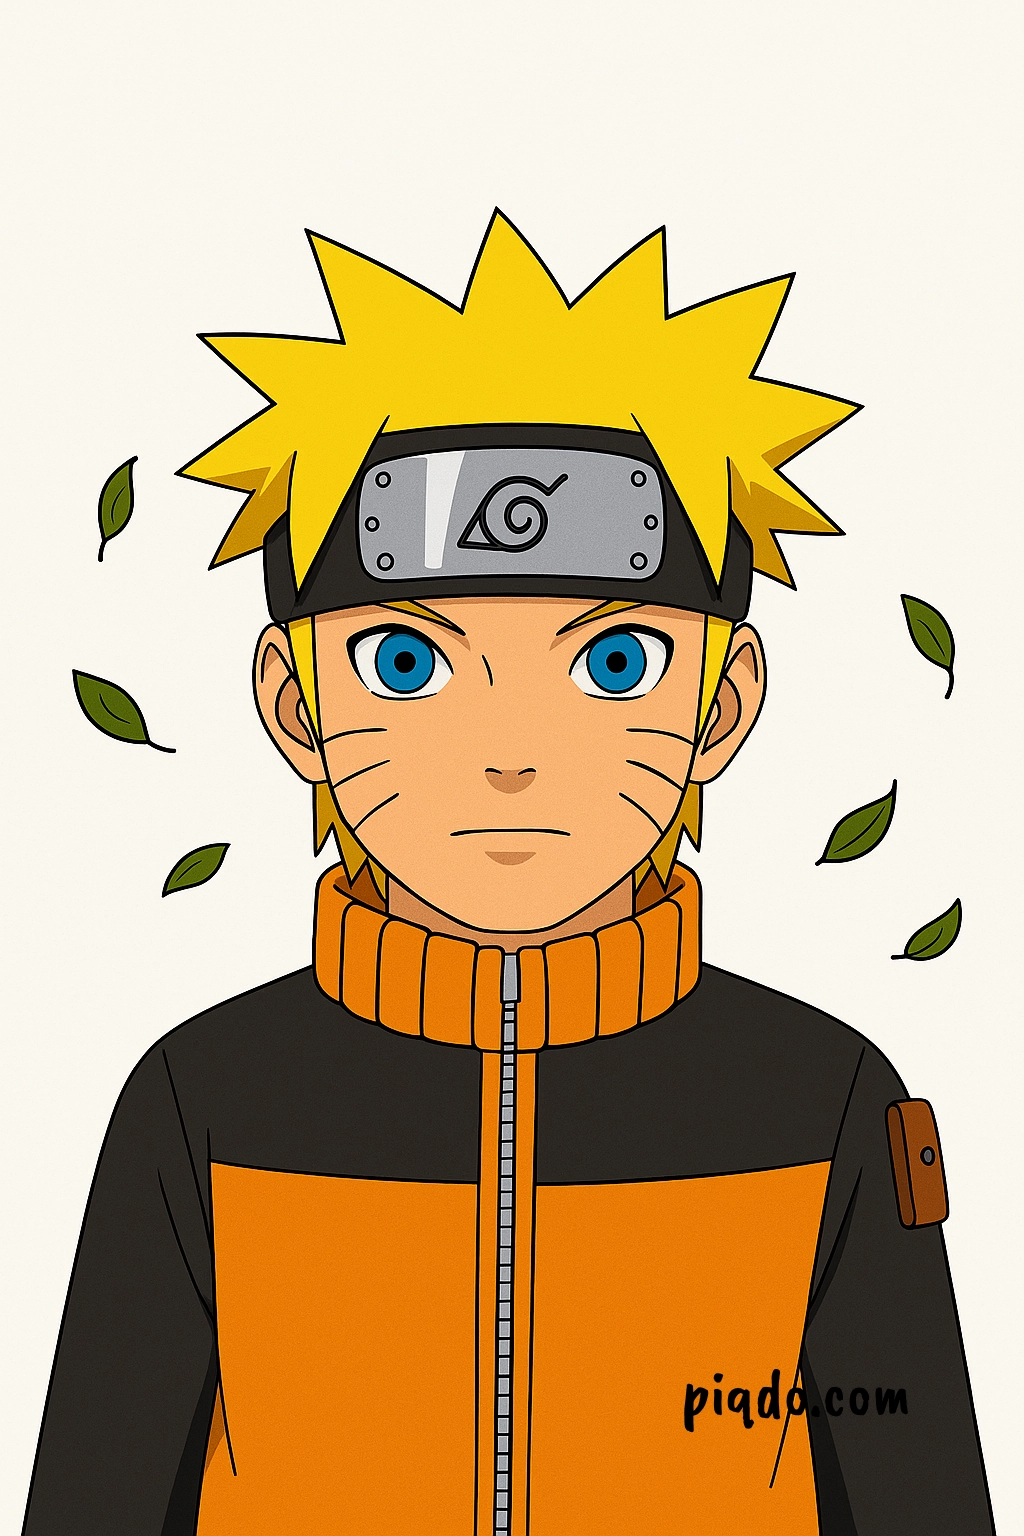
Are you a big fan of Naruto Uzumaki and want to learn how to draw him? You’re in the right place! In this fun and beginner-friendly tutorial, we’ll walk you through each step to bring the famous ninja to life on paper. 🖌️ Whether you’re just starting out or looking to improve your anime art, let’s dive in together!
✍️ Materials Needed
Before we start, gather these simple tools:
- ✏️ Pencil
- 🩹 Eraser
- 🖊️ Black pen or fine liner
- 📄 Drawing paper
- 🎨 Colored pencils or markers (optional)
🧑🎨 Step-by-Step Drawing Instructions
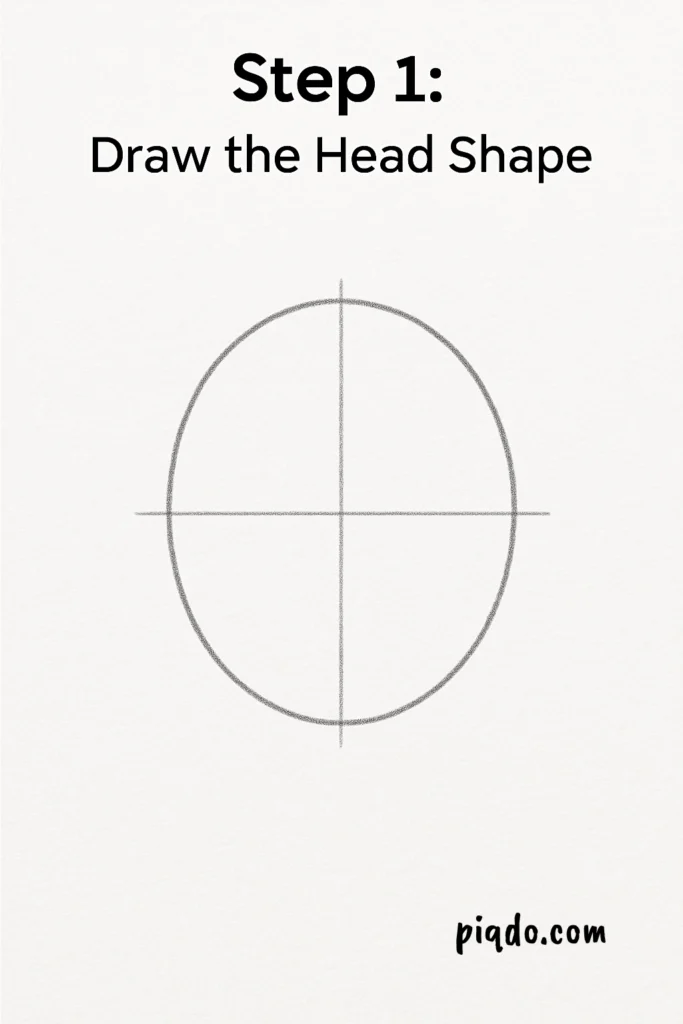
✅ Step 1: Draw the Head Shape
Start with a simple oval for Naruto’s head. Add a horizontal and vertical guideline through the middle to help place his facial features.
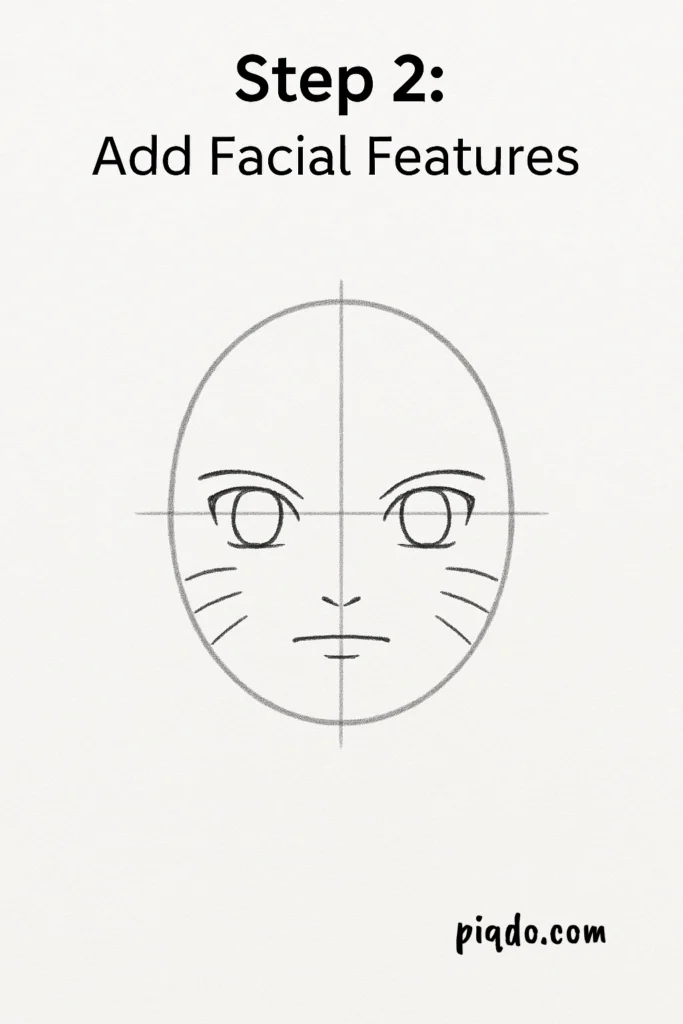
👀 Step 2: Add Facial Features
Use the guidelines to draw his anime-style eyes, nose, and mouth. Don’t forget his signature detail—three whisker marks on each cheek!
💇 Step 3: Sketch the Hair
Naruto’s spiky hair is wild and iconic! Use sharp, jagged lines to sketch the spikes all around the top of the head.

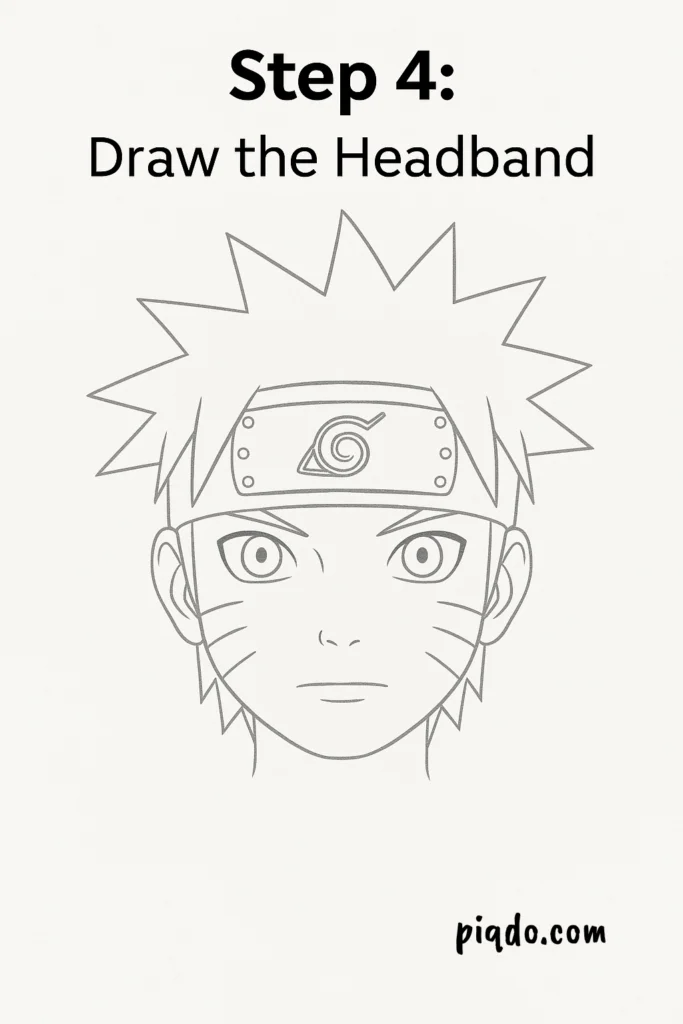
🧢 Step 4: Draw the Headband
Sketch the forehead protector wrapped around his head. Add the Leaf Village symbol (a spiral leaf) in the center of the metal plate.
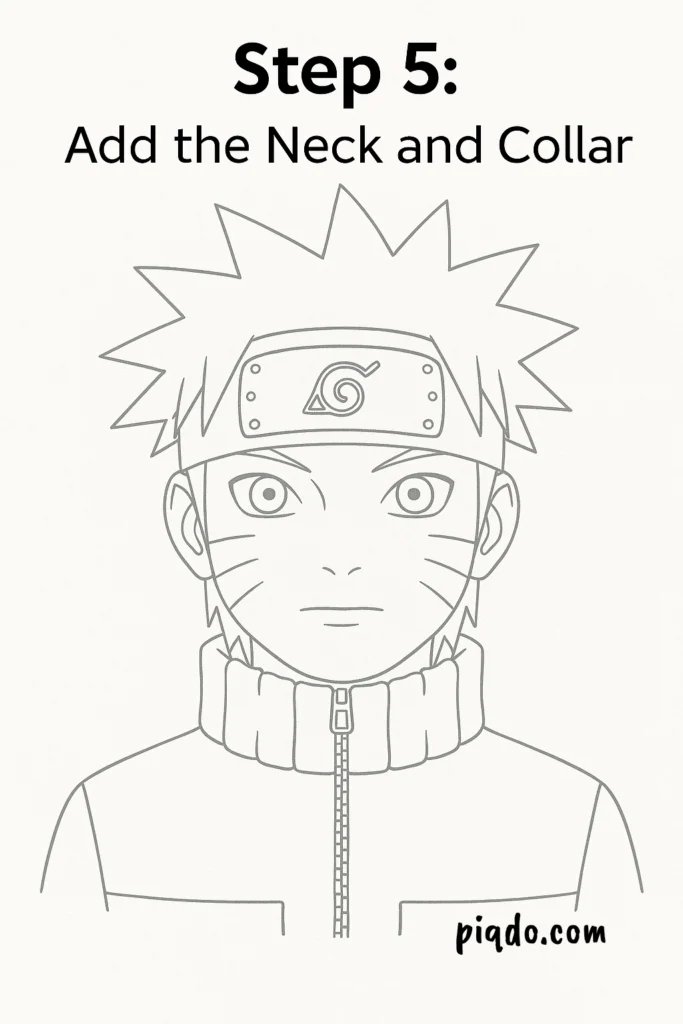
👕 Step 5: Add the Neck and Collar
Draw Naruto’s neck and the high collar of his ninja outfit. Add a thick zipper line and basic jacket details.
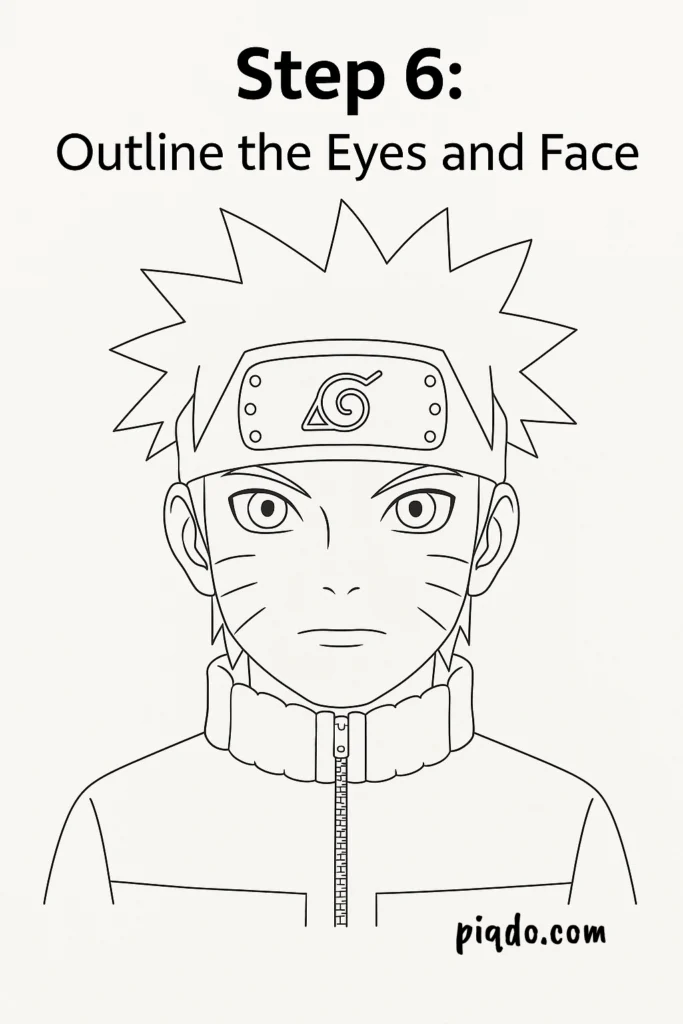
🖋️ Step 6: Outline the Eyes and Face
Now go back and outline the eyes, shape the jawline, and clean up your drawing. Erase any rough construction lines to neaten it up.
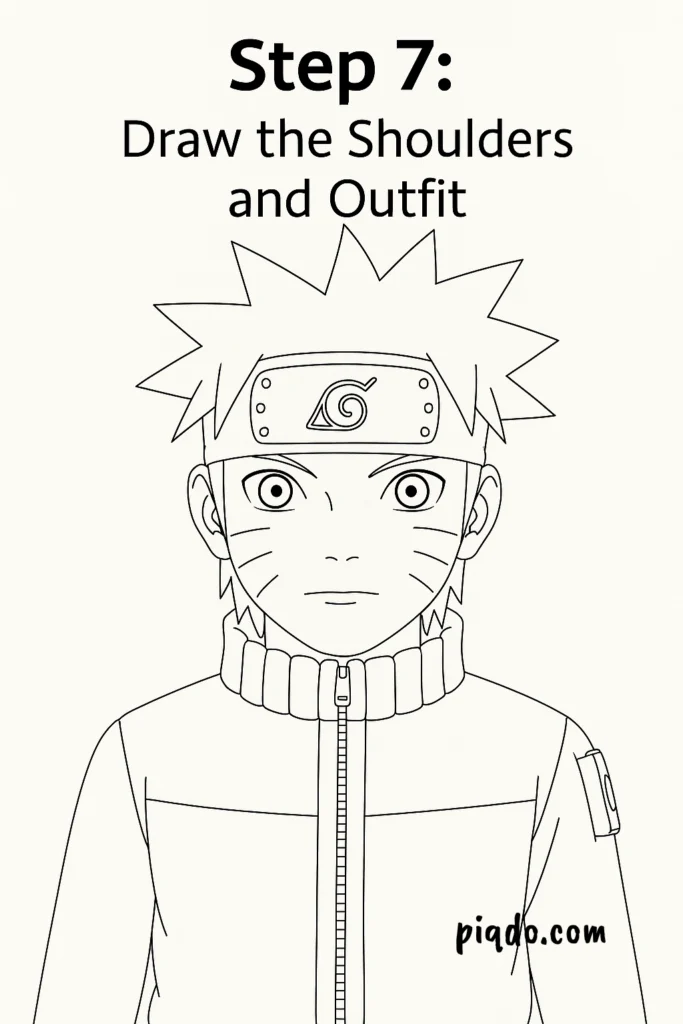
💪 Step 7: Draw the Shoulders and Outfit
Sketch his shoulders and upper body. Include his iconic orange-and-black jacket with sleeve details and a ninja pouch if you’d like.
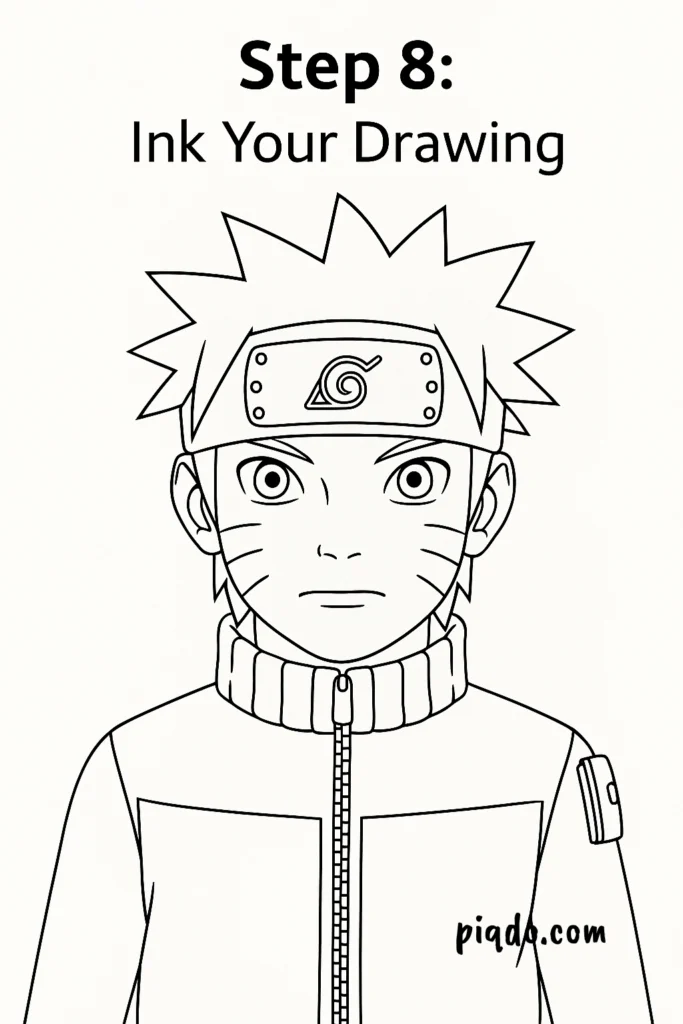
🖊️ Step 8: Ink Your Drawing
Trace over your final sketch with a black pen or fine liner. This gives your drawing a clean, finished look.
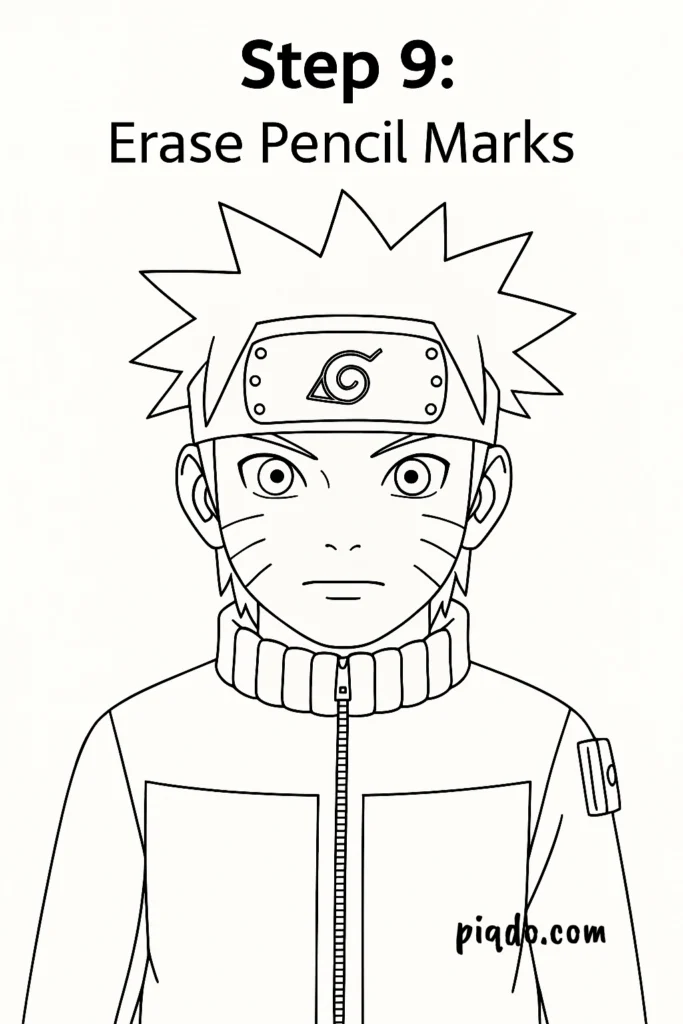
🧽 Step 9: Erase Pencil Marks
Once your ink is dry, gently erase any leftover pencil lines underneath.
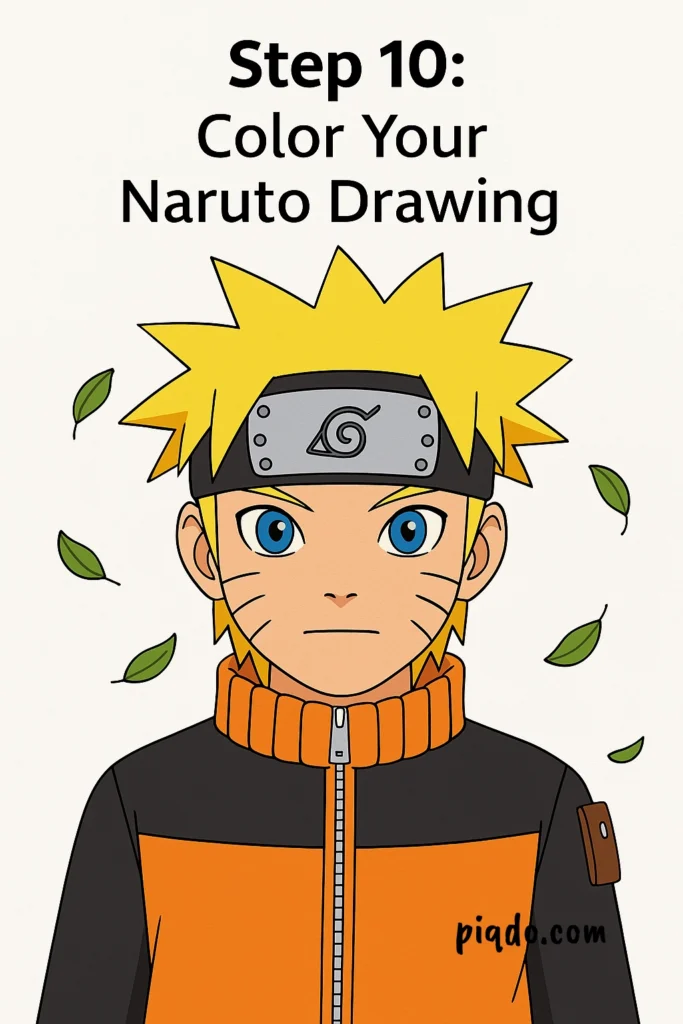
🎨 Step 10: Color Your Naruto Drawing
Now the fun part! Use these colors for an authentic Naruto look:
- Hair: Yellow-blonde
- Eyes: Bright blue
- Jacket: Orange and black
- Headband: Metallic gray with black band
Feel free to add extras like swirling leaves 🍃, a glowing Rasengan 💫, or even a shadow clone in the background!
🧡 Final Tips
Drawing Naruto is both fun and rewarding, especially for anime lovers. Don’t worry if it’s not perfect the first time — every great artist starts somewhere. Practice often, and you’ll see improvement in no time!
Believe it! (Dattebayo!) 🎉