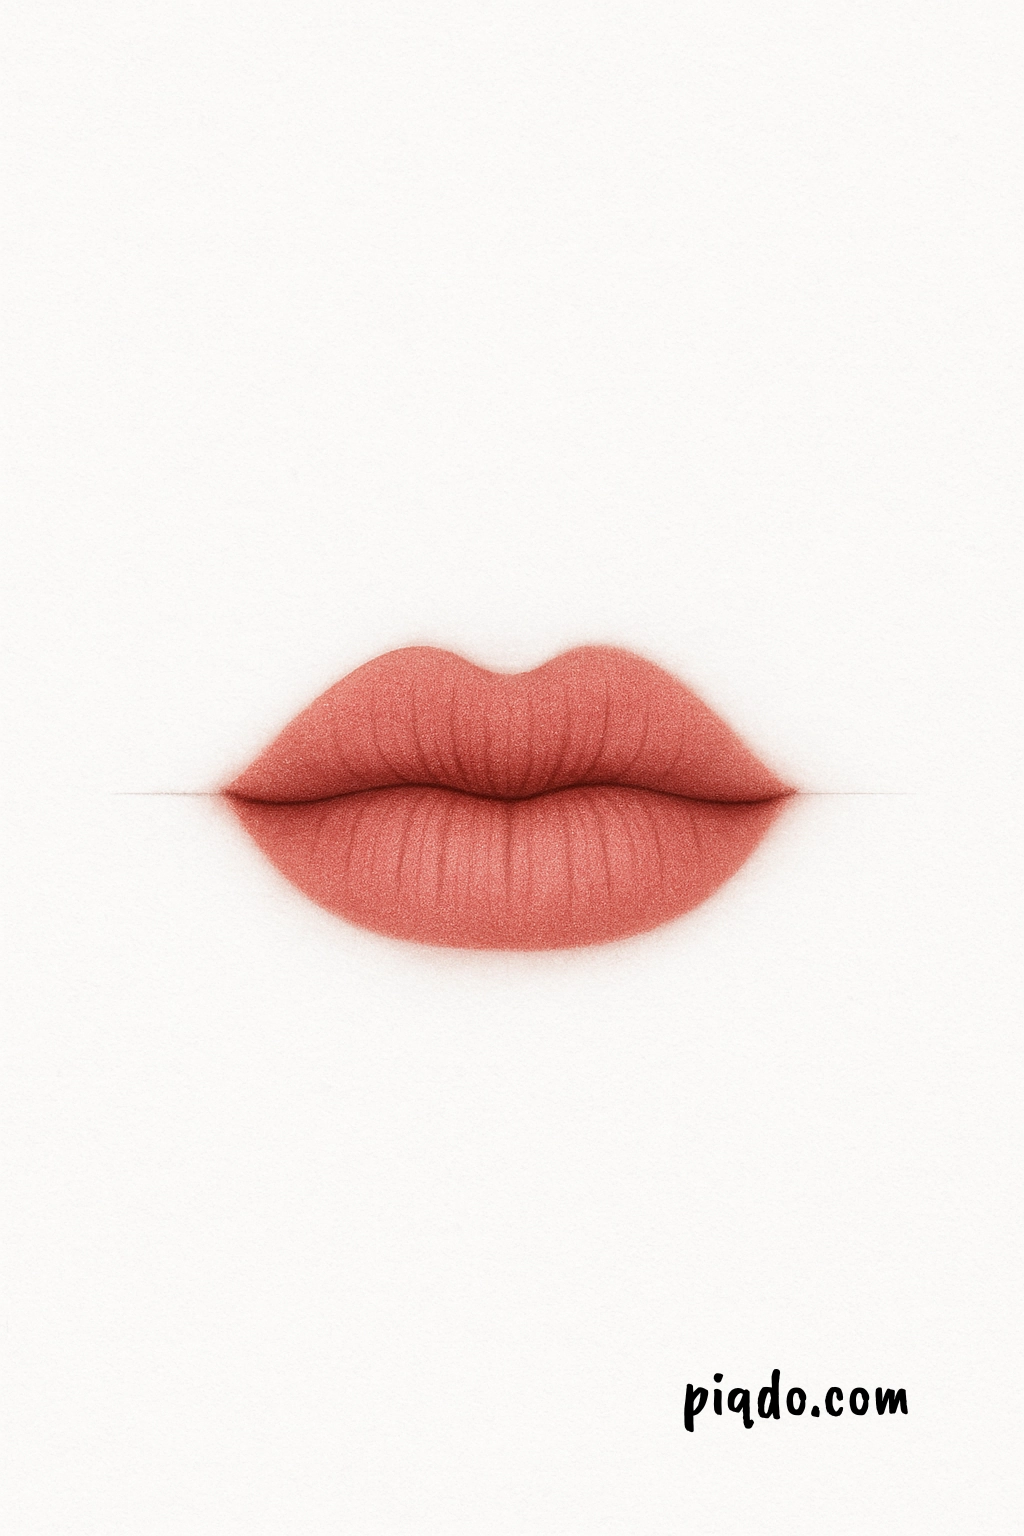
Have you ever wanted to learn how to draw lips that look soft, realistic, and expressive? Whether you’re practicing portraits or just want to improve your drawing skills, lips are a fun feature to sketch! 😊 In this beginner-friendly guide, we’ll break it down into simple steps, so anyone can follow along.
Let’s grab our pencils and get started! 🎨🖌️
🧰 Materials You’ll Need
- A pencil (HB or 2B is perfect!)
- An eraser
- Sketch paper
- A black pen or fine liner (for outlining)
- Colored pencils or markers (optional – for coloring!)
✍️ Step-by-Step Instructions
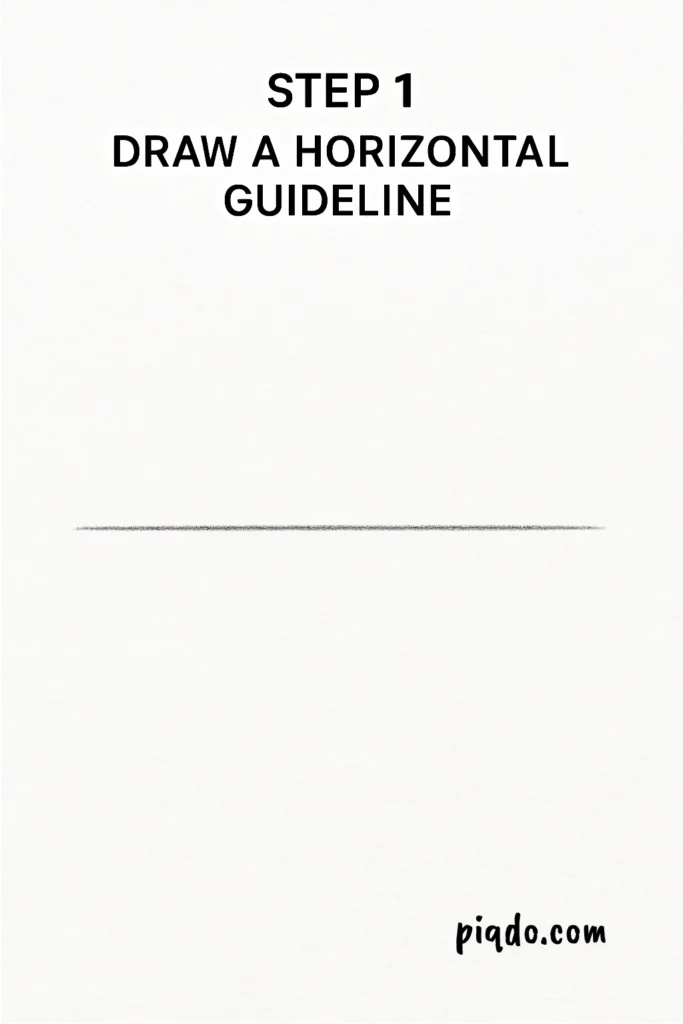
Step 1: Draw a Horizontal Guideline
Start by drawing a light horizontal line across the middle of your paper. This will help you align the lips evenly.
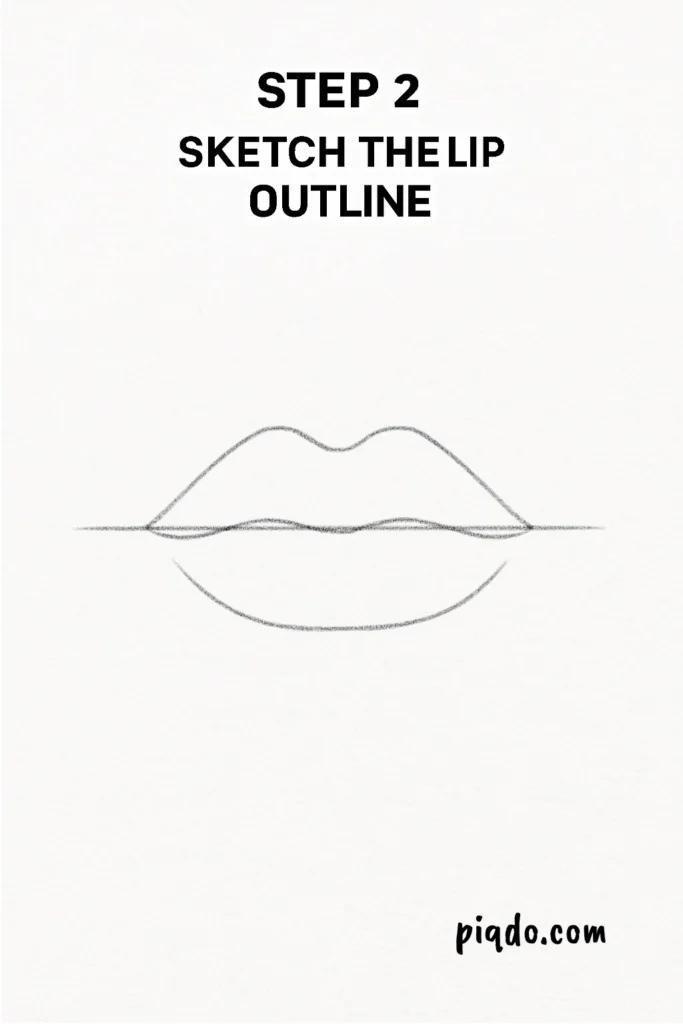
Step 2: Sketch the Lip Outline
Above the line, draw a gentle “M” shape to form the upper lip. Below the line, draw a soft “U” shape to create the lower lip. Don’t worry if it’s not perfect—just keep it light and loose!
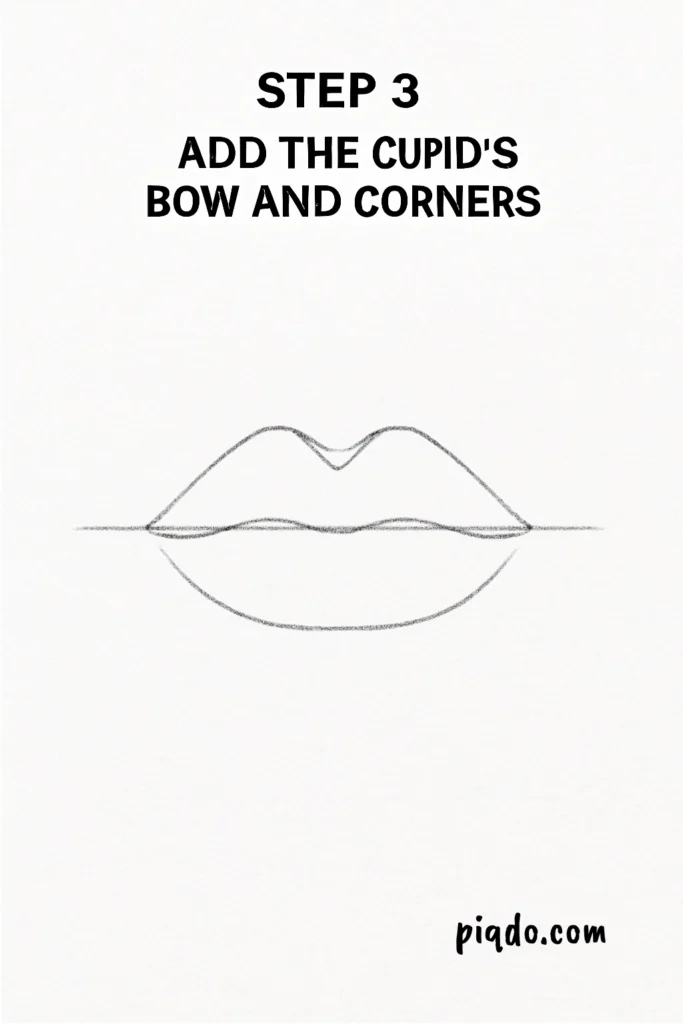
Step 3: Add the Cupid’s Bow and Corners
Refine the top lip by shaping the center into a sharper dip—this is the Cupid’s Bow! Then, gently curve the edges of both lips toward the corners of the mouth.
Step 4: Shape the Bottom Lip
Thicken the bottom “U” shape slightly and blend the corners into the upper lip. This gives it a more 3D appearance.

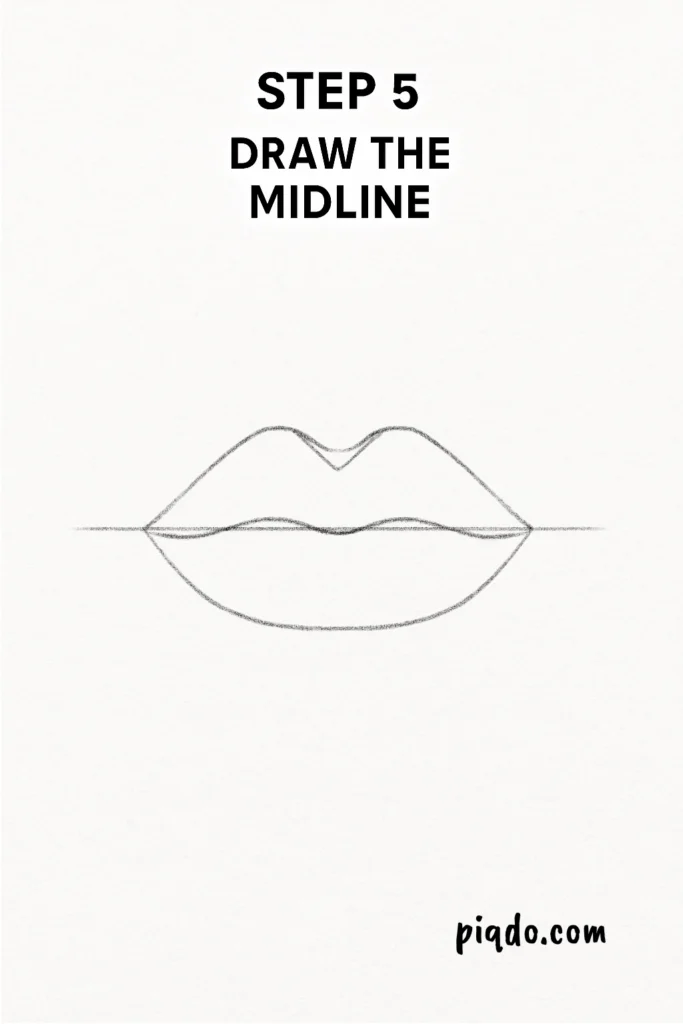
Step 5: Draw the Midline
Add a line between the top and bottom lips. This helps define the mouth and separates the two lips naturally.
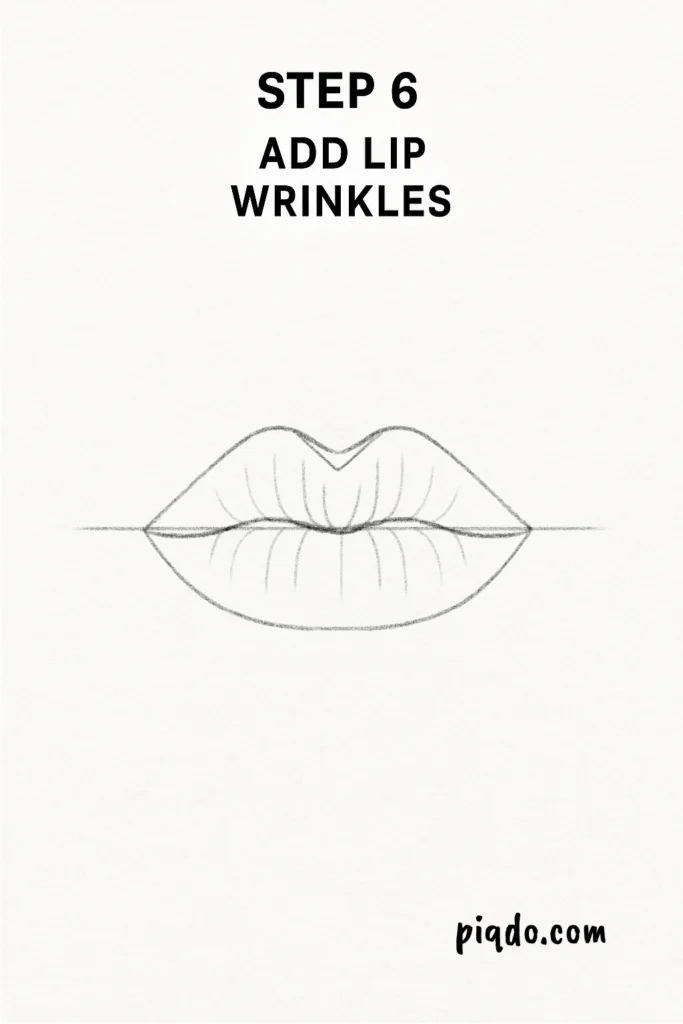
Step 6: Add Lip Wrinkles
Lightly sketch a few vertical lines across the lips to mimic natural lip texture. Keep the strokes soft and faint.
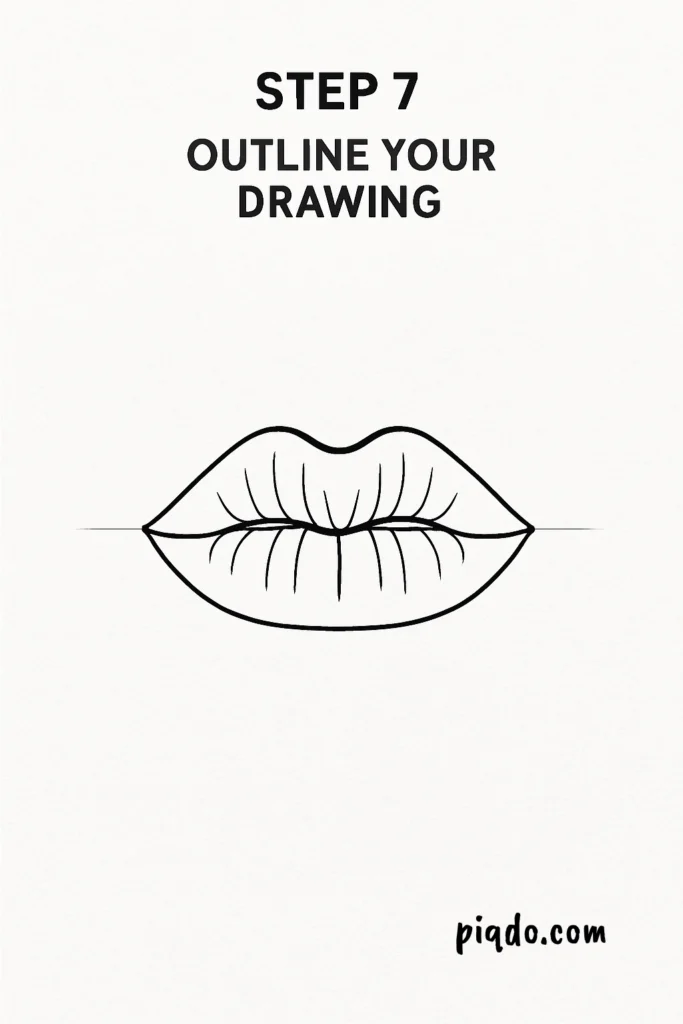
Step 7: Outline Your Drawing
Use a fine liner or darker pencil to trace over your final lines. Carefully erase any extra sketch marks to clean it up. ✨
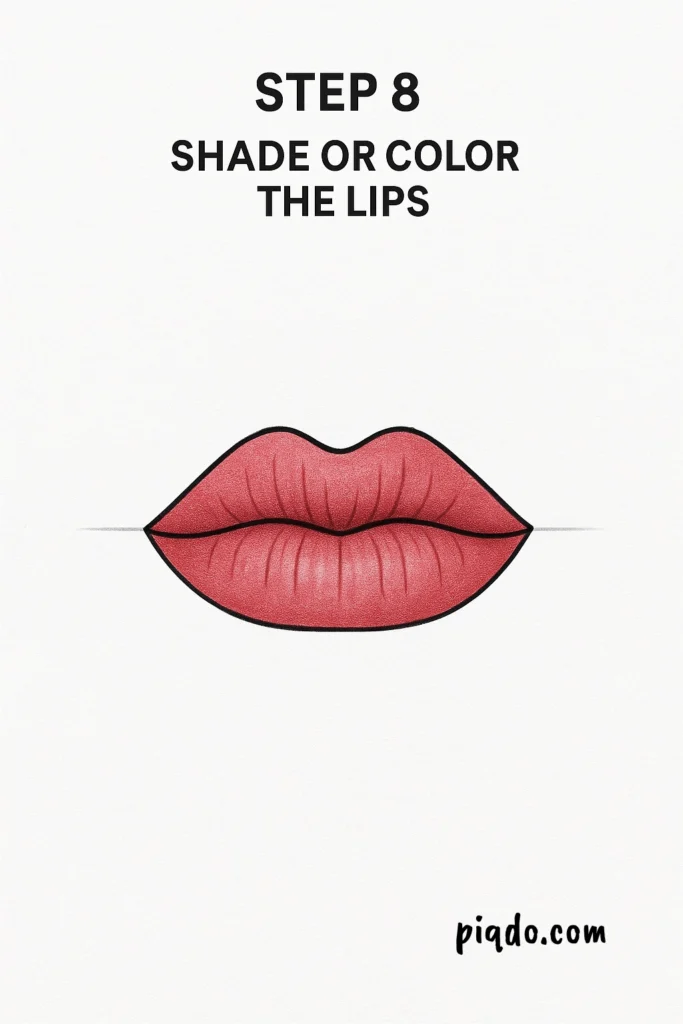
Step 8: Shade or Color the Lips
Add shading to give the lips depth. Shade the corners slightly darker and leave a lighter area in the center for highlight. Or, if you’re feeling colorful, use pinks, reds, or even purples to bring your lips to life! 💄🌈
🪄 Final Tips
- Practice drawing lips from different angles to improve your skill.
- Observe real lips or reference photos to see how light and shadows work.
- Experiment with expressions—smiles, pouts, or even open mouths!
Drawing lips can feel tricky at first, but with a bit of practice, you’ll be creating beautifully expressive mouths in no time! 🖼️❤️ Have fun, and don’t forget—every great artist starts with one line.