If you’ve ever wanted to draw a frog but didn’t know where to begin, you’re in the right place! 🖊️ This tutorial is perfect for beginners and will help you draw a cute, cartoon-style frog in just a few simple steps.
Whether you’re filling a sketchbook, making classroom art, or just doodling for fun, this easy frog drawing tutorial will get you hopping along in no time. Let’s get started!
✏️ Materials Needed
Before we jump into drawing, gather these simple supplies:
- Pencil
- Eraser
- Drawing paper
- Black pen or fineliner (for outlining)
- Colored pencils, crayons, or markers (green, yellow, black)
📚 Step-by-Step Guide to Drawing a Frog
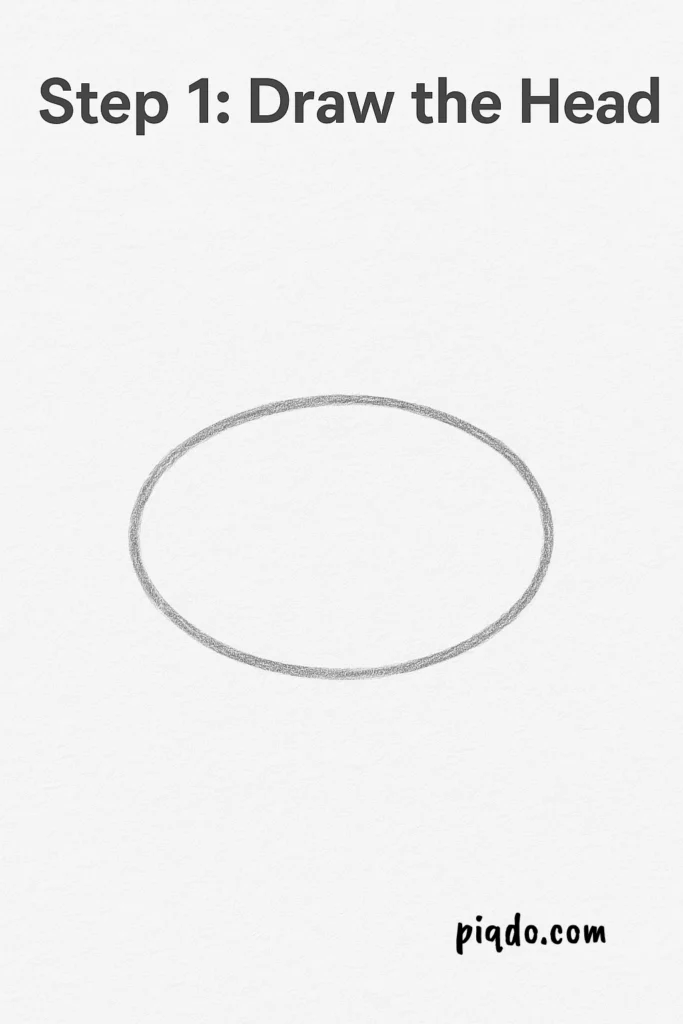
🐸 Step 1: Draw the Head
Start by sketching a large, wide oval near the top of your page. This will be your frog’s head. Make it slightly flattened—like a soft egg.
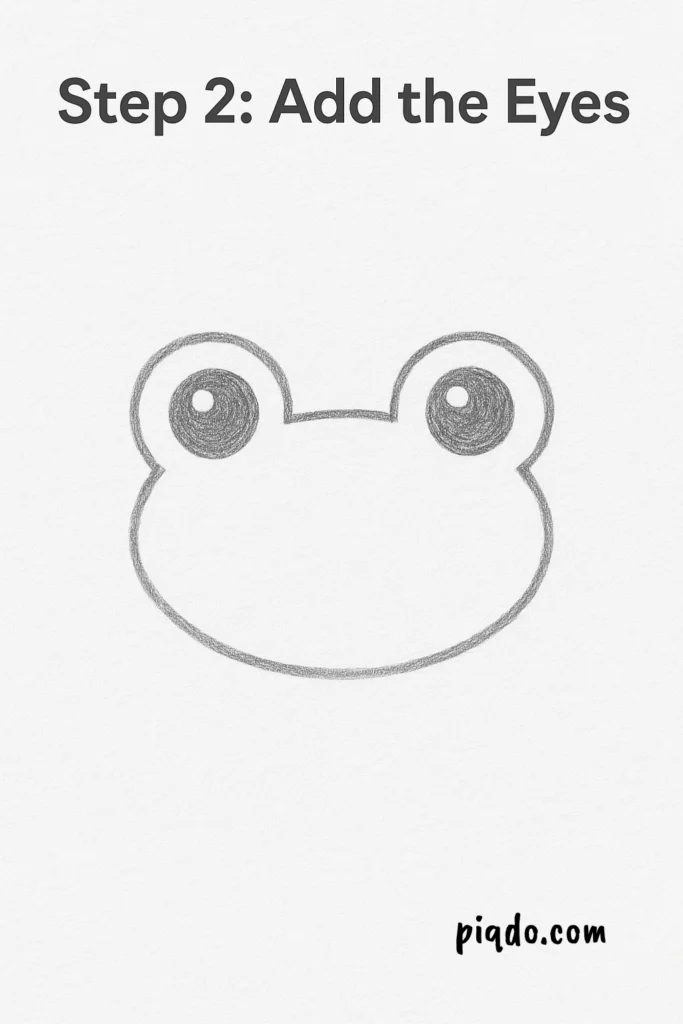
👀 Step 2: Add the Eyes
Frogs have big, bubbly eyes! Draw two circles sitting on top of the head (one on each side). Then, add a smaller circle inside each for the pupil. Leave a tiny white spot to make the eyes shine.
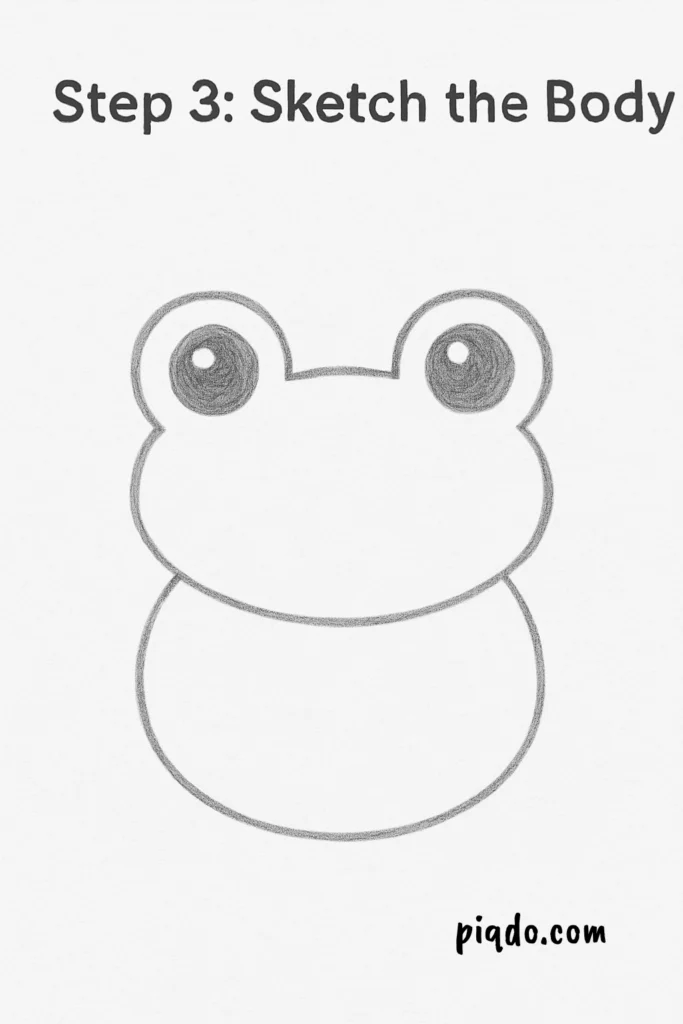
🪶 Step 3: Sketch the Body
Under the head, draw a curved U-shape for the body. Connect it to the head on each side. The frog’s body should be round and a little chubby.
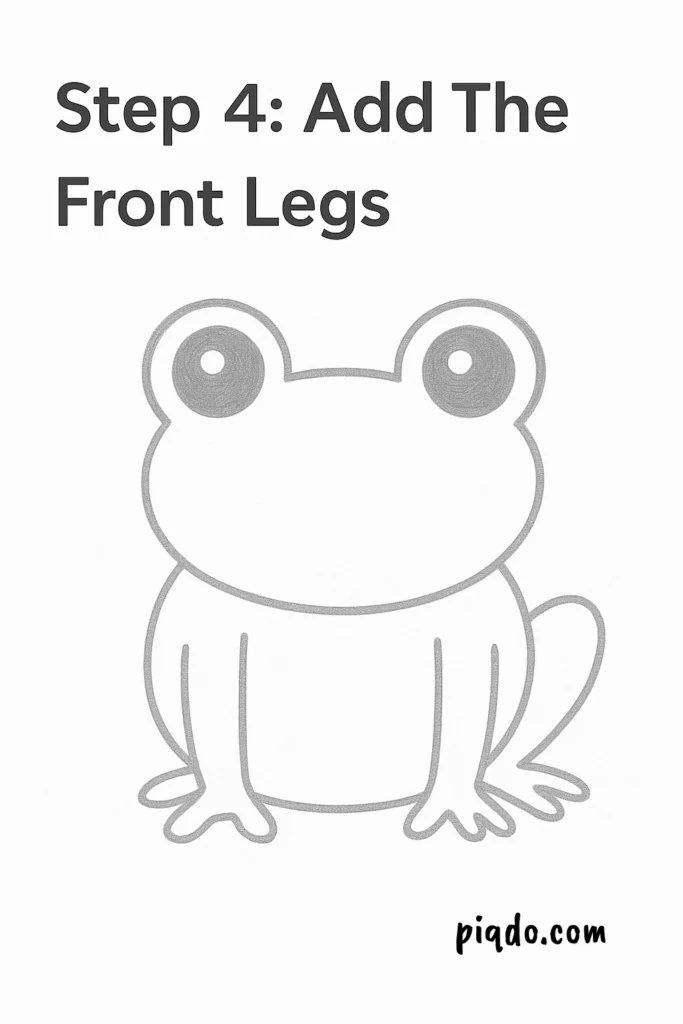
🖐️ Step 4: Add the Front Legs
From the bottom of the head, draw two curved lines downward for the arms. Add three chubby fingers at the end of each—frogs have such cute little hands!
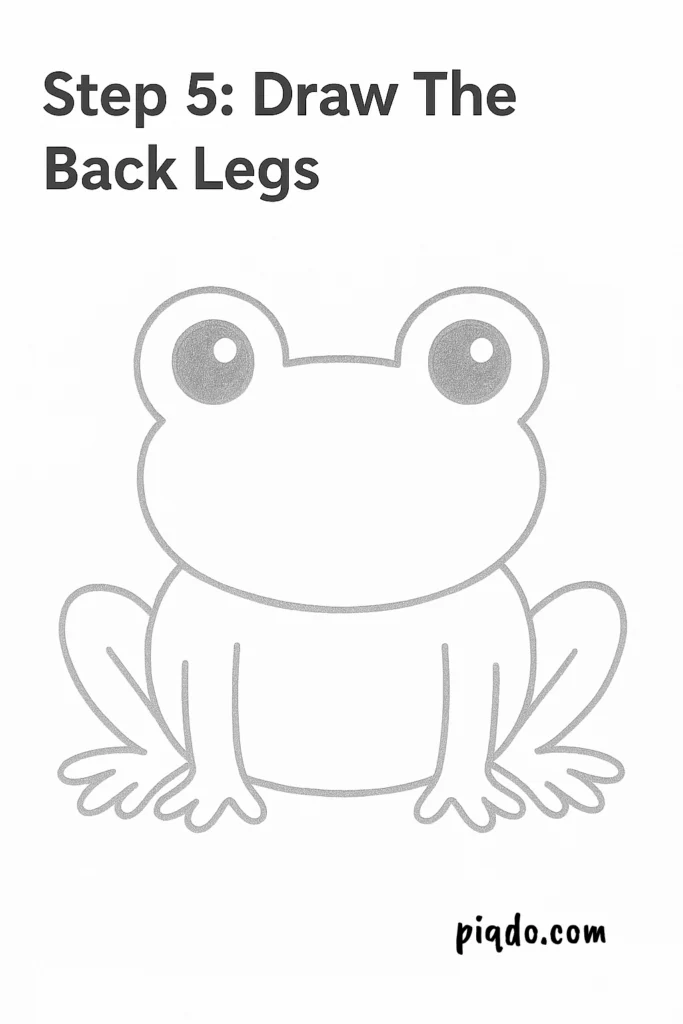
🦶 Step 5: Draw the Back Legs
Now sketch the large back legs. Start from the sides of the body and make big arches that curve out and back in like bent knees. Finish them with big webbed feet.
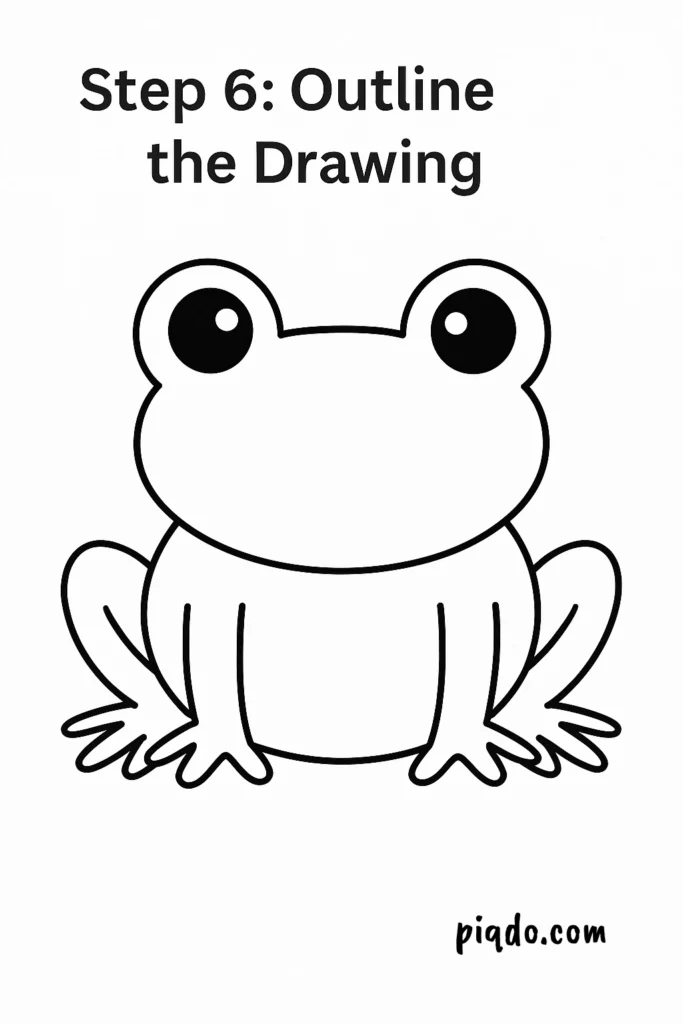
🖊️ Step 6: Outline the Drawing
Once you’re happy with your sketch, trace over the lines using a black pen or fineliner. Let it dry, then erase your pencil marks to clean it up.
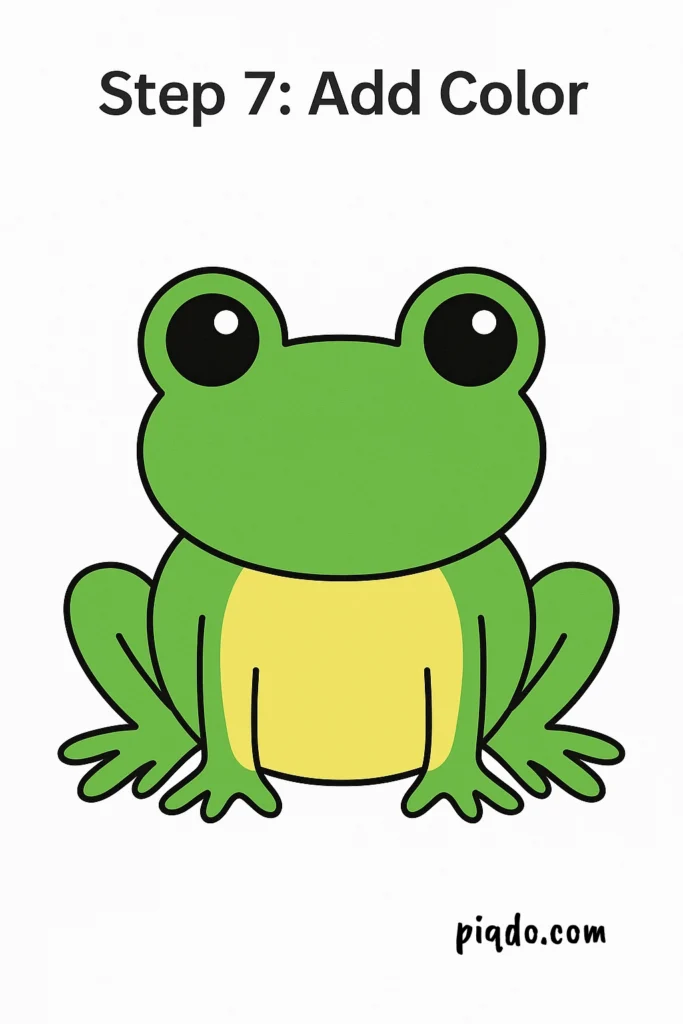
🎨 Step 7: Add Color
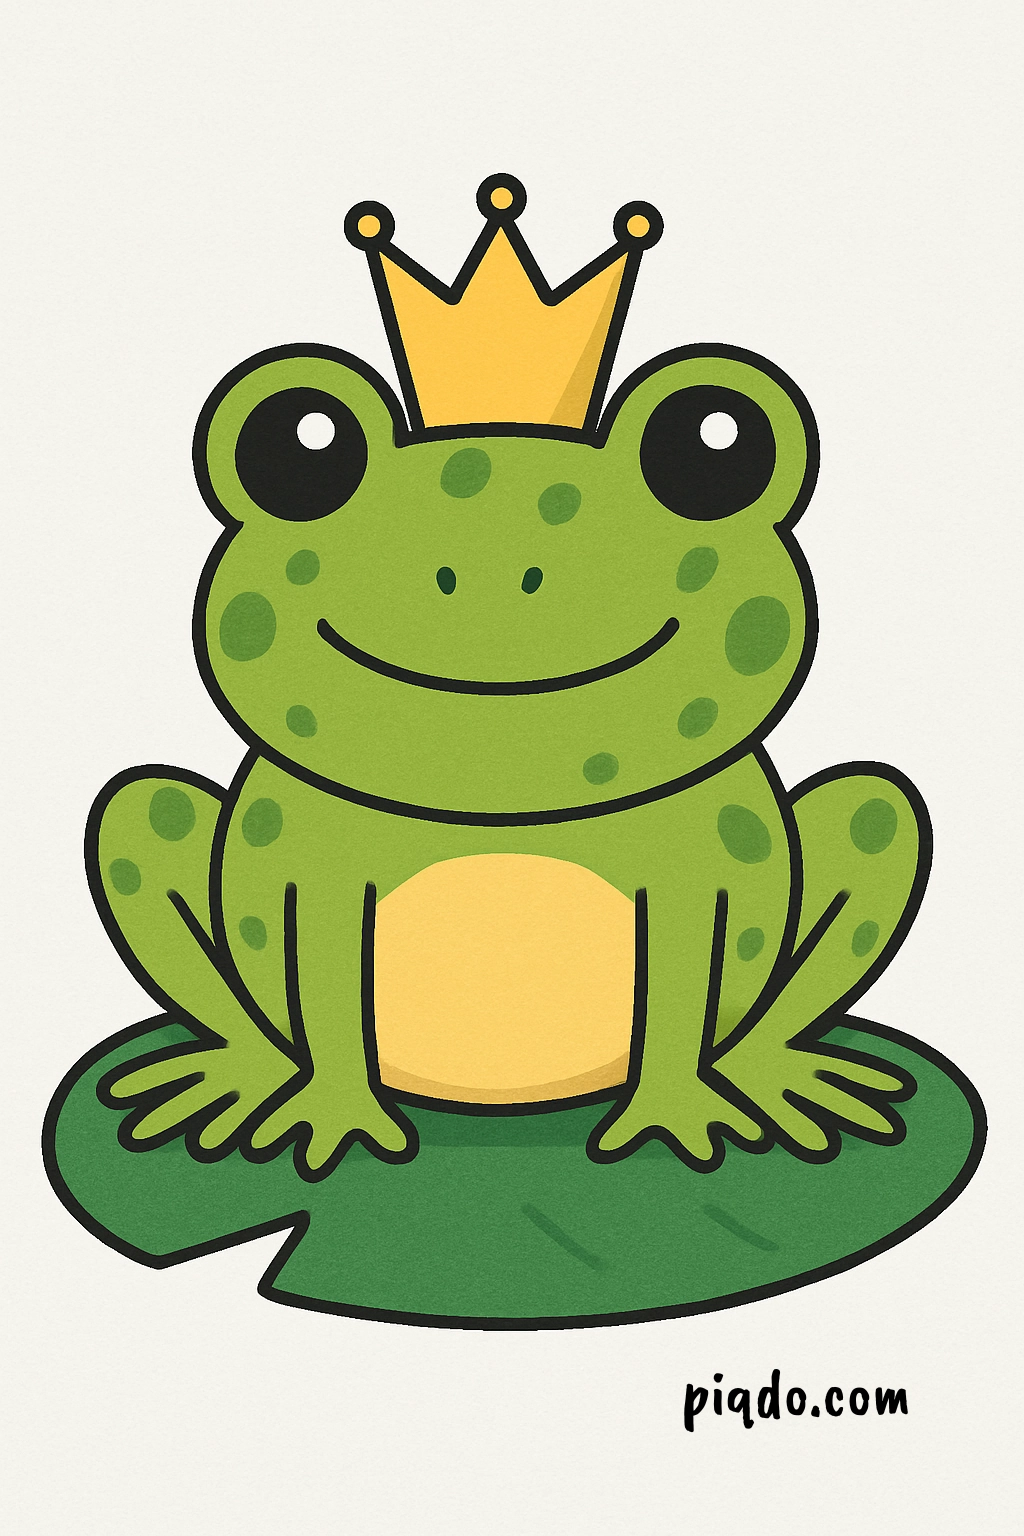
Time to color in your frog! Use shades of green for the body and a lighter yellow or beige for the belly. Add black for the pupils and feel free to decorate your frog with spots, a crown, or even a lily pad!
🌟 Tips for Beginners
- Don’t stress about perfection—frogs come in all shapes and sizes!
- Try drawing your frog in different poses or expressions.
- Add a background like a pond or a lily pad for extra fun!
💚 Final Thoughts
And there you have it—your very own adorable frog drawing! 🐸 Whether you keep it for yourself or share it with a friend, you’ve taken a fun leap into drawing animals.
Keep practicing, get creative, and most of all—have fun! Want more step-by-step drawing tutorials? Check out our other beginner guides and keep your sketchbook full of cuteness!