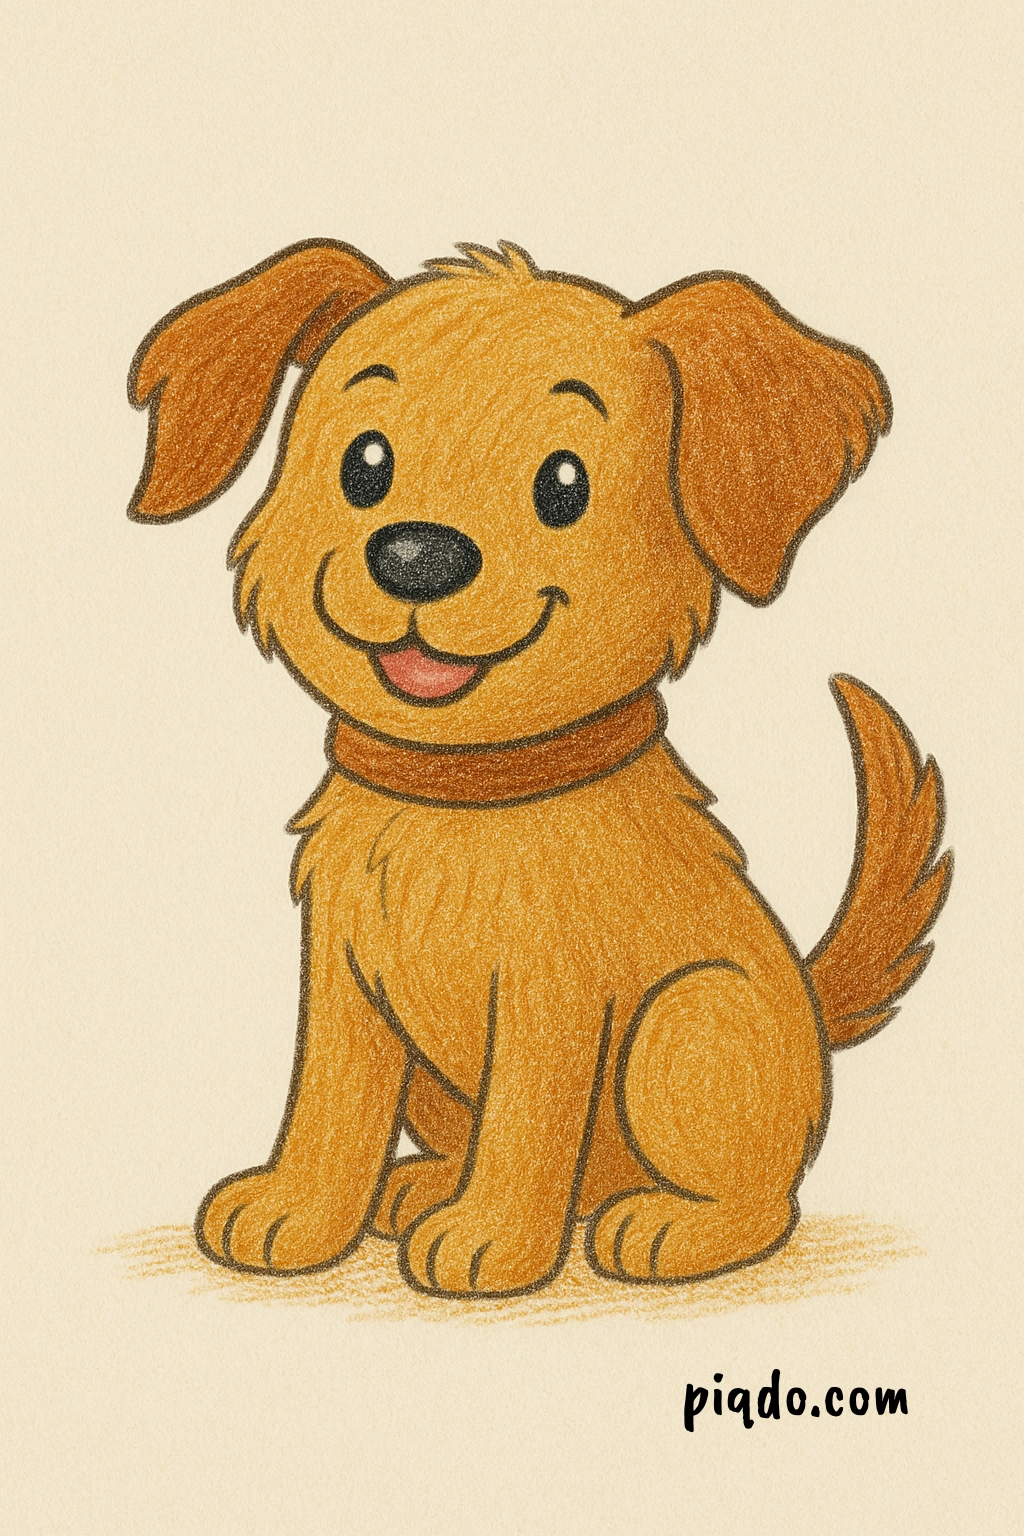
Drawing a dog is one of the most rewarding beginner art projects—it’s simple, fun, and allows for plenty of personality to shine through. Whether you’re just getting started or looking to practice your sketching skills, this step-by-step tutorial will guide you through drawing an adorable sitting dog. Let’s grab our pencils and begin!
✏️ Materials Needed:
- Pencil (HB or 2B recommended)
- Eraser
- Paper
- Colored pencils or crayons (optional)
🐾 Step-by-Step Dog Drawing Tutorial
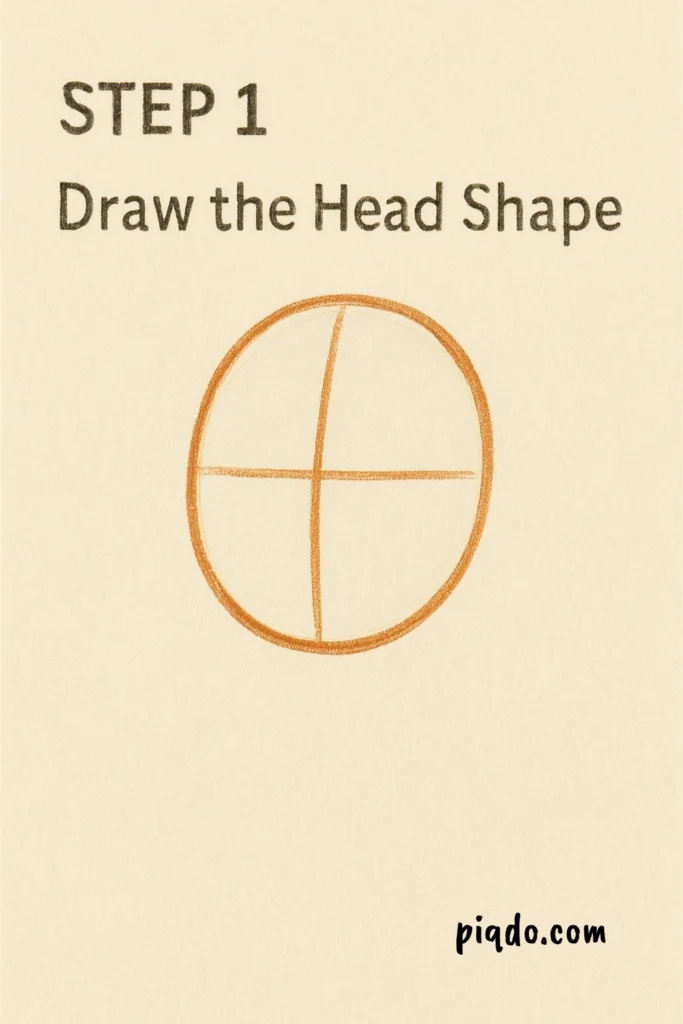
Step 1: Draw the Head Shape
Start with a simple oval for the head. Lightly sketch a vertical line down the center and a horizontal line across to guide the placement of the facial features.
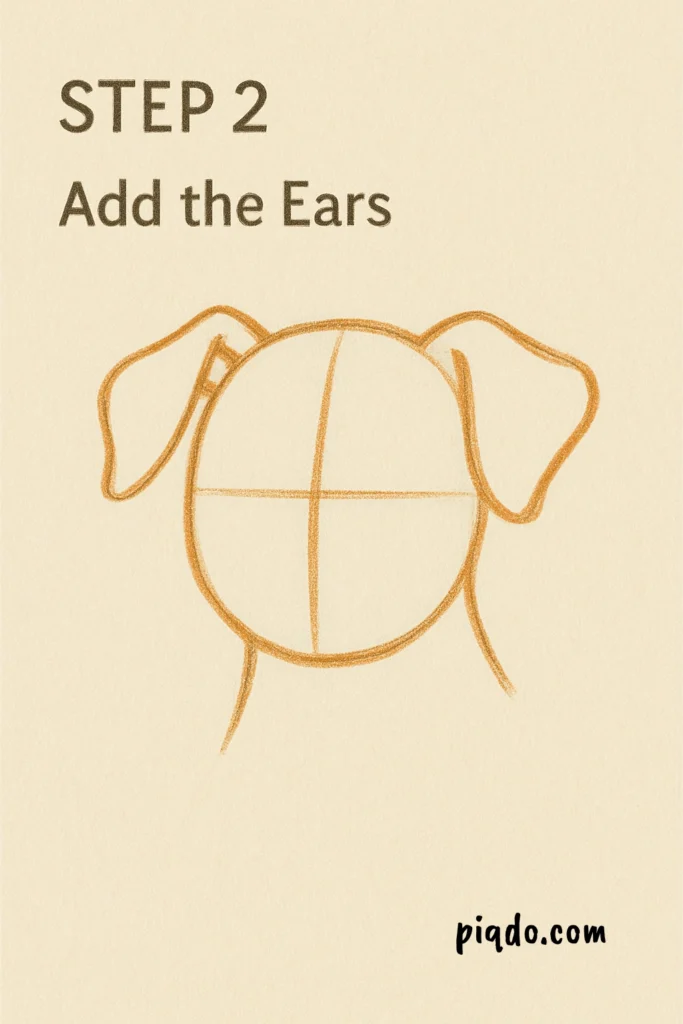
Step 2: Add the Ears
Draw two floppy ears hanging down from the sides of the head. They should curve outwards slightly to create a friendly expression.
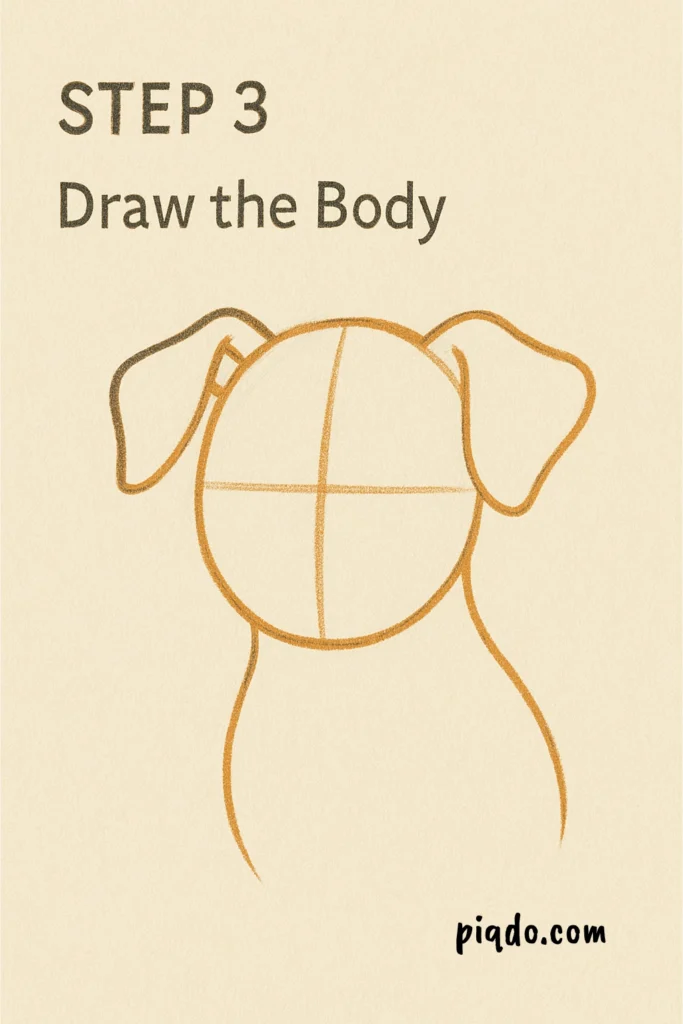
Step 3: Draw the Body
From the bottom of the head, draw two curved lines downward for the neck and chest, forming a pear-like body shape. Keep it soft and rounded.
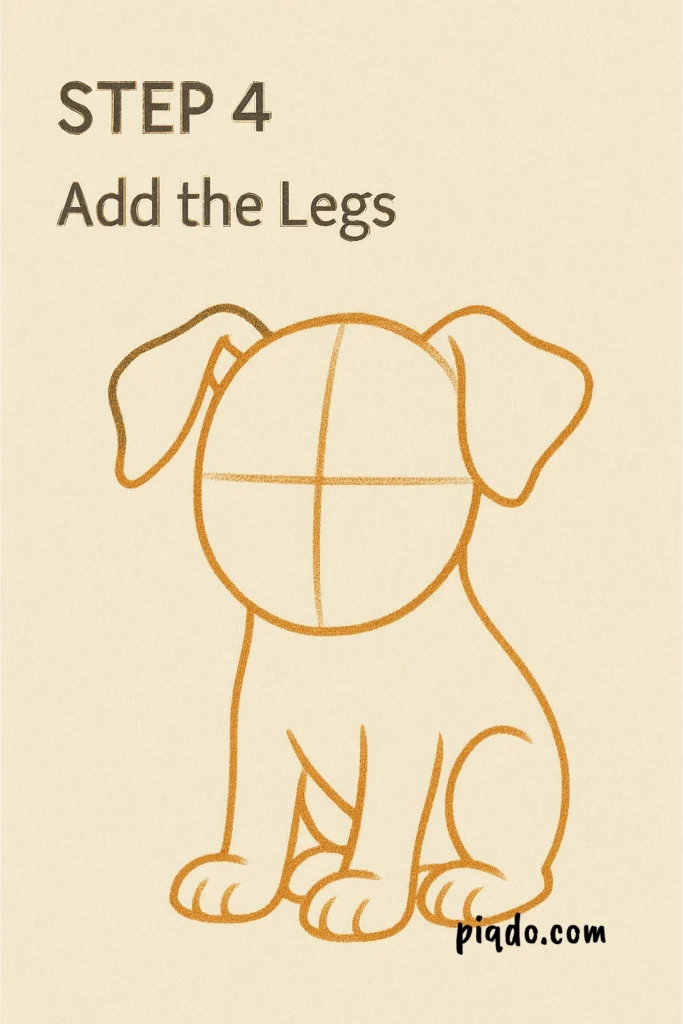
Step 4: Add the Legs
Sketch two front legs using straight lines down from the body, and two oval shapes at the bottom for the paws. Draw the hind leg bent on one side.
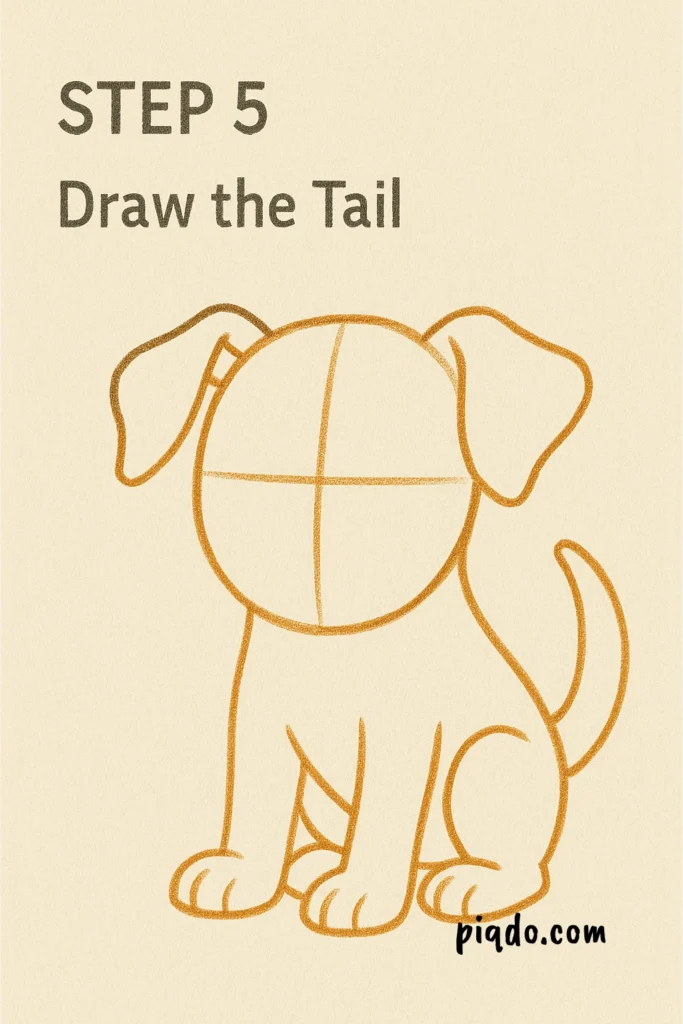
Step 5: Draw the Tail
Add a tail on the back side of the dog’s body, curving it gently upward or to the side. You can make it fluffy or short—your choice!
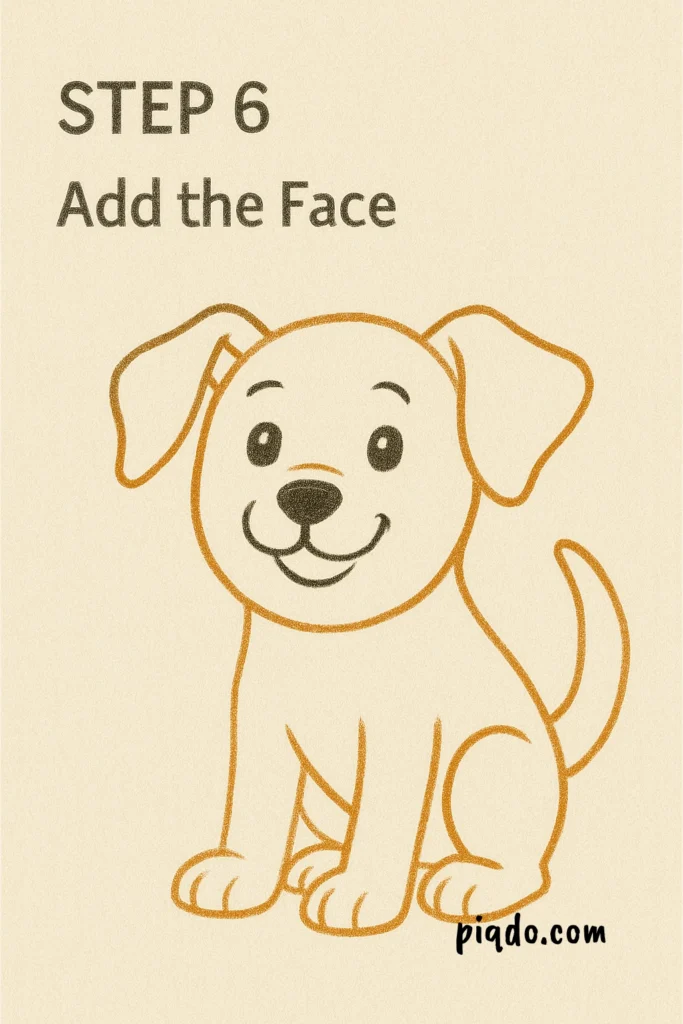
Step 6: Add the Face
Inside the head, draw two round eyes on the horizontal guideline, a small oval nose near the center, and a curved line for the mouth. Don’t forget small brows and cheek lines to bring it to life.
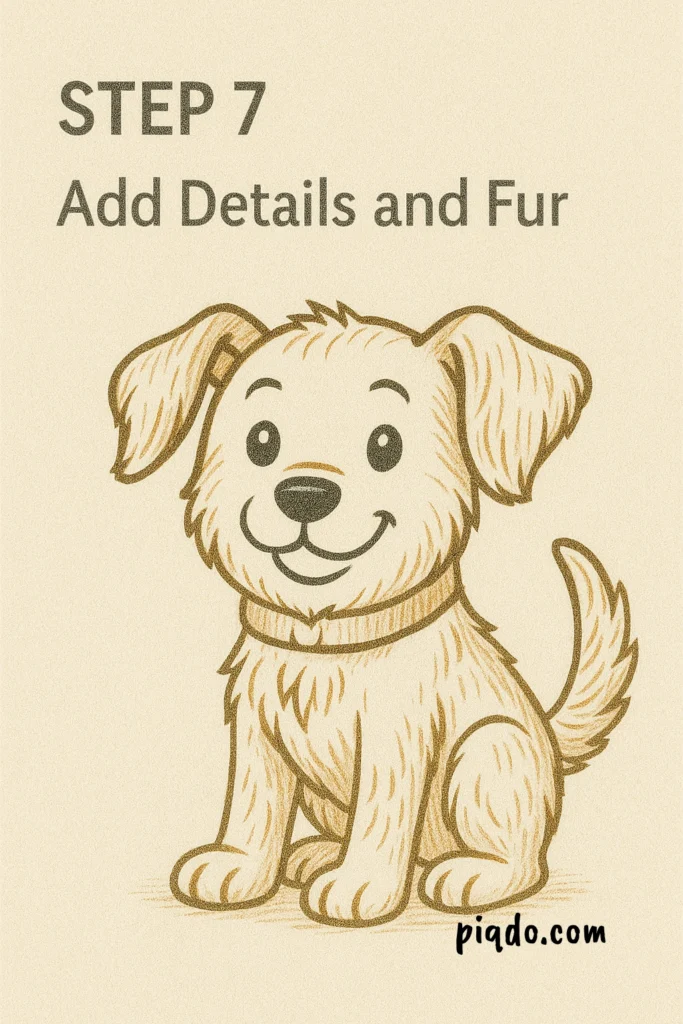
Step 7: Add Details and Fur
Now add some light sketchy lines to indicate fur, especially around the ears, chest, and tail. You can even add a collar if you’d like.
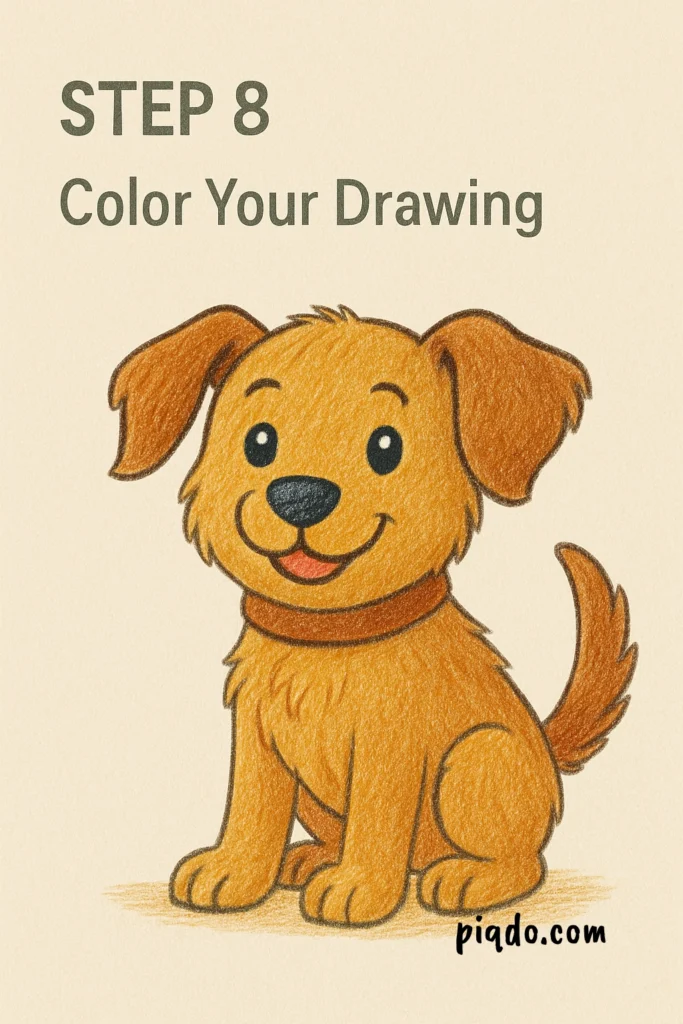
Step 8: Color Your Drawing
Use colored pencils or crayons to bring your dog to life! Light brown, golden, gray, or even white with spots—the style is all yours.
🐶 Tips for Drawing a Cute Dog
- Use light pencil strokes in early steps so you can erase easily.
- Keep the shapes rounded to maintain a soft, cute appearance.
- Observe real dogs or photos for reference and extra inspiration!
🎉 Final Thoughts
Drawing a dog doesn’t have to be complicated—this simple step-by-step method shows how basic shapes can come together to create something adorable. Practice a few times, try different dog types, and before long, you’ll have a whole sketchbook of furry friends!
Want more tutorials like this one?
👉 Check out our full Animal Drawing Tutorials section!
And don’t forget—submit your finished drawing here for a chance to be featured in our reader gallery!