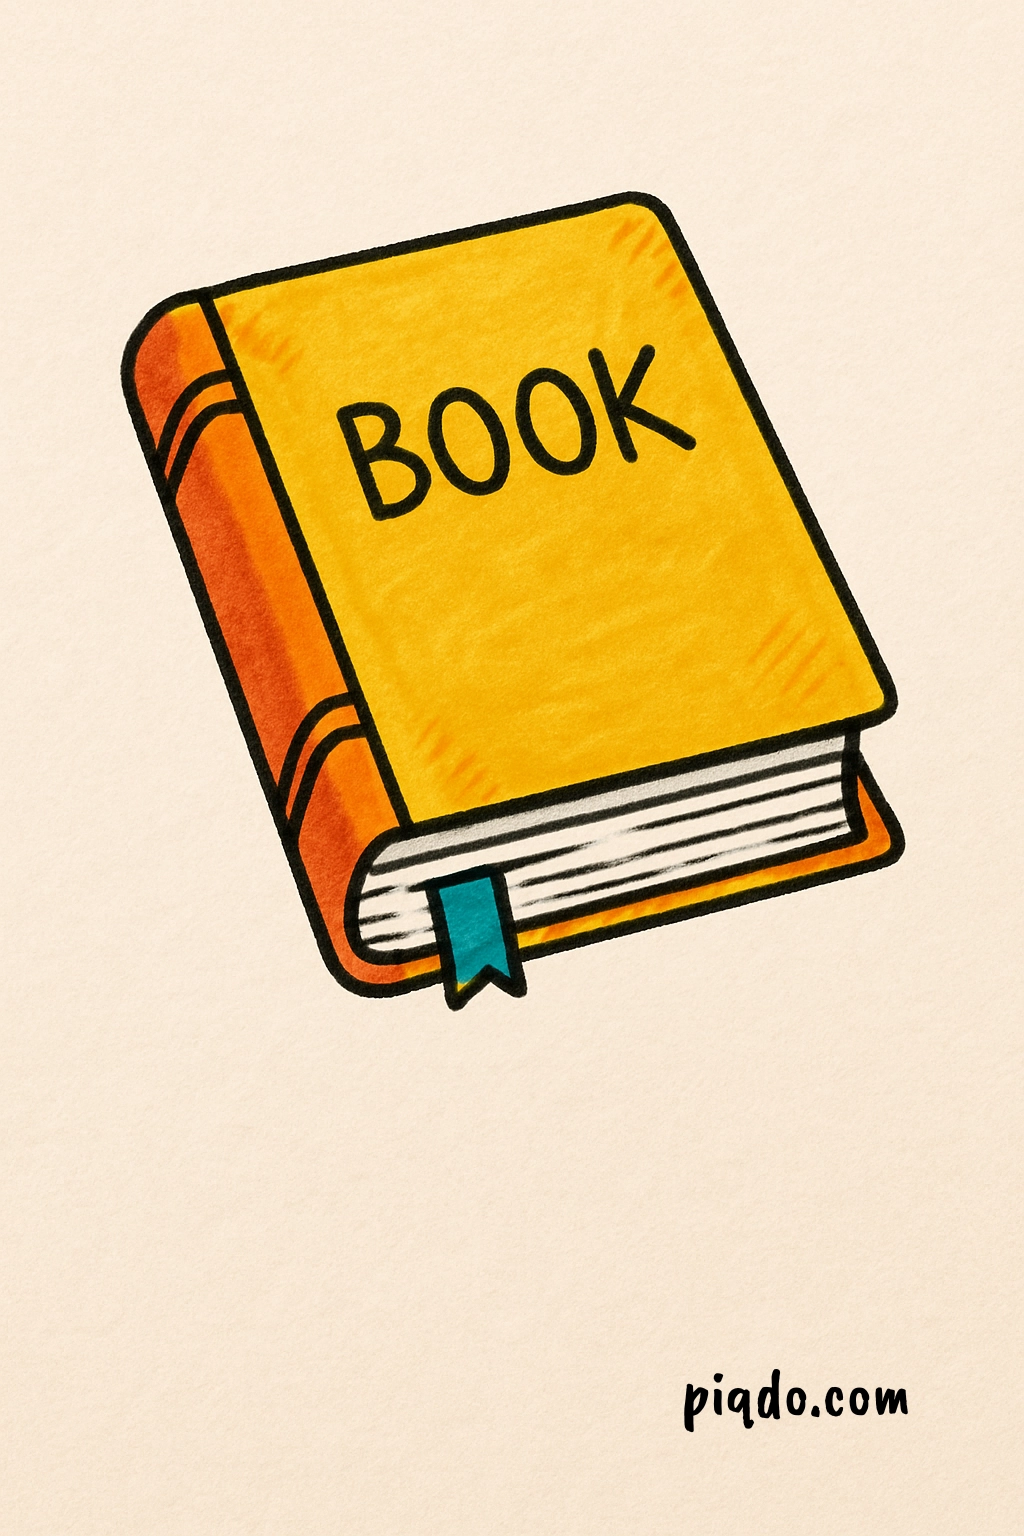
Drawing a book might seem tricky, but it’s actually super fun and easy when you break it down into simple steps! Whether you want to sketch a magical storybook, a school notebook, or just practice basic shapes, this tutorial will guide you every step of the way. 🌟 Let’s get started!
Materials Needed 🖍️
Before we dive into drawing, make sure you have these materials ready:
- ✏️ Pencil
- 🧽 Eraser
- 📏 Ruler (optional, for straight lines)
- 🖊️ Black pen or marker (for outlining)
- 🖌️ Colored pencils, crayons, or markers (for coloring)
- 🗒️ Sketchbook or plain drawing paper
Step-by-Step Instructions 🖼️
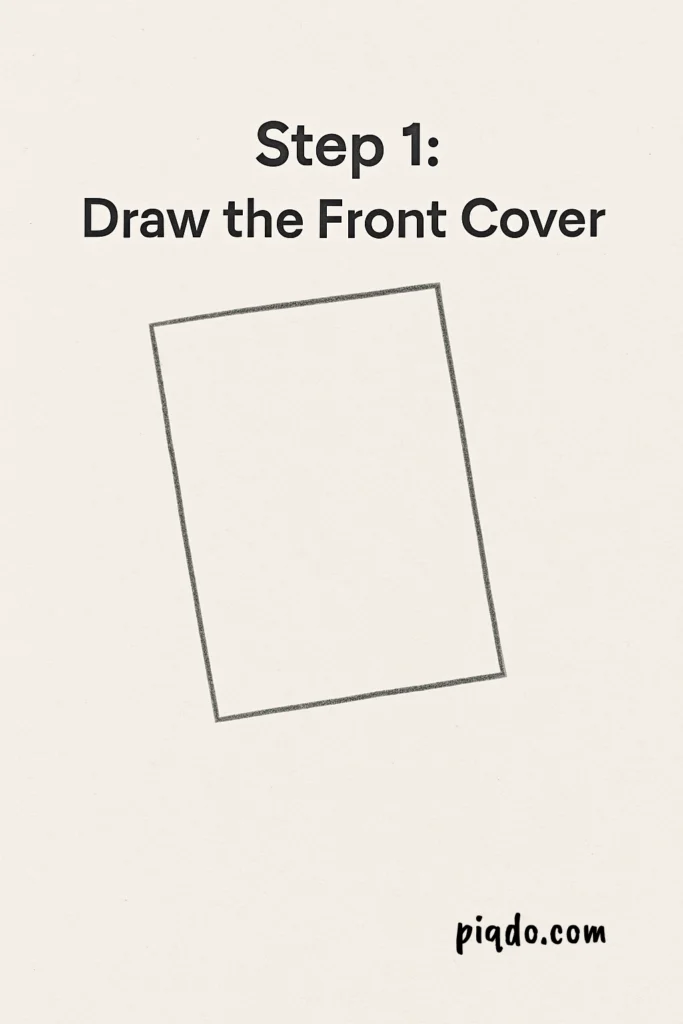
Step 1: Draw the Front Cover 📖
Start by drawing a large rectangle slightly tilted to the right. This will be the front cover of your book. Use a ruler if you want super straight edges!
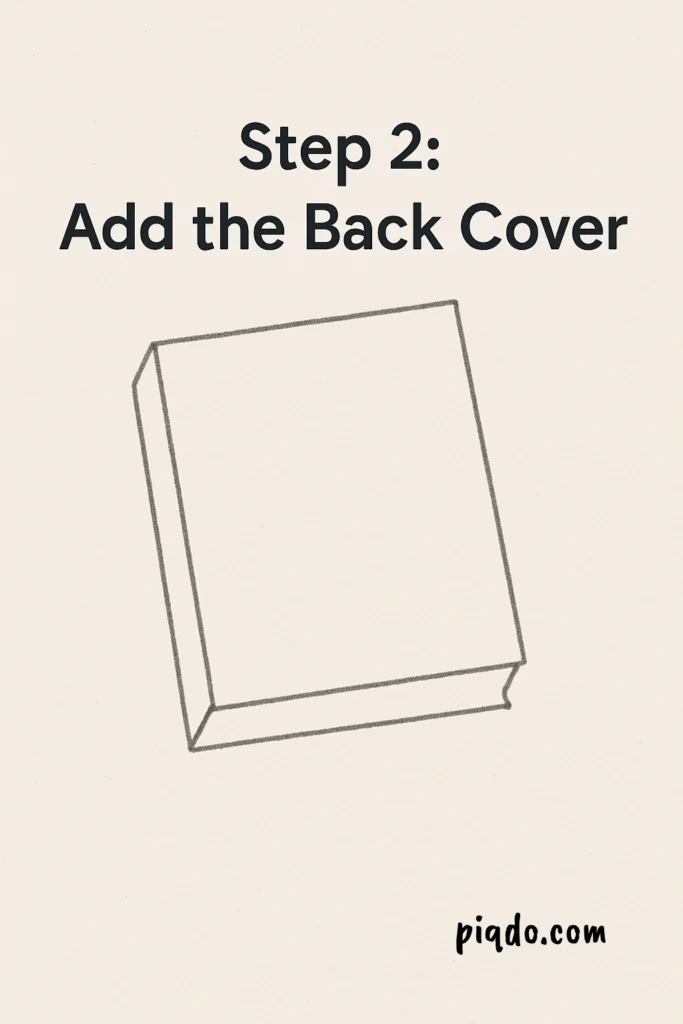
Step 2: Add the Back Cover 📚
Behind your first rectangle, draw another slightly smaller rectangle. Connect the corners of both rectangles with straight lines — now your book has depth!
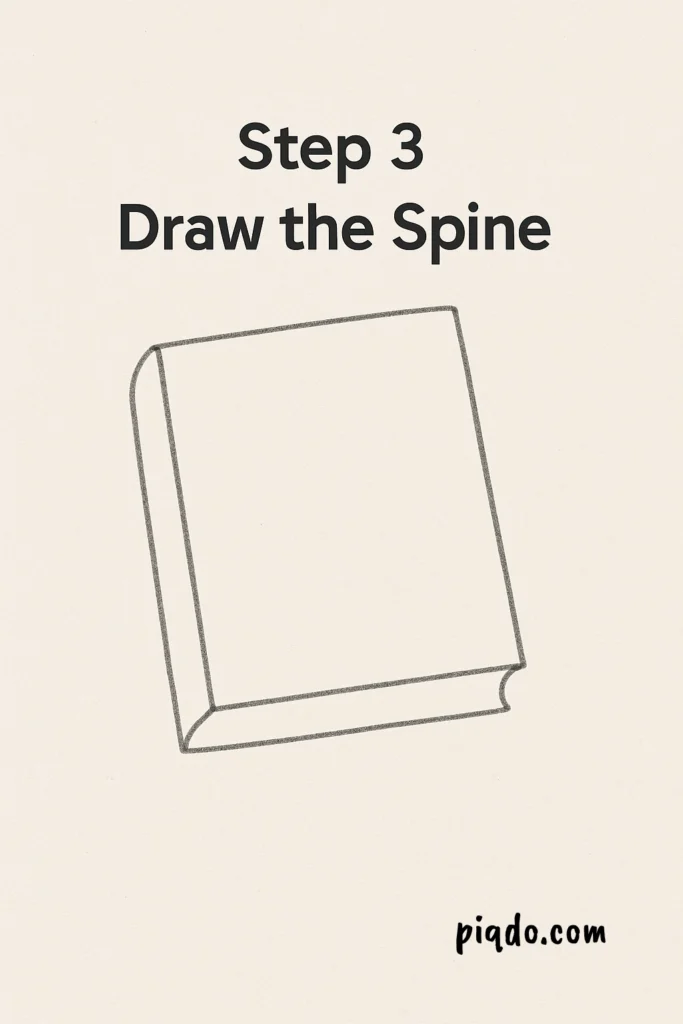
Step 3: Draw the Spine 📏
On the left side, between the two covers, draw a vertical line to create the book’s spine. Make it slightly curved if you want a softer, more realistic look!
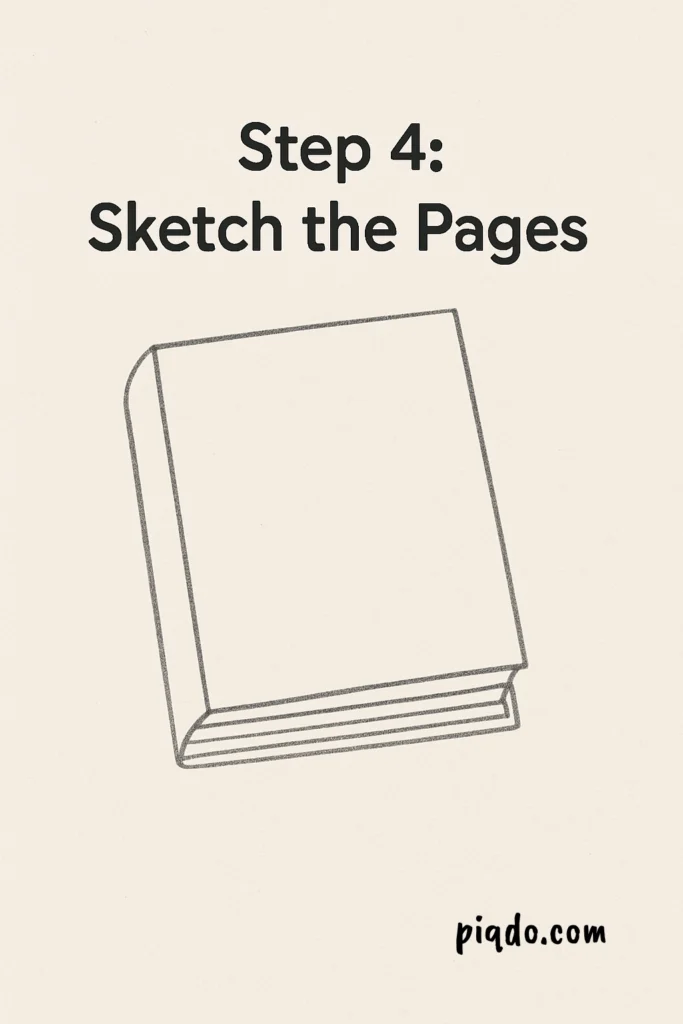
Step 4: Sketch the Pages 📄
Inside the book, draw a few horizontal lines close together to show the stacked pages. You can even make some lines a little wavy to make it feel more natural.
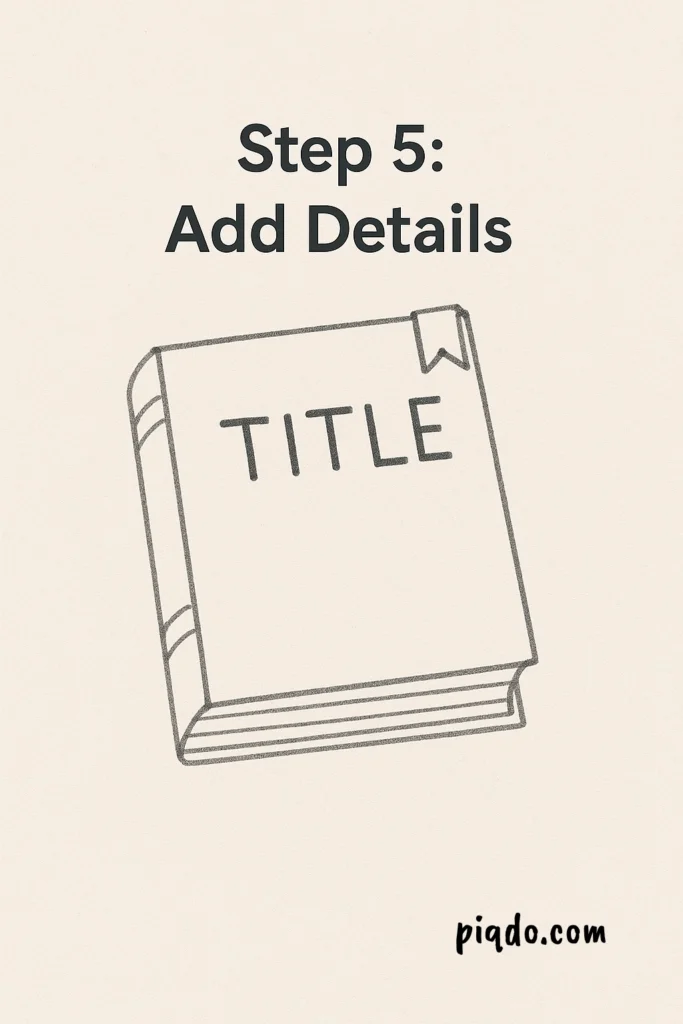
Step 5: Add Details ✍️
Now it’s time for fun details! Add a title on the front cover, some lines on the spine, or even a small bookmark peeking out. Be creative!
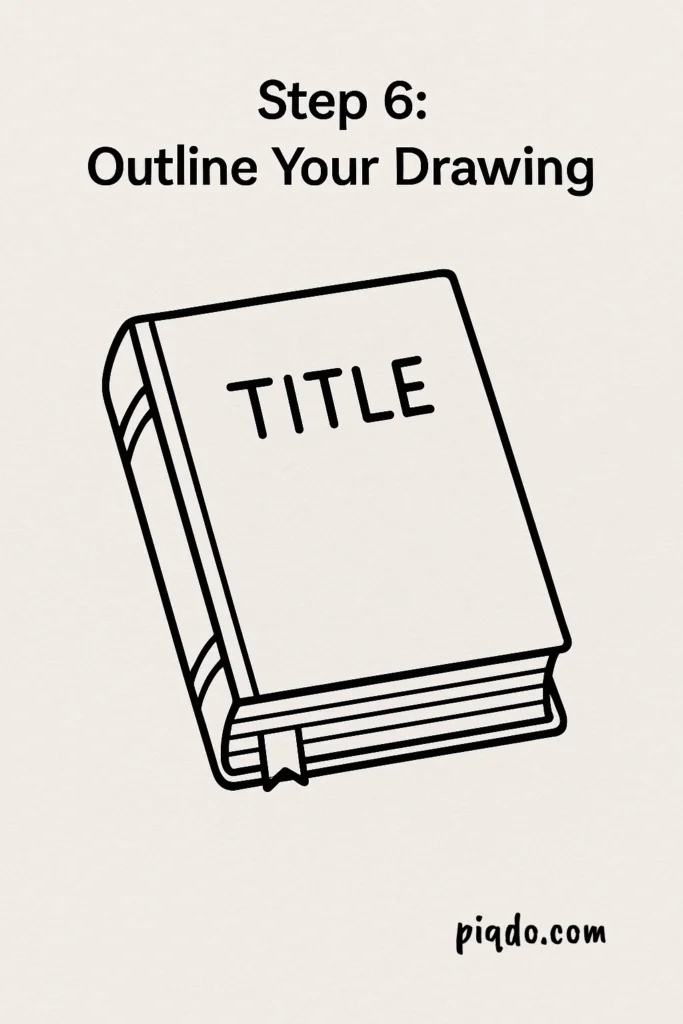
Step 6: Outline Your Drawing 🖊️
Use a black pen or marker to carefully trace over your pencil lines. This will make your drawing pop! Once the ink is dry, gently erase any leftover pencil marks.
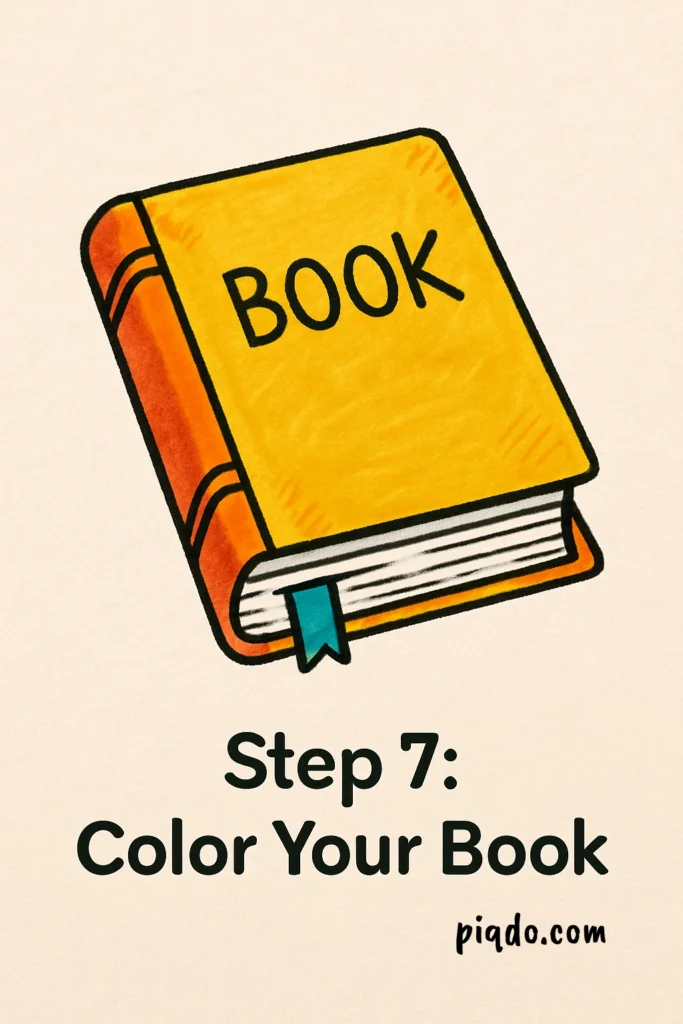
Step 7: Color Your Book 🎨
Pick your favorite colors and bring your book to life! You can make it look like an old, worn book or a bright, colorful storybook.
Final Tips ✨
- Don’t worry if your lines aren’t perfect — books come in all shapes and sizes!
- Try drawing different types of books: thick novels, tiny pocket books, or even open books!
- Add little doodles like stars, hearts, or tiny notes inside the book for extra cuteness.
Drawing a book is a fantastic way to practice shapes and lines while letting your imagination run wild. 📚💫 Keep practicing, and soon you’ll be creating entire libraries on your sketchpad!