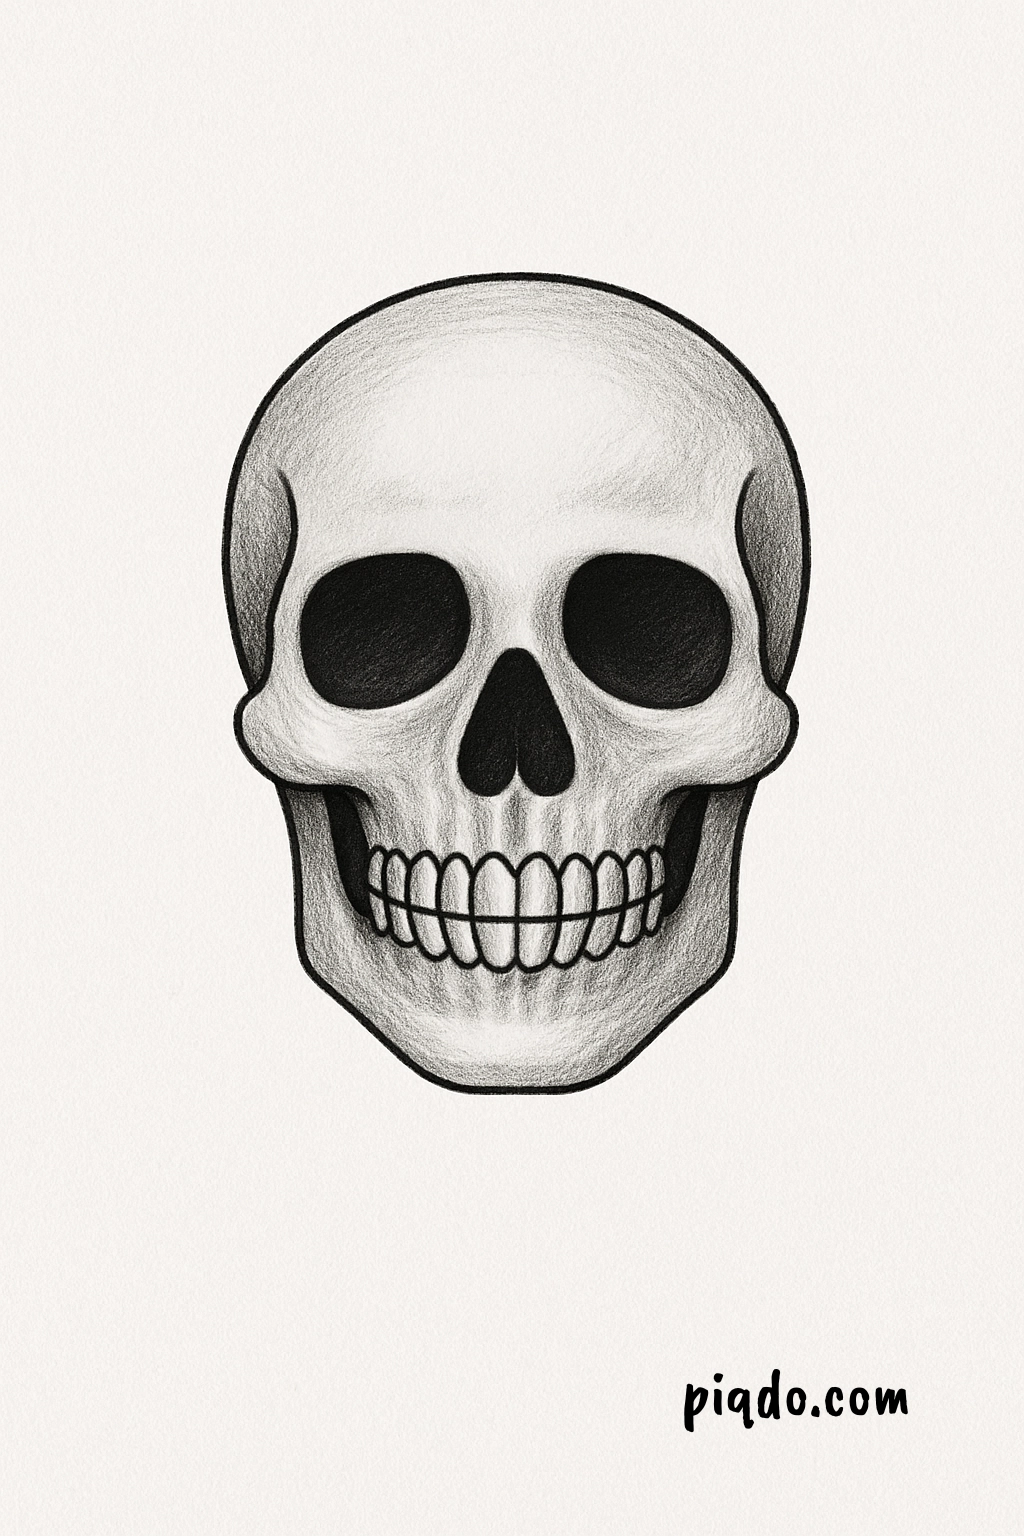
Are you ready to bring some spooky style to your sketchbook? Whether you’re preparing for Halloween fun or just love drawing cool things, learning how to draw a skull is a fun and creative way to practice your skills. This beginner-friendly tutorial will guide you step by step—no bones about it! 😉
🧰 Materials You’ll Need
Before we begin, gather these simple art supplies:
- ✏️ Pencil
- 🩹 Eraser
- 🖊️ Black pen or fineliner
- 📄 Drawing paper or sketchbook
- 🎨 Optional: Colored pencils or markers
✍️ Step-by-Step: How to Draw a Skull
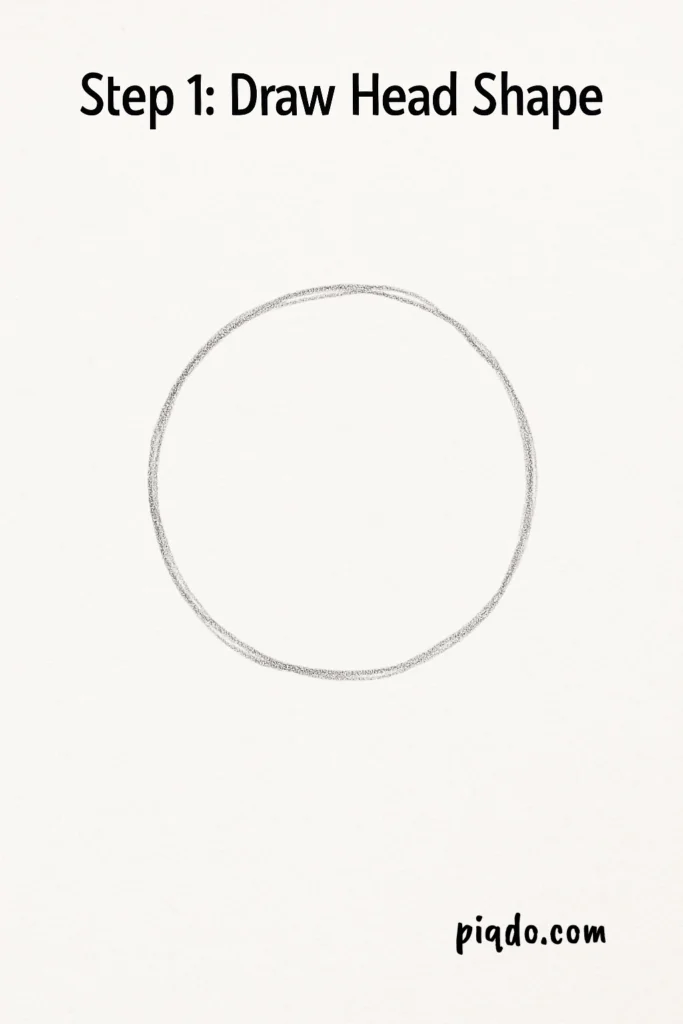
🧠 Step 1: Draw the Head Shape
Start by drawing a big circle. This will be the top of your skull—the cranium.
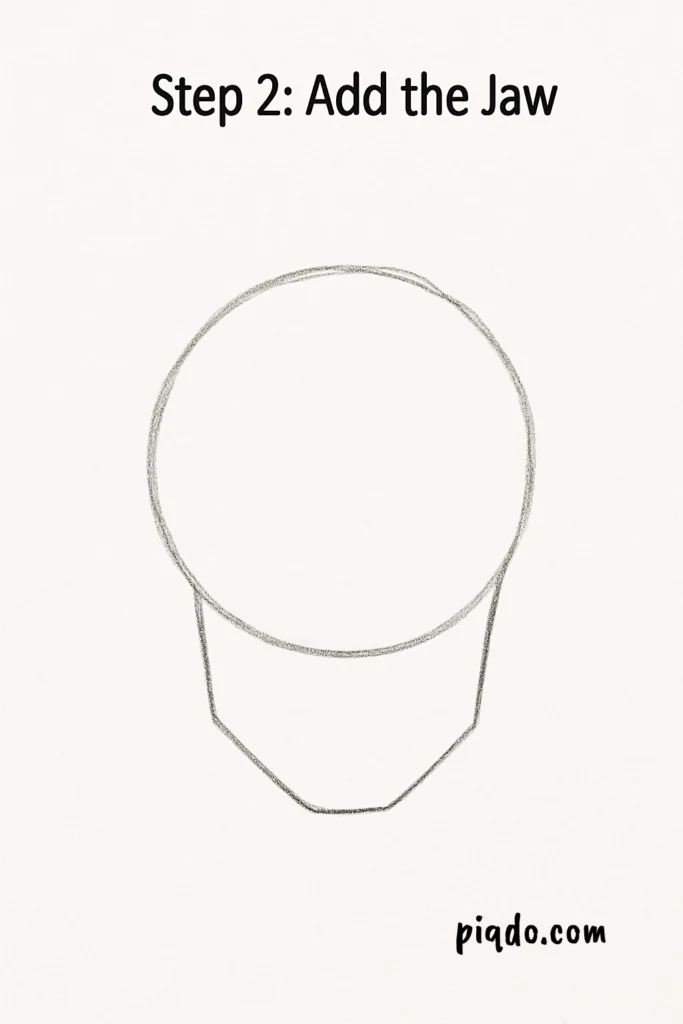
📐 Step 2: Add the Jaw
From the bottom of the circle, draw two lines going downward and inward. Connect them with a curved “V” shape. You now have the basic skull outline!
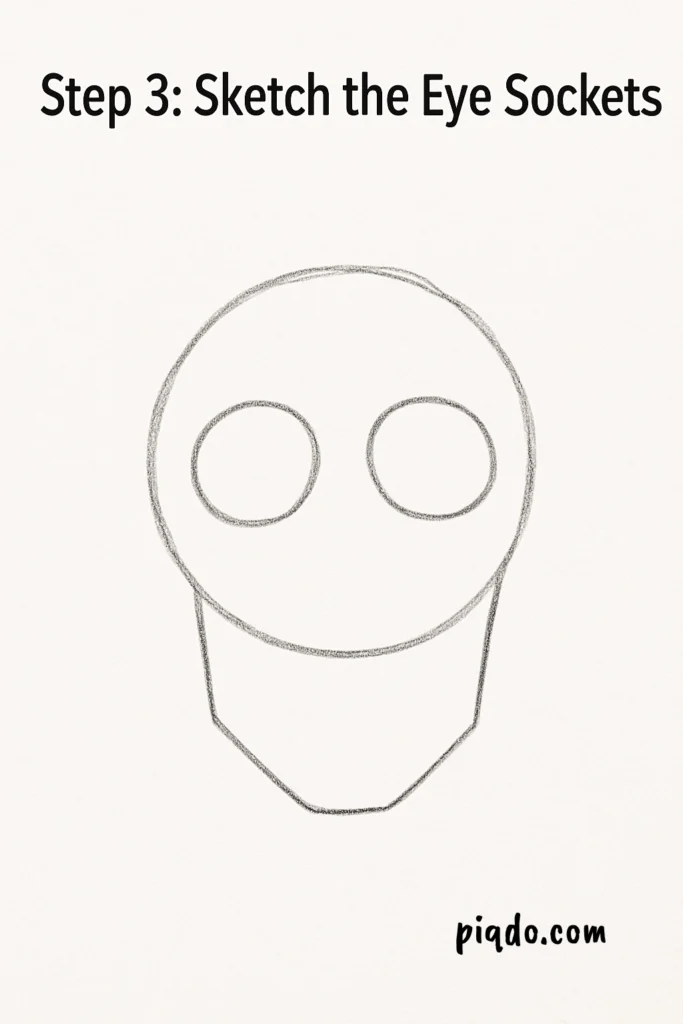
👀 Step 3: Sketch the Eye Sockets
Inside the upper part of the skull, draw two large ovals or circles. These will be the hollow eye sockets. Keep them symmetrical for balance.
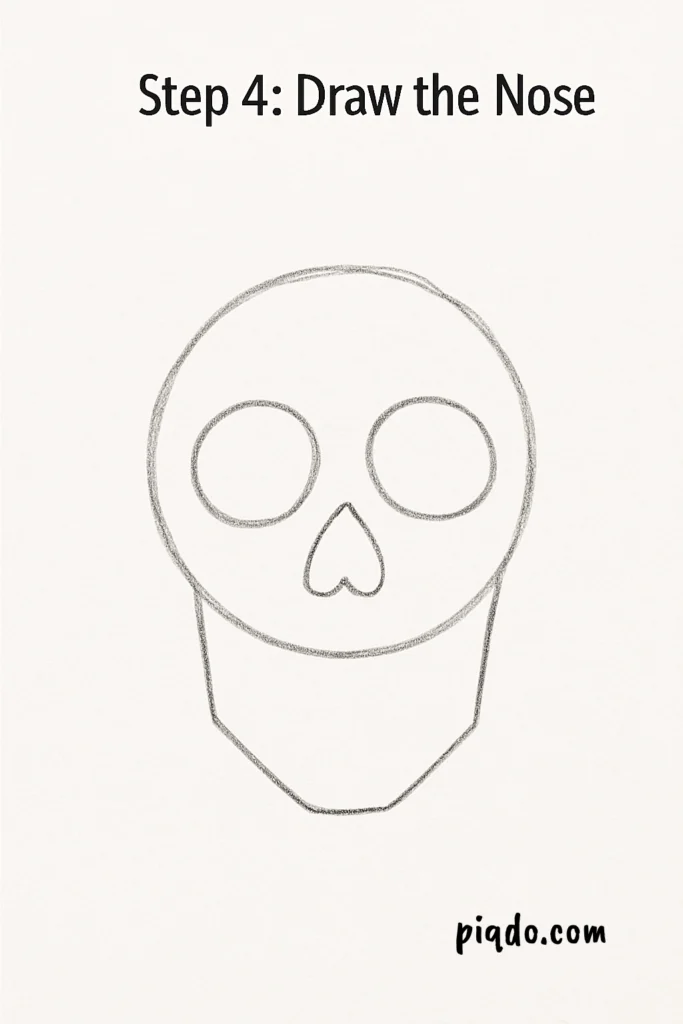
👃 Step 4: Draw the Nose
Between the eyes and just below, draw an upside-down heart shape. This forms the nose cavity.
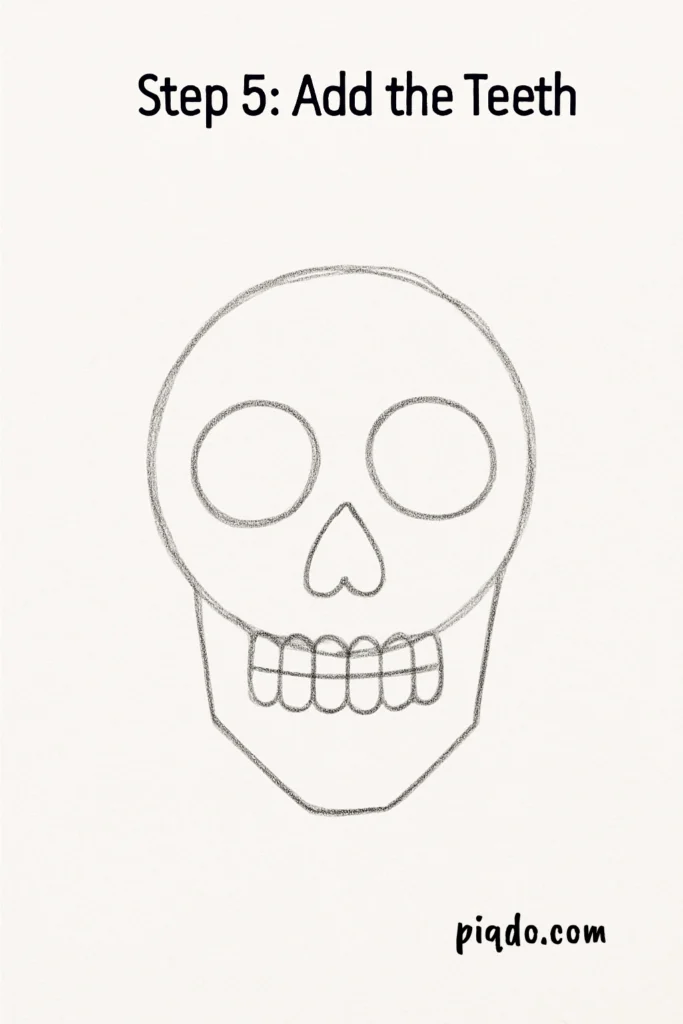
😁 Step 5: Add the Teeth
Sketch a horizontal guideline in the jaw area, then draw short vertical lines across it to create teeth. Keep them small and slightly rounded.
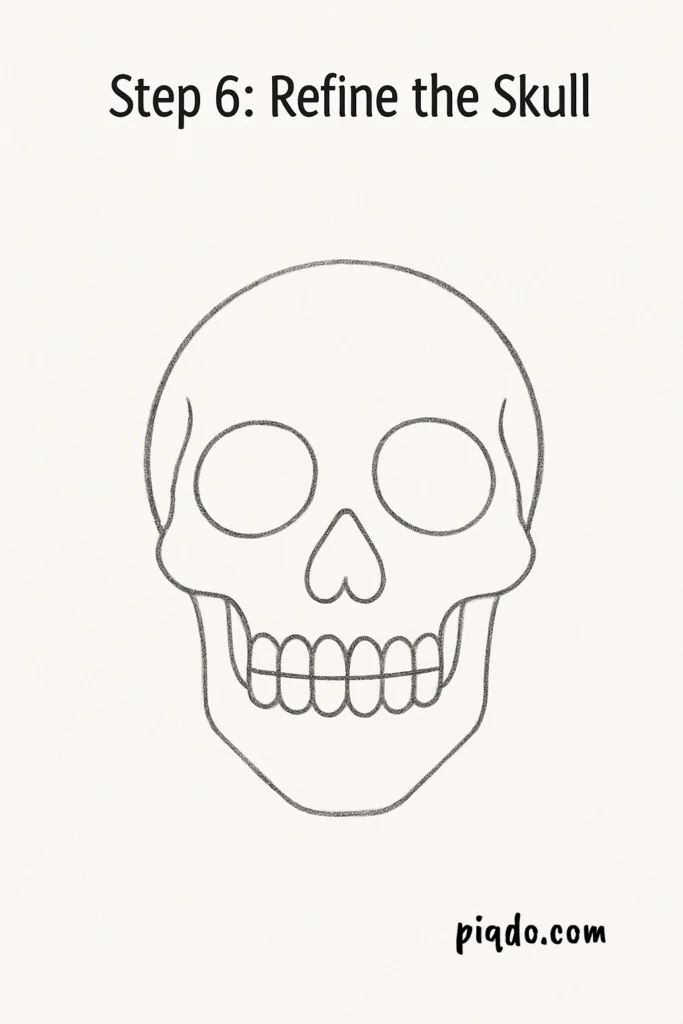
✏️ Step 6: Refine the Skull
Smooth out any rough lines and define the cheekbones, brow ridges, and jawline. Your skull is starting to look realistic!
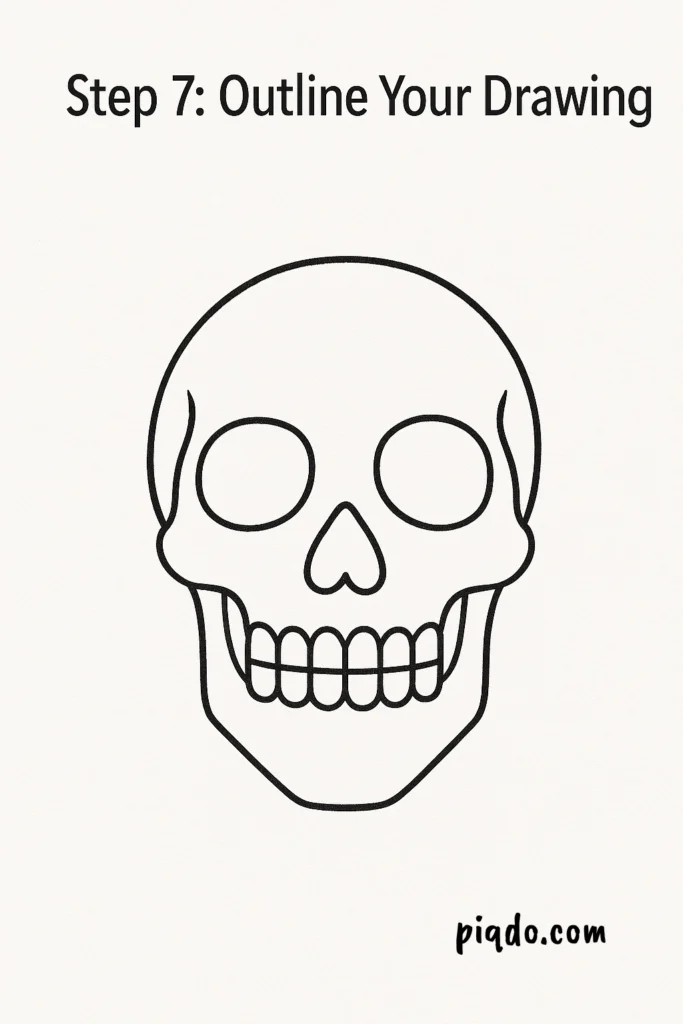
🖊️ Step 7: Outline Your Drawing
Once you’re happy with your sketch, trace over it with a black pen or fineliner for a crisp, clean look.
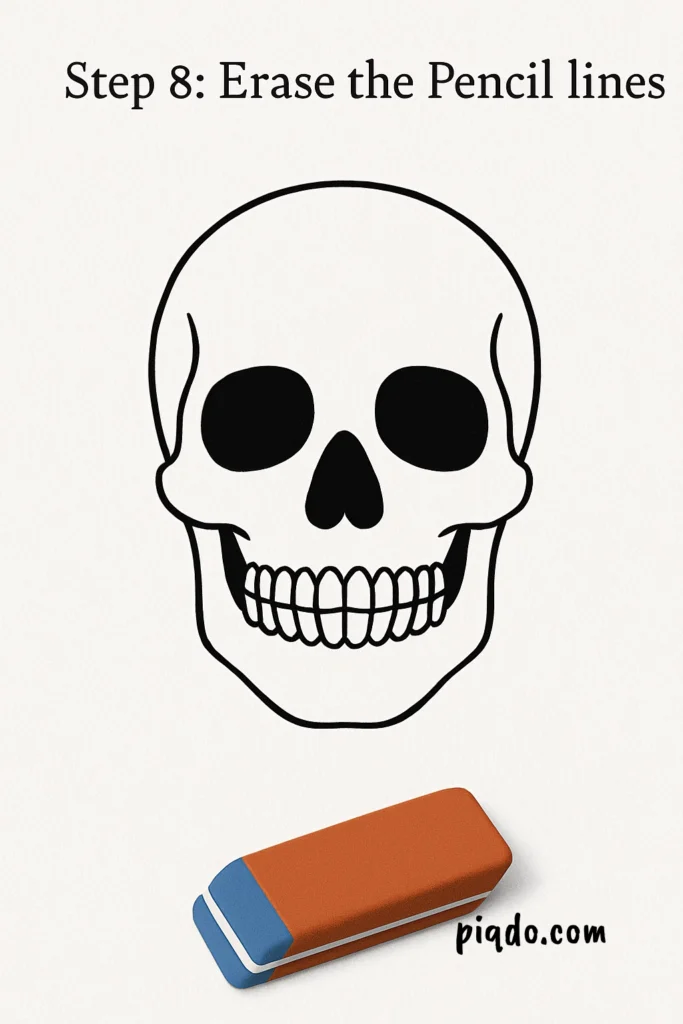
🧽 Step 8: Erase the Pencil Lines
Use your eraser to gently remove any remaining pencil marks. You should be left with a clear skull outline.
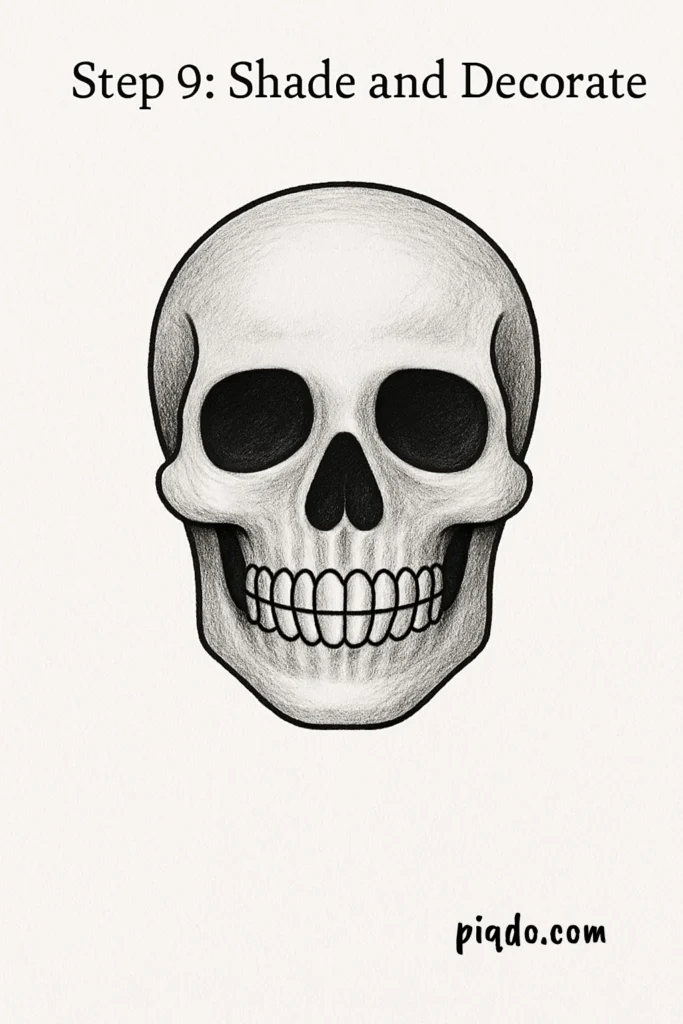
🎨 Step 9: Shade and Decorate
Add shading inside the eyes, nose, and jaw to give your skull depth. You can also get creative with colors or designs—try drawing flowers, a crown, or even a Day of the Dead-inspired look!
🖼️ Show Off Your Skull Drawing!
You did it! 🙌 Whether it’s spooky, silly, or super realistic, your skull drawing is something to be proud of. Try drawing it again from different angles or using different styles—cartoon, gothic, or even cute!
💡 Final Tips for Beginners
- Don’t worry about perfection—skulls are naturally imperfect!
- Practice light sketching so you can erase easily.
- Look at real skull references if you want more detail.
🧡 Keep Creating!
Drawing is a journey, and each sketch gets you closer to mastering your craft. If you liked this tutorial, be sure to check out our other beginner drawing guides for animals, characters, and more spooky fun.
Happy drawing! 🎃🖌️💀