Master the Art of Drawing Hands with Ease!
Hands may seem like one of the trickiest parts of the body to draw, but don’t worry — you’re not alone! ✍️ In this step-by-step guide, you’ll learn how to draw hands from scratch in a way that’s simple, fun, and beginner-friendly. Whether you’re an aspiring artist or just doodling for fun, this tutorial is for you.
🧰 Materials Needed
Before we begin, grab these supplies:
- ✏️ Pencil
- 🧽 Eraser
- 📄 Drawing paper
- 🖊️ Fine-tip black pen or marker (for outlining)
- 🎨 Colored pencils (optional for shading)
✍️ Step-by-Step Instructions
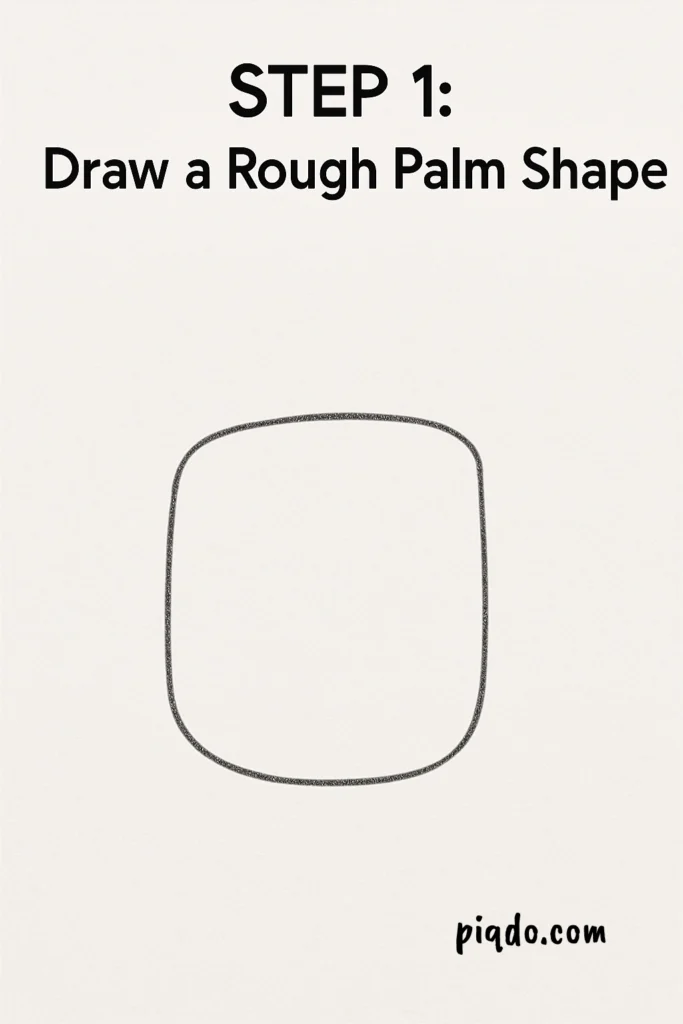
Step 1: Draw a Rough Palm Shape
Start by sketching a slightly rectangular oval or a rounded trapezoid — this will be the palm of the hand. Don’t worry about perfection; it’s just a guide!
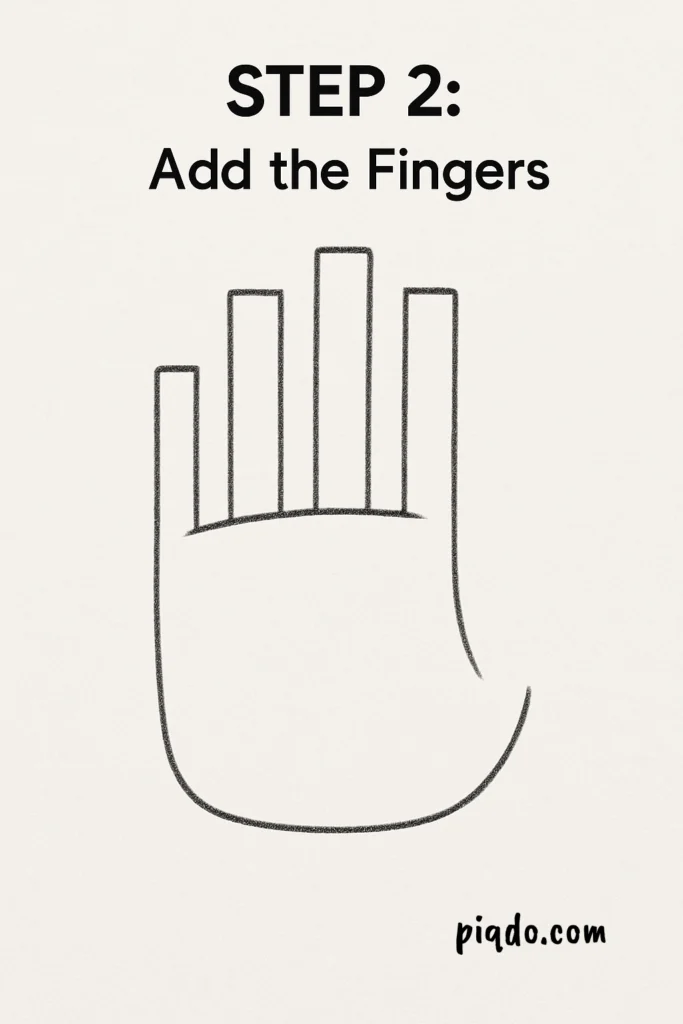
Step 2: Add the Fingers
From the top of the palm, draw five long, narrow rectangles. Make sure the middle finger is the tallest, and the pinky is the shortest. These will become your fingers.
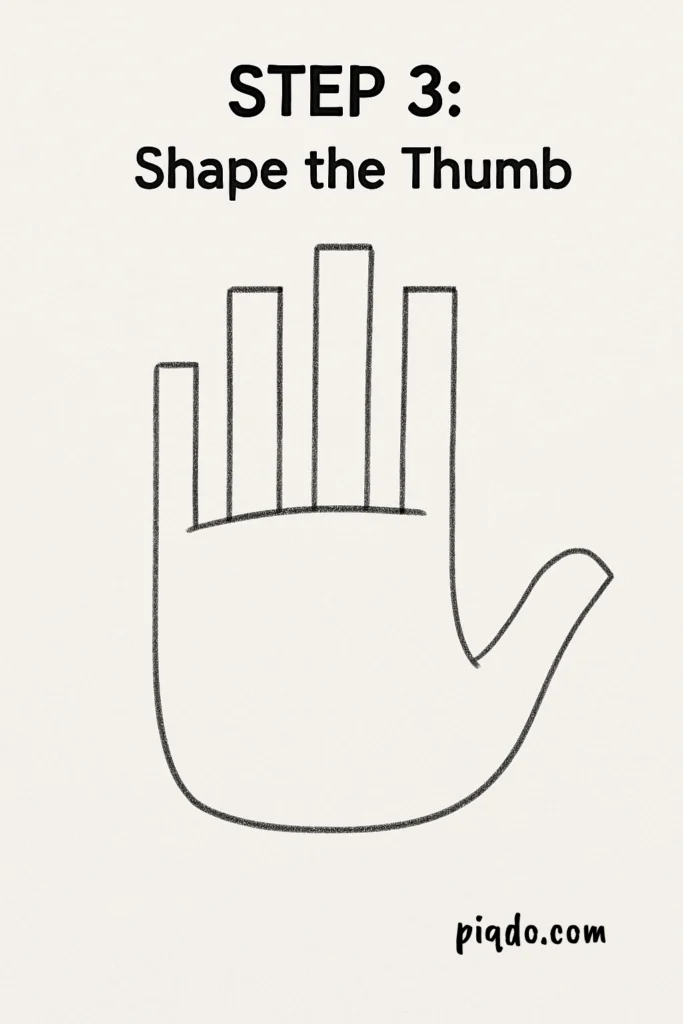
Step 3: Shape the Thumb
Add the thumb off to the side of the palm — it should angle out and be shorter and thicker than the fingers. Use a rounded rectangle or curved lines to sketch it.
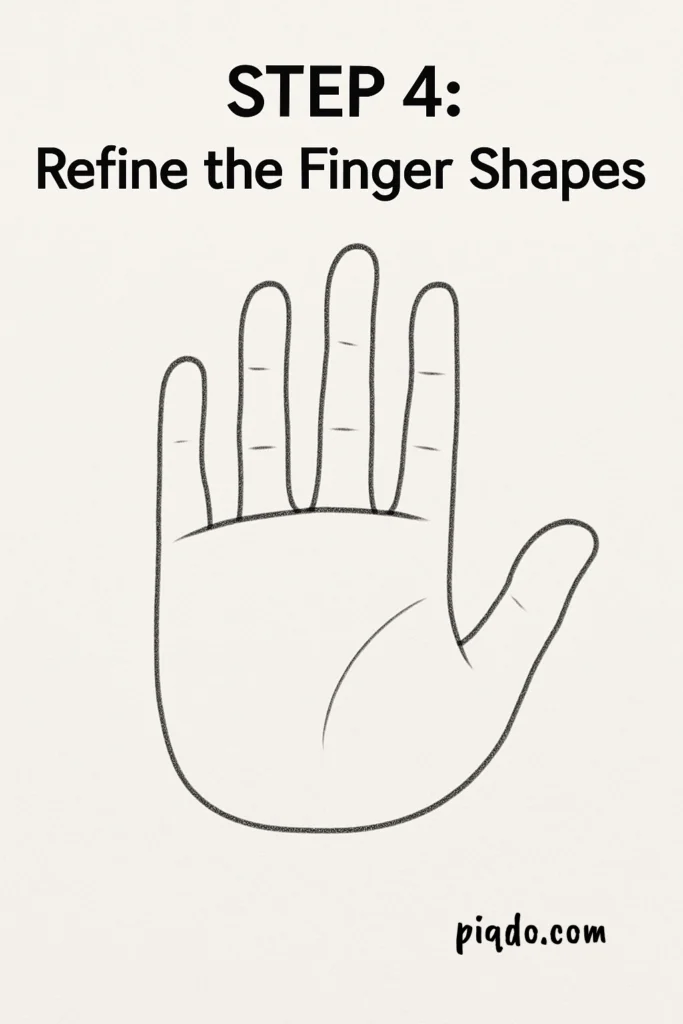
Step 4: Refine the Finger Shapes
Now start shaping the fingers with curves and knuckles. Fingers are not straight sticks! Gently curve the lines and taper the ends to resemble real fingers.
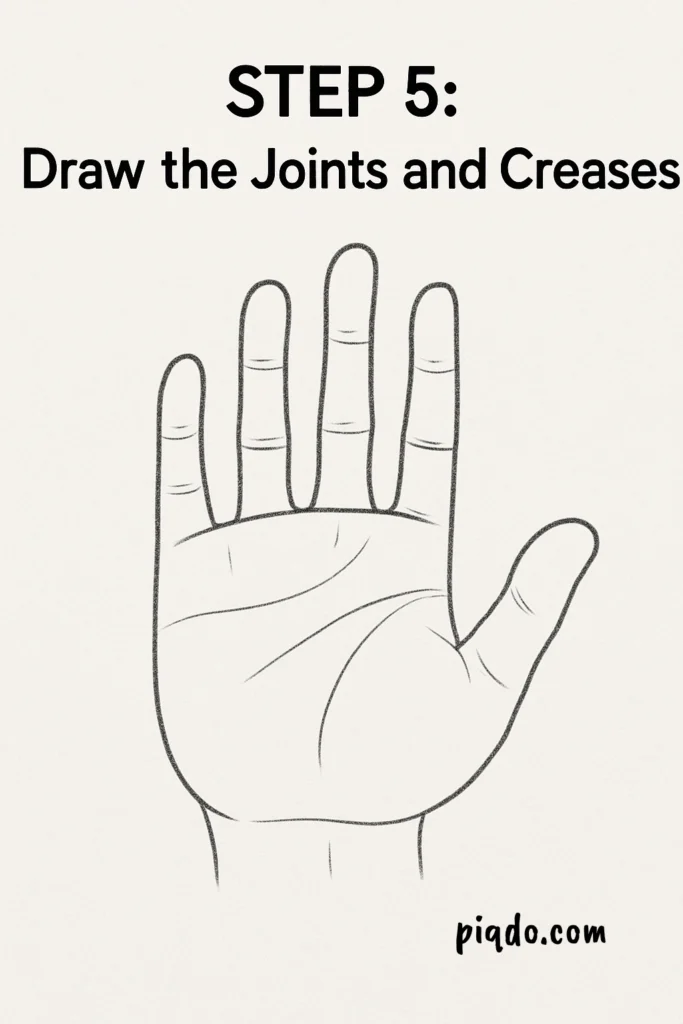
Step 5: Draw the Joints and Creases
Sketch soft lines across each finger to mark the knuckles and joints. Add small curves or lines to show natural bends in the fingers and palm.
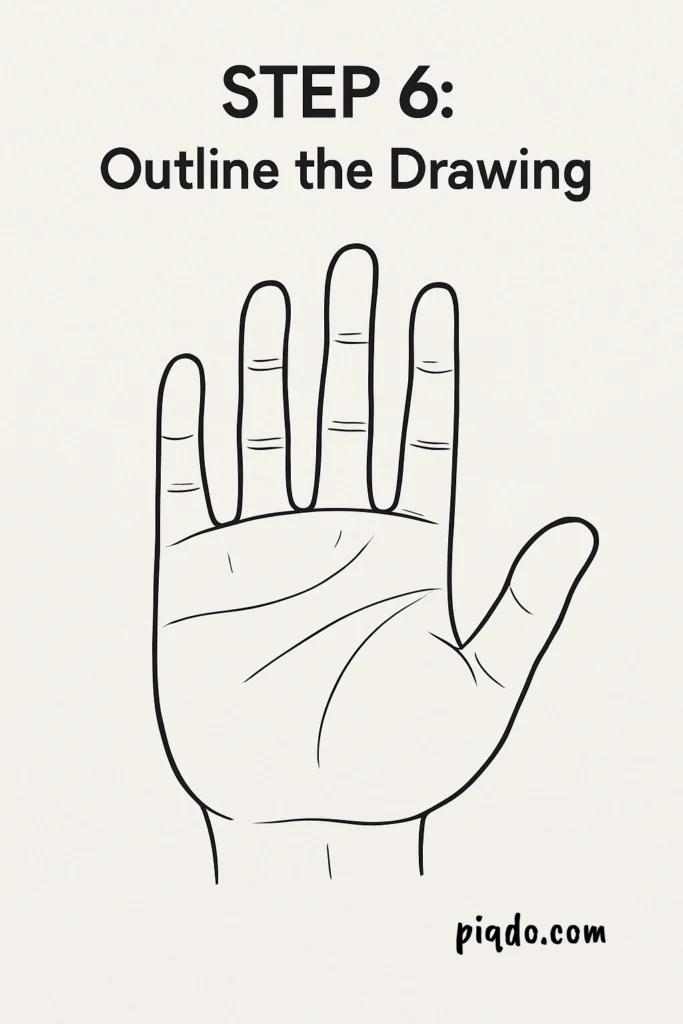
Step 6: Outline the Drawing
Use a black pen or marker to carefully outline your final hand shape. Smooth out any sketchy lines and bring clarity to your drawing. 🖊️
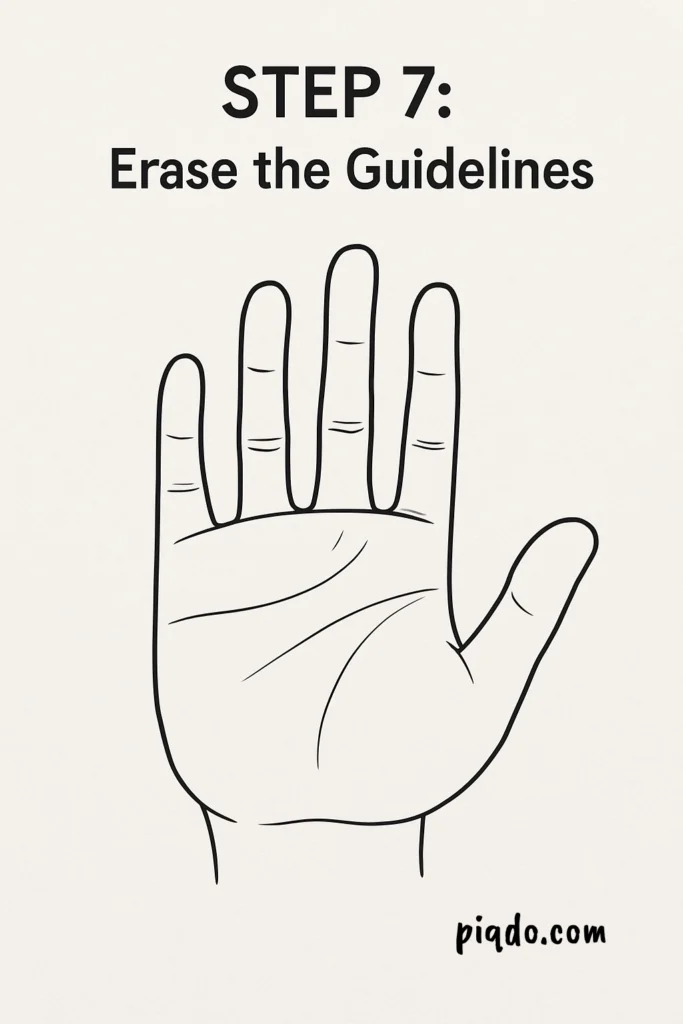
Step 7: Erase Guidelines
Once your ink is dry, erase all leftover pencil lines. This will clean up the drawing and get it ready for shading or coloring.
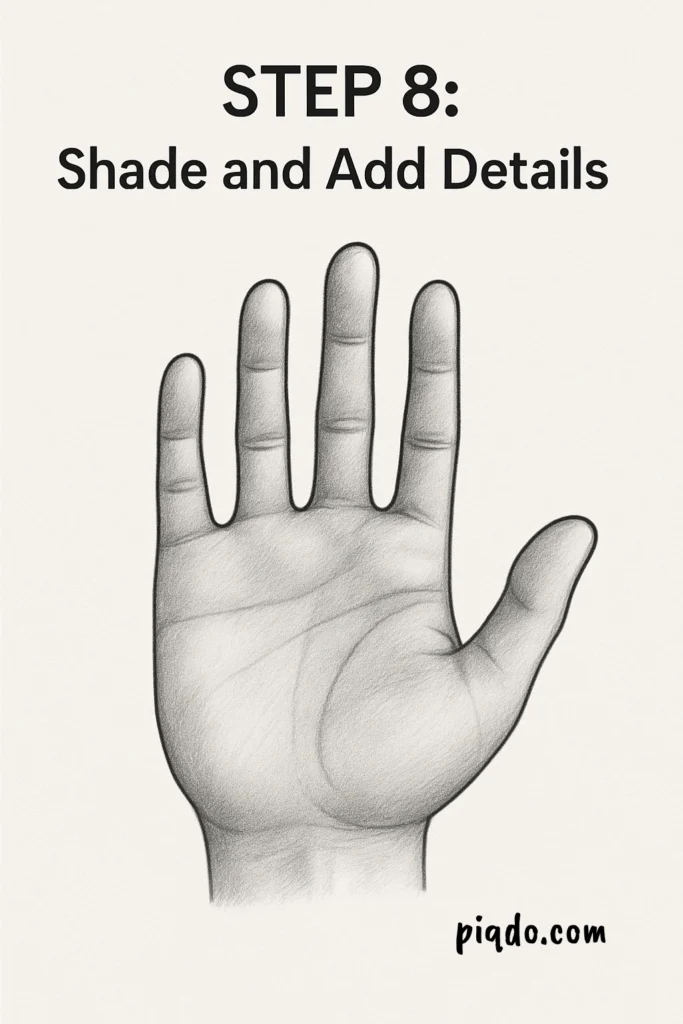
Step 8: Shade and Add Details
Add some light shading around the palm and finger curves for a 3D effect. You can also lightly shade between the fingers and around the joints to add realism.
✨ Pro Tips
- Use your own hand as a reference — it’s always available!
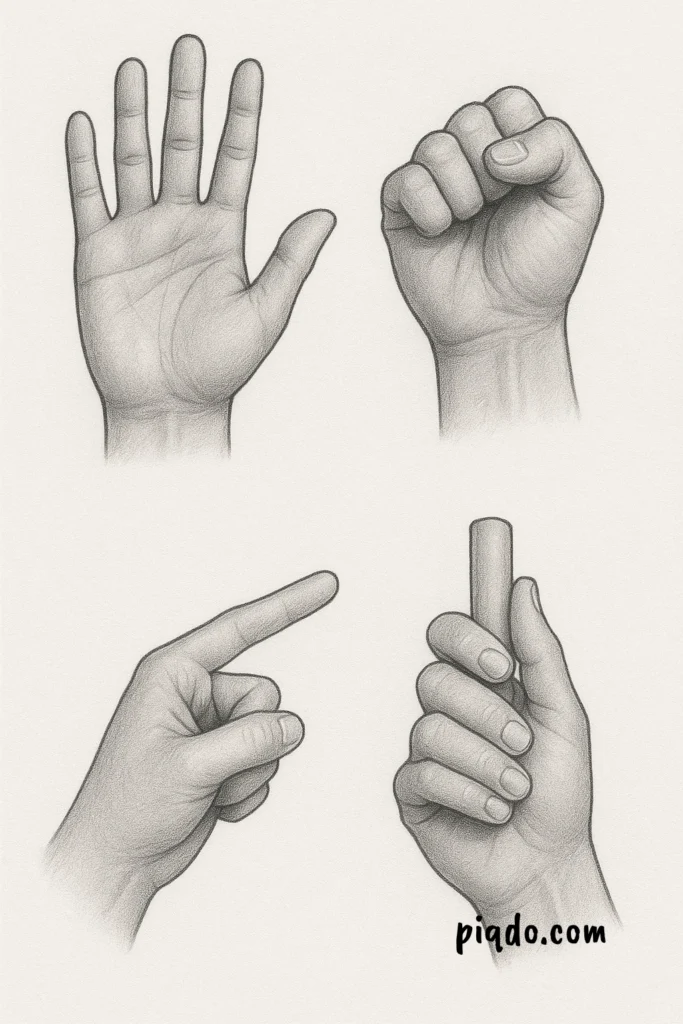
- Try drawing the hand in different positions: open, fist, pointing, holding something.
- Practice drawing one finger at a time to improve your proportions and curves.
🎉 You Did It!
And there you have it — a beautifully drawn hand! 🖐️ Drawing hands takes patience and practice, so don’t be discouraged if it’s not perfect right away. Keep practicing and you’ll see improvement fast.