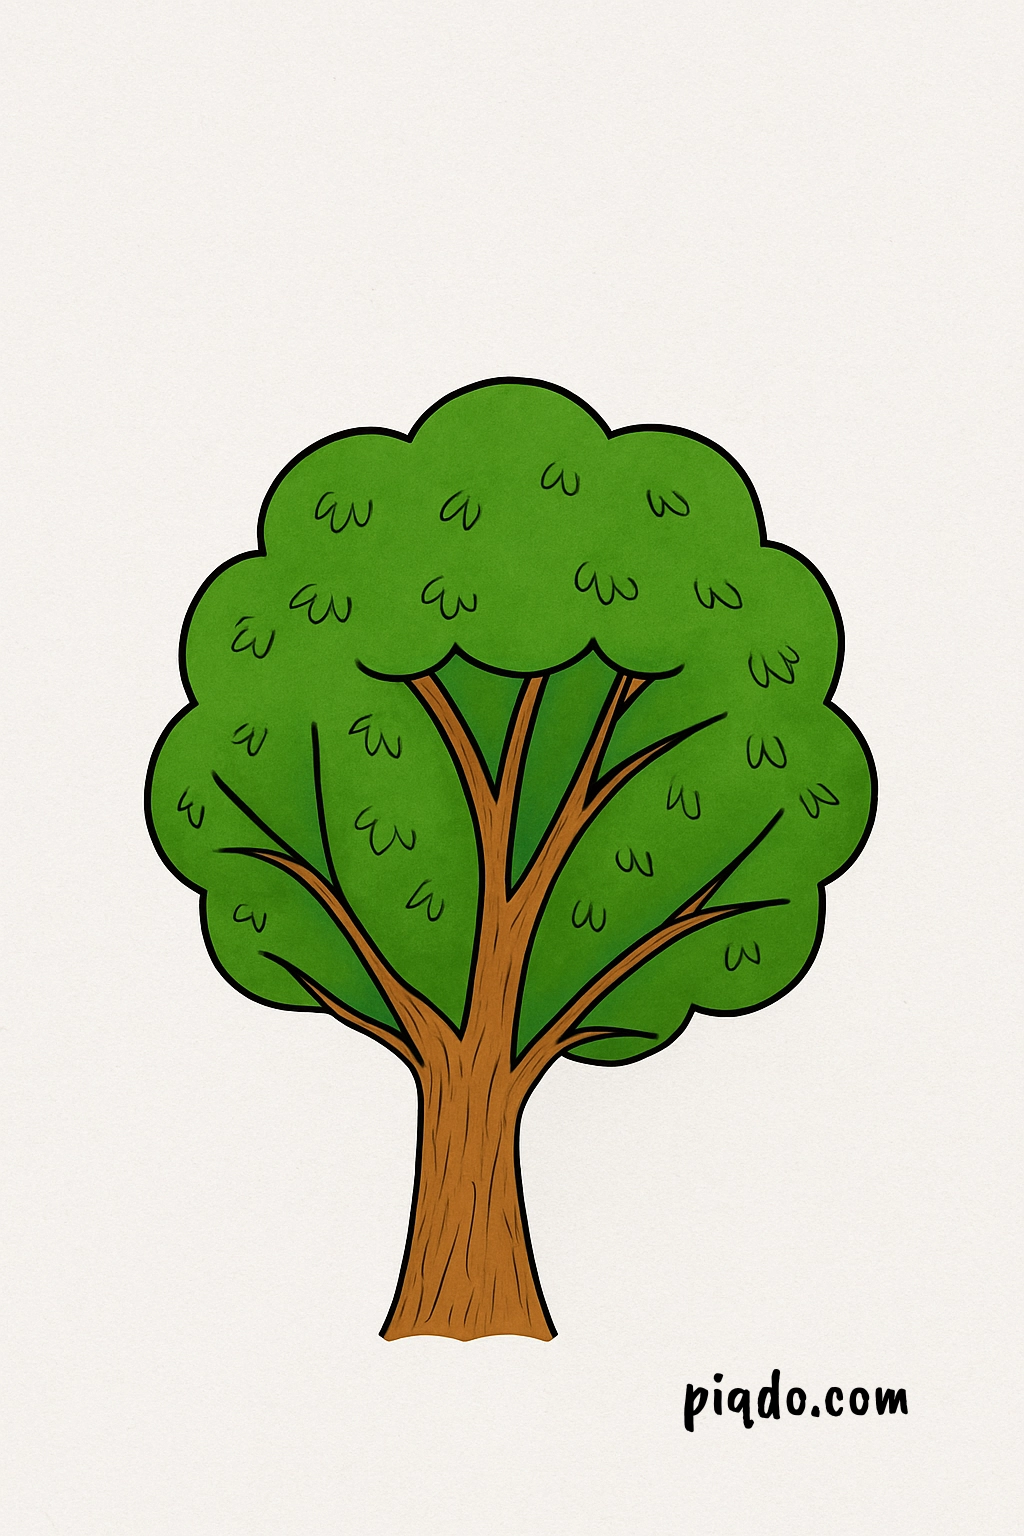
Have you ever wanted to draw a tree but didn’t know where to start? Don’t worry — you’re in the right place! 🌟 In this beginner-friendly tutorial, we’ll walk through how to draw a simple tree step-by-step. It’s fun, relaxing, and perfect for artists of all ages. 🎨✏️
Let’s get started and bring your tree to life! 🌿
🛠️ Materials You’ll Need:
- Pencil ✏️
- Eraser 🧽
- Drawing Paper 📄
- Black Pen or Marker 🖊️ (for outlining, optional)
- Colored Pencils, Crayons, or Watercolors 🖍️🎨 (for coloring!)
Step-by-Step Instructions
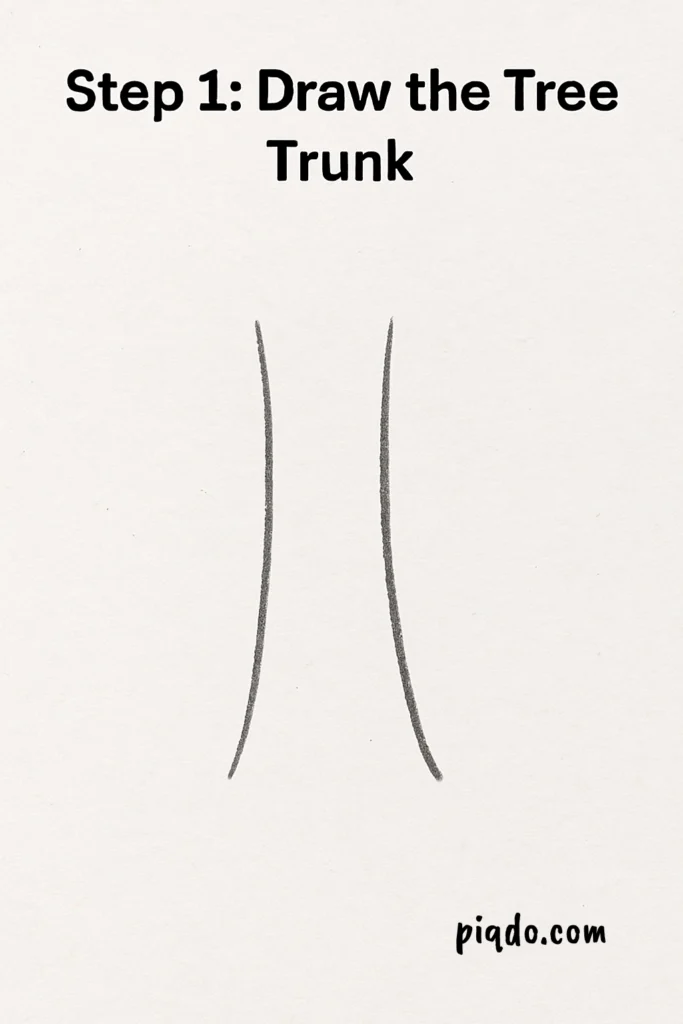
Step 1: Draw the Tree Trunk 🌳
Start by drawing two slightly curvy vertical lines close together — this forms the trunk. Make it wider at the bottom and a little thinner at the top.
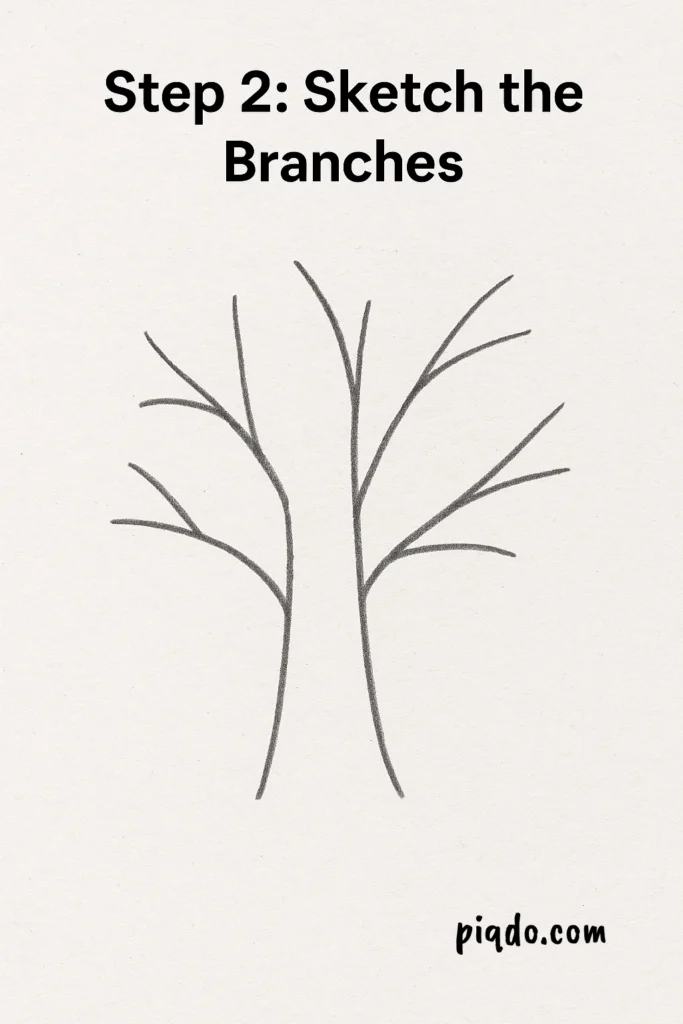
Step 2: Sketch the Branches 🌿
From the top of the trunk, draw several lines branching out in different directions. Think of it like the tree is stretching its arms!
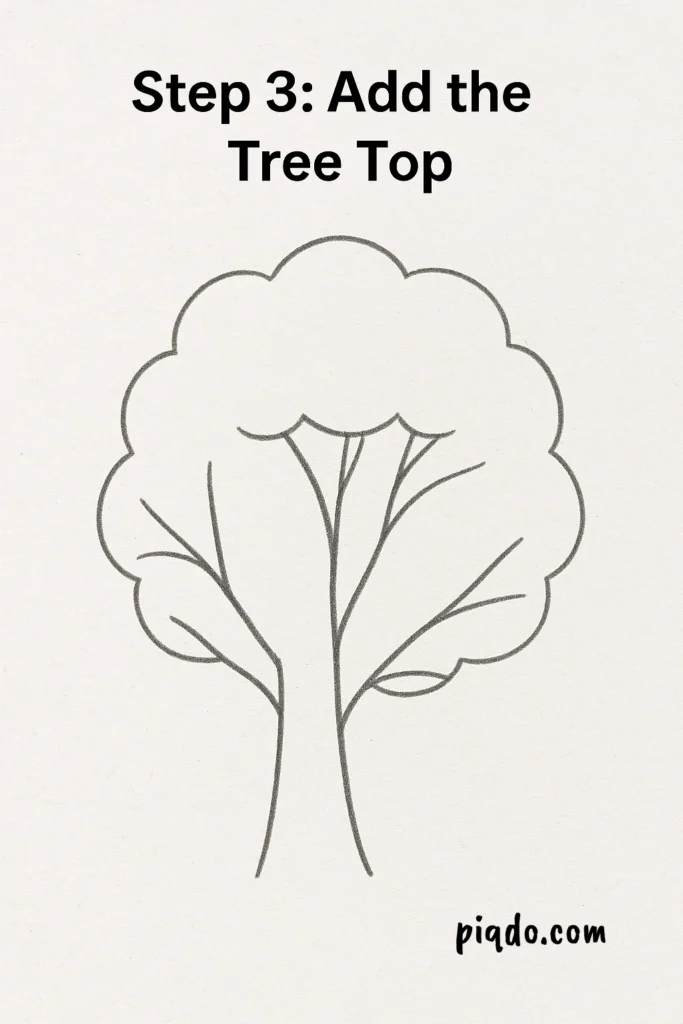
Step 3: Add the Tree Top 🍃
Now, draw a big, fluffy cloud shape around the branches. This will be your tree’s leafy top. Don’t worry about making it perfect — trees are naturally wobbly and irregular!
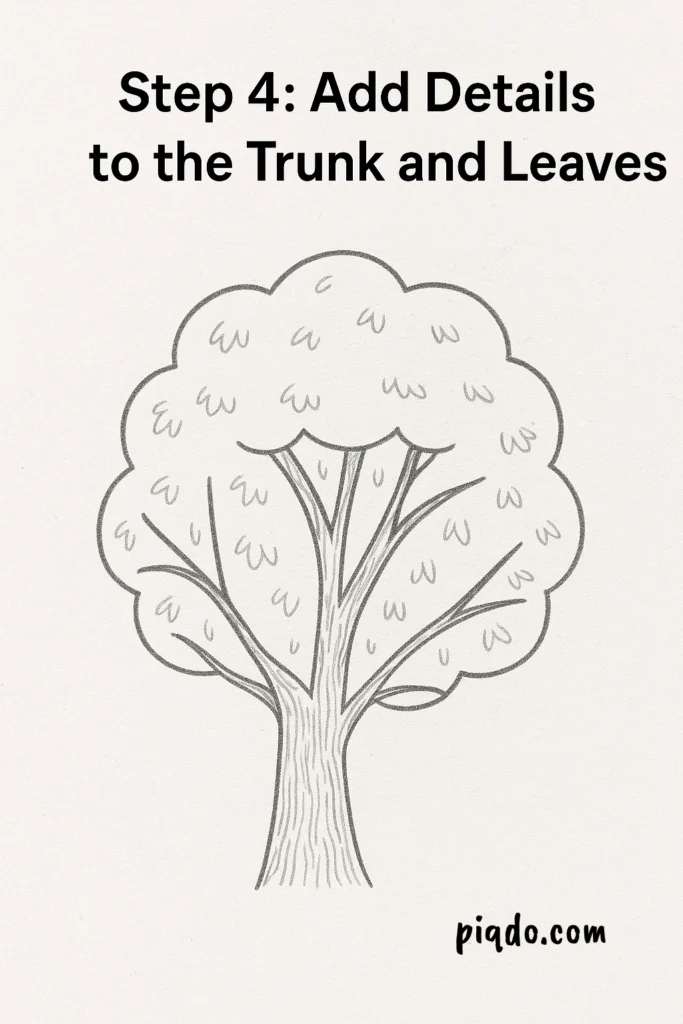
Step 4: Add Details to the Trunk and Leaves 🪵
Draw a few lines on the trunk to create a wood texture. You can also add little squiggly lines or small “M” shapes inside the leafy top to show bunches of leaves.
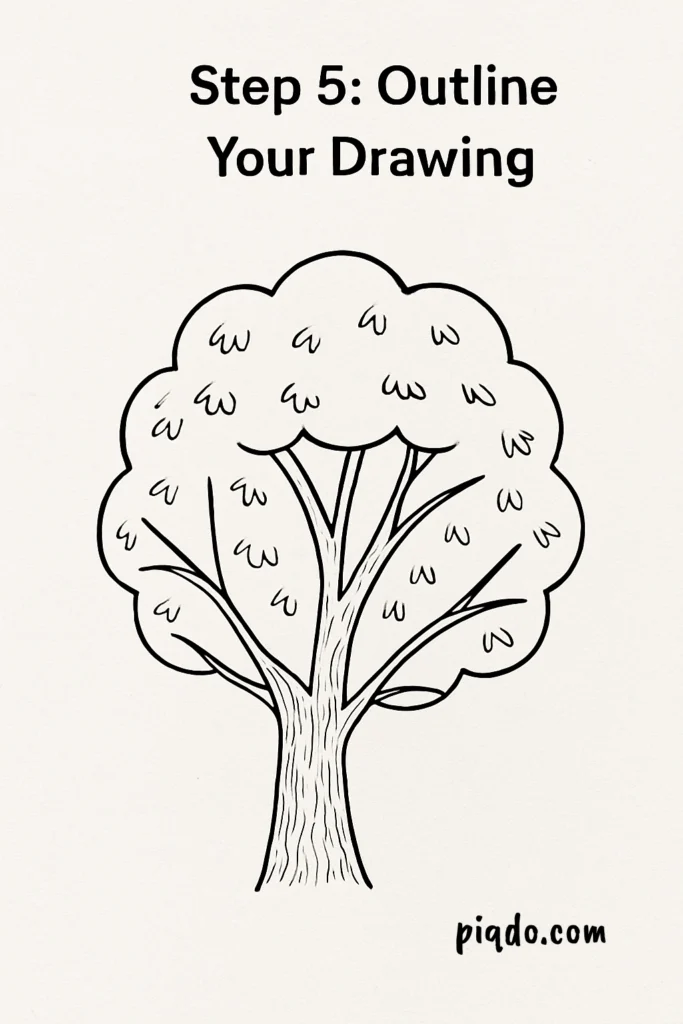
Step 5: Outline Your Drawing ✏️➡️🖊️
Carefully trace over your lines with a black pen or marker. This will make your tree stand out nicely!
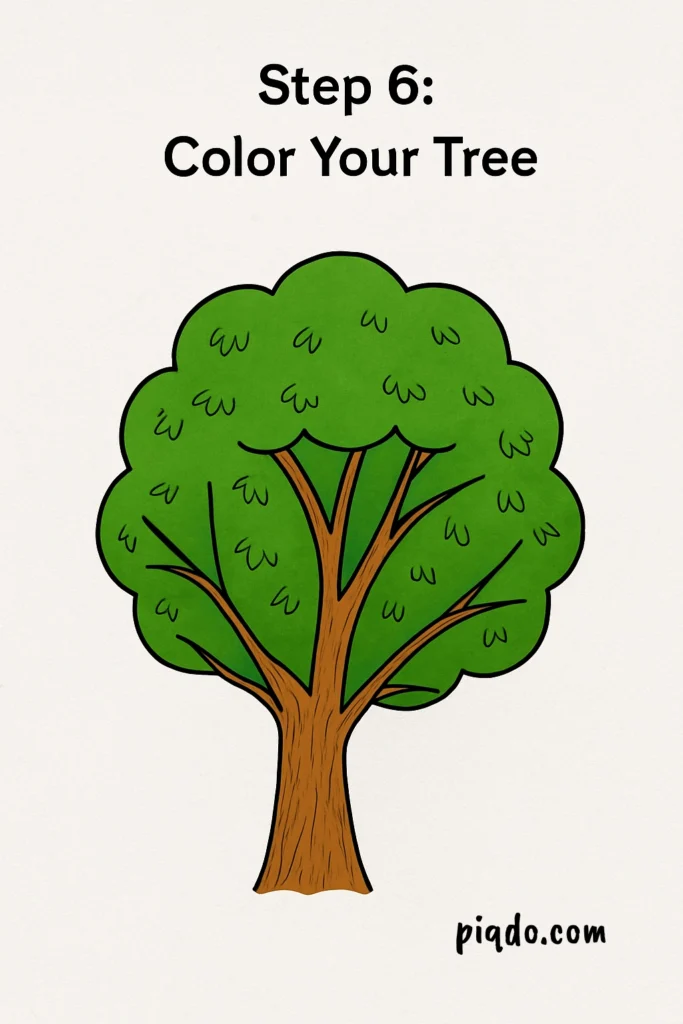
Step 6: Color Your Tree 🎨
It’s time to bring your tree to life! Color the trunk brown and the leaves green — or get creative with fall colors like orange, red, and yellow. 🍂🍁
🌟 Final Touches!
Once you’re done coloring, you can even add some extra details like birds, fruits, a swing, or flowers at the base. Let your imagination grow as wild as a forest! 🌸🐦
🌳 Conclusion
Congratulations — you’ve just drawn a beautiful tree! 🎉 Keep practicing, and soon you’ll be drawing whole forests with different shapes, styles, and colors. Remember, every tree you draw is unique — just like you! 💚
Happy drawing! ✨