Want to draw a beautiful horse but not sure where to begin? This easy step-by-step tutorial is perfect for beginners! We’ll break the process down into simple parts so you can sketch, outline, and color your own horse drawing with confidence.
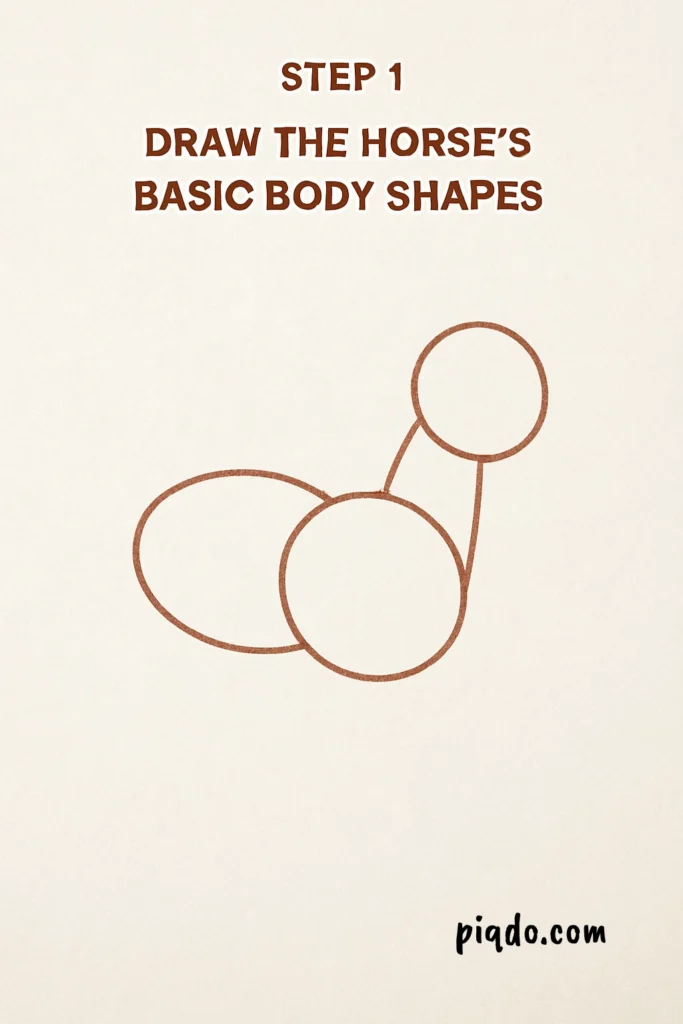
✏️ Step 1: Draw the Horse’s Basic Body Shapes
Start with simple shapes. Draw two ovals—one for the main body and one for the chest. Add a smaller circle for the head and connect it to the body with a curved neck line. This creates the framework of your horse.
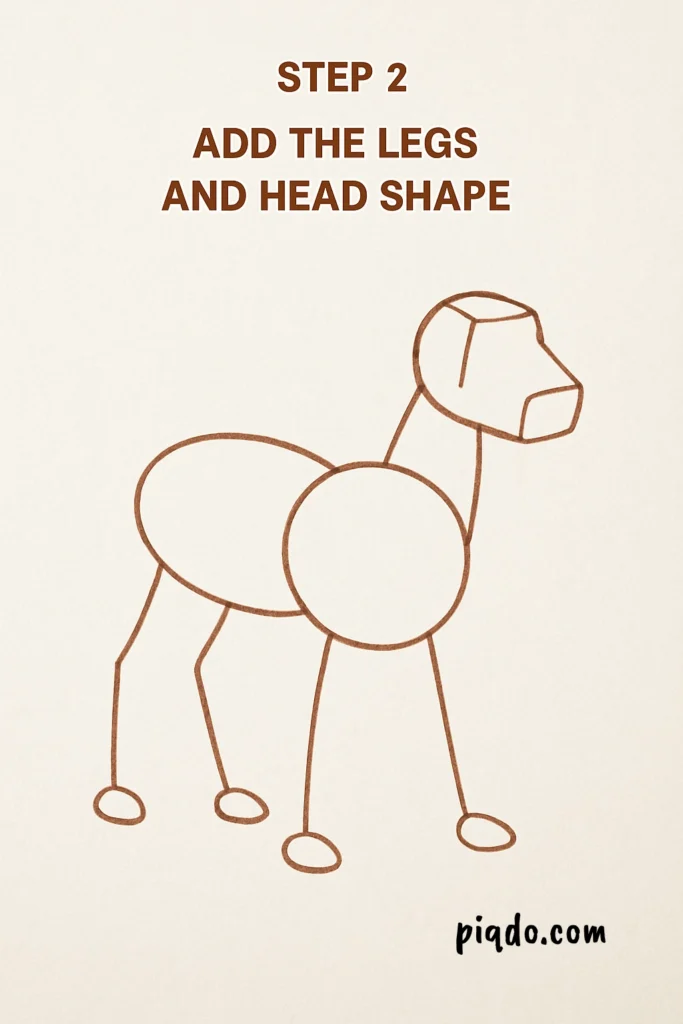
🦵 Step 2: Add the Legs and Head Shape
Sketch four legs using straight lines, each ending in small ovals for hooves. Begin shaping the head into a gentle rectangular shape for the muzzle, connecting it naturally to the neck.
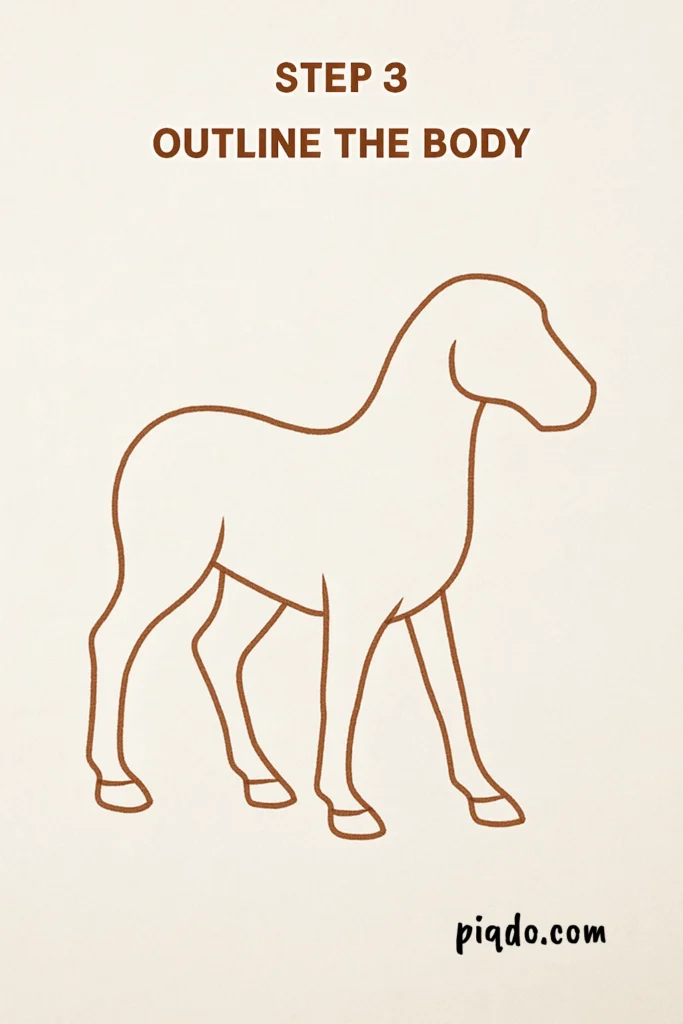
🐎 Step 3: Outline the Body
Now refine your sketch by outlining the horse’s figure. Smooth out the neck, back, and leg areas, so the horse starts looking more realistic.
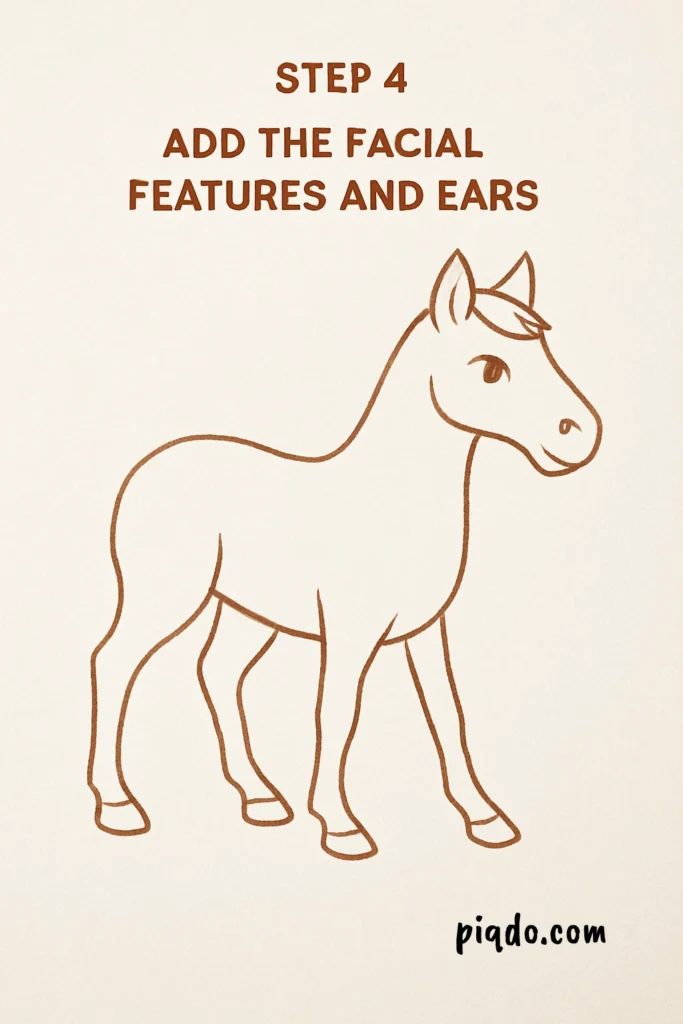
👂 Step 4: Add Facial Features and Ears
Draw two upright, leaf-shaped ears on top of the head. Then add an eye, a small curved nostril, and a gentle smile line for the mouth. These little details give your horse personality!
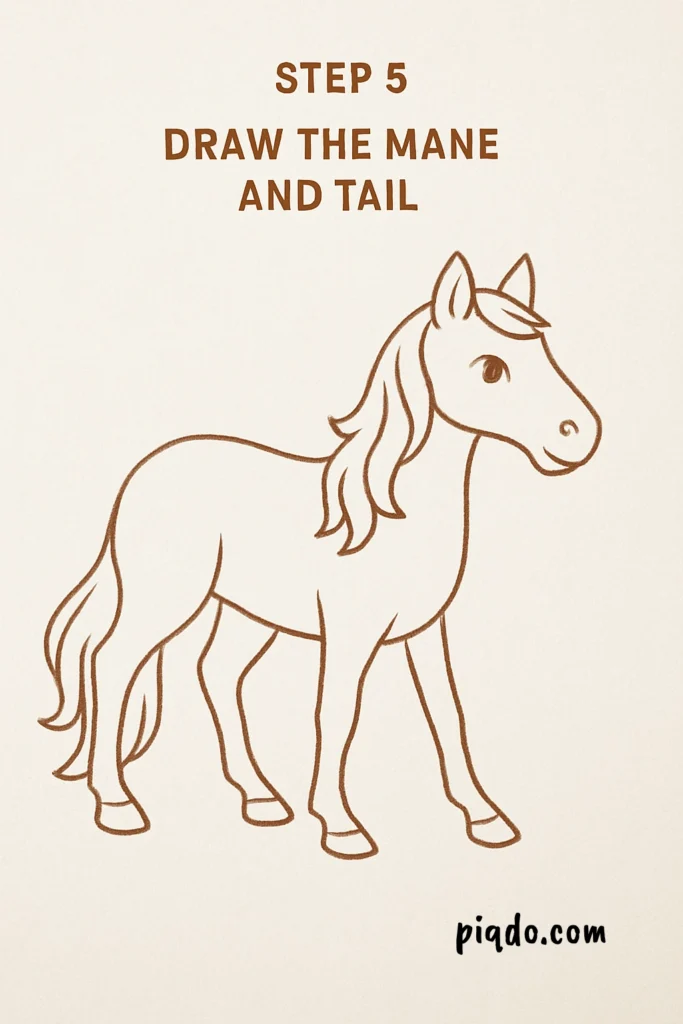
💇 Step 5: Draw the Mane and Tail
Add flair to your horse! Draw a flowing mane along the neck and a large tail at the back. You can make the hair straight, curly, or wild—whatever you like.
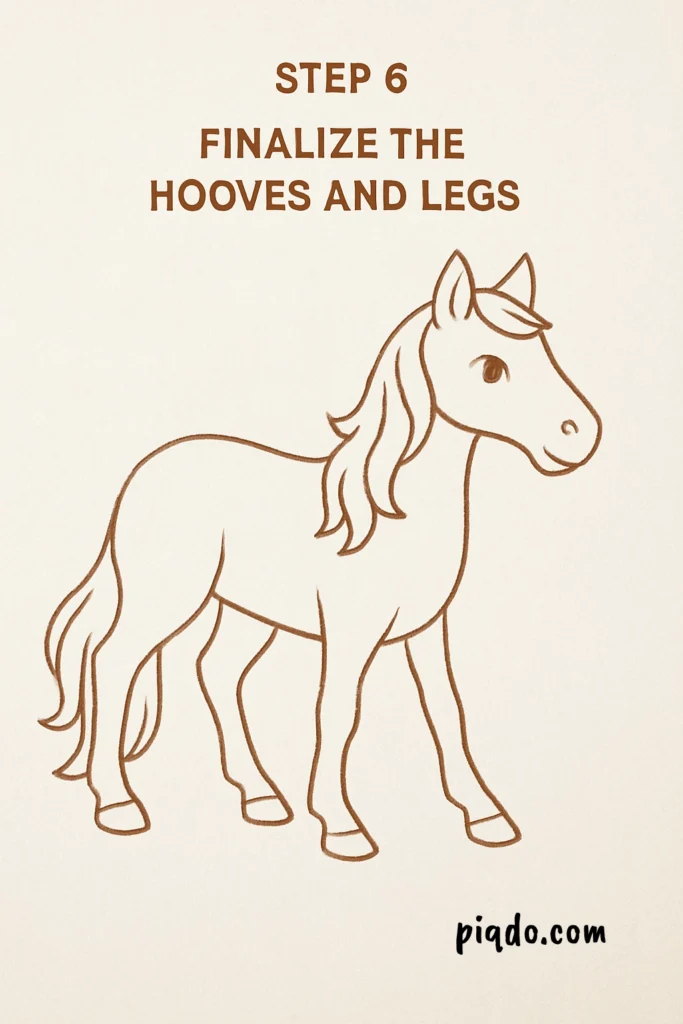
🐾 Step 6: Finalize the Hooves and Legs
Add joints and muscle curves to make the legs look stronger. Define the hooves clearly so they stand out from the legs.
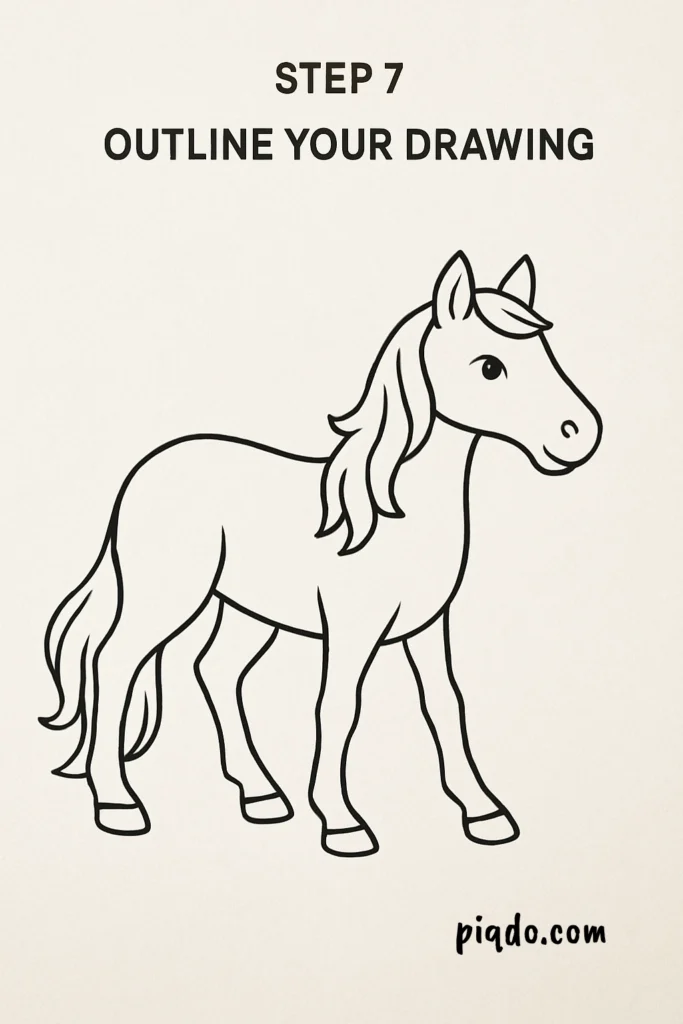
🖊️ Step 7: Outline Your Drawing
Go over your drawing with a fine black pen or marker. Clean up extra sketch lines with an eraser to give your horse a polished look.
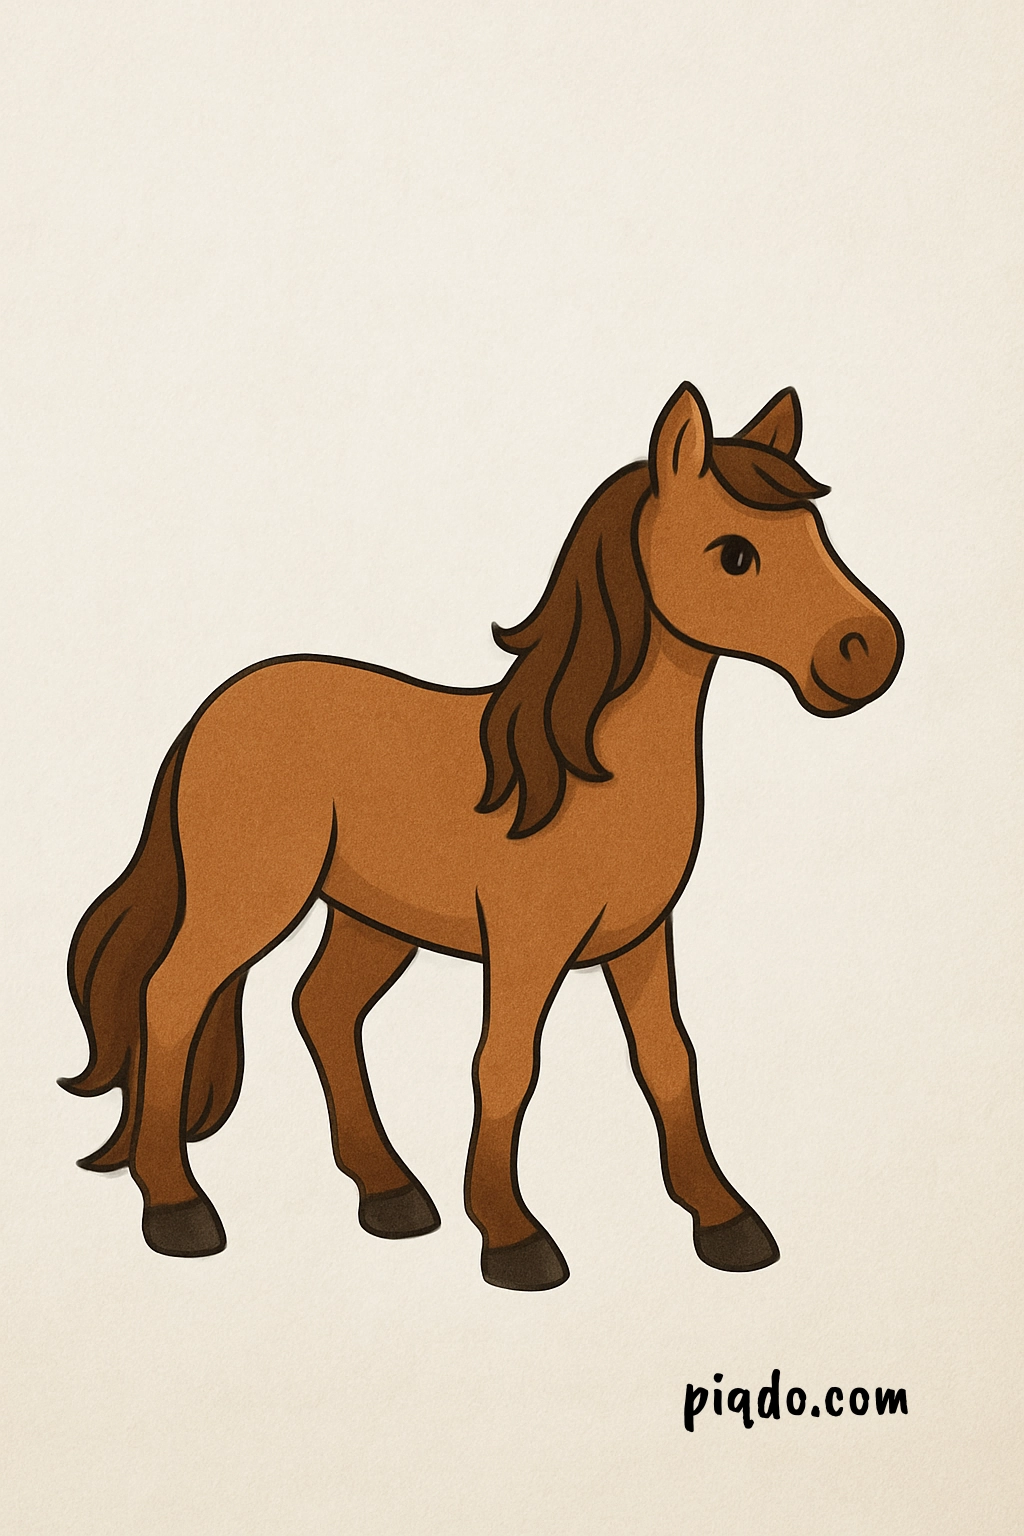
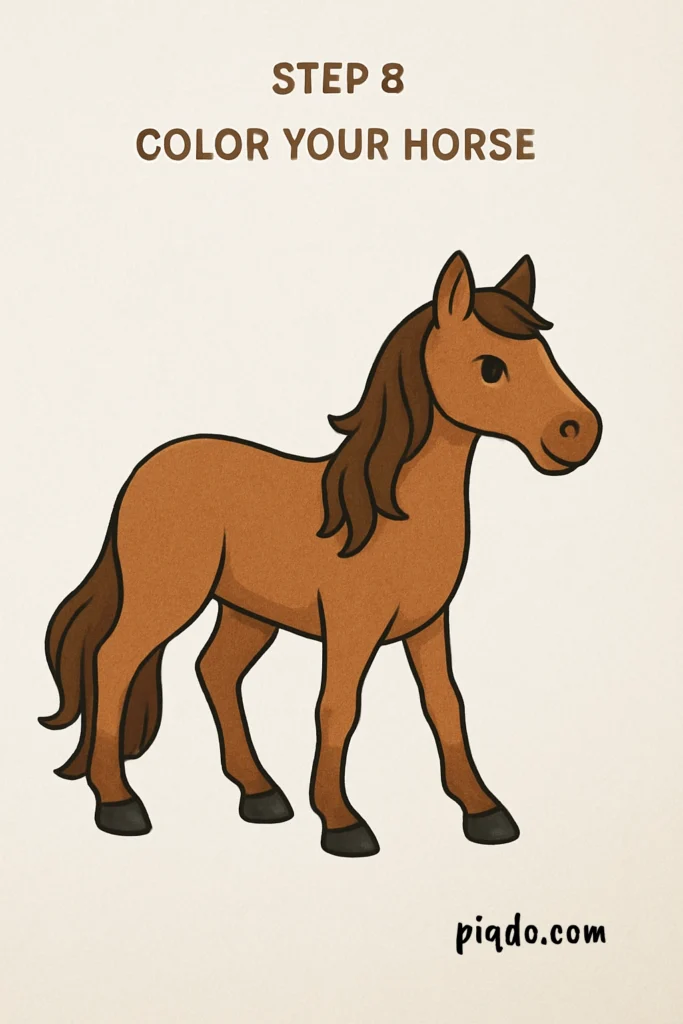
🎨 Step 8: Color Your Horse
Bring your horse to life! Use brown, black, or gray tones—or get creative with magical colors. Add shadows under the belly, legs, and tail for extra dimension.
🌟 Final Thoughts
You did it! Your horse drawing is complete. Practice a few more times and try different poses or styles. Drawing animals gets easier (and more fun!) the more you do it.
Tag us if you try this tutorial—we’d love to see your horse! 🐴✨